So which team have you gone for then in F1 Manager 2022? Did you take the hard route by selecting a backmarker and work towards the top of the grid, or have you taken on the impossible by selecting Ferrari and mastering its abysmal strategy predicaments?
Whether you’ve put on the shoes of a Wolff, Krack or Steiner, taking on the Team Principal role has been an incredibly fun task over the past weekend and shows just how challenging it can be for those who actually work under that title.
As for the game itself, we’ve found some tips and tricks to share with you lot that will help with your experience, as there is a lot to tinker and experiment with.
From those pesky sliders to the tiny details, hopefully, this helps gain those extra seconds per lap. If you have any tips and tricks of your own, why not consider leaving a comment down below to help out your fellow team principals? Let’s get into it.
Replace your second driver immediately
Now, this doesn’t apply to a few of the top teams in F1 Manager 2022 as they already have good statistics, but replacing your second driver within a backmarker team such as Williams really does make a huge difference.
I know it’s sad to say goodbye to the GOAT that is Latifi for a lower-rated driver, but this helps tremendously in the long run. I know it’s painful, but this just has to be done.
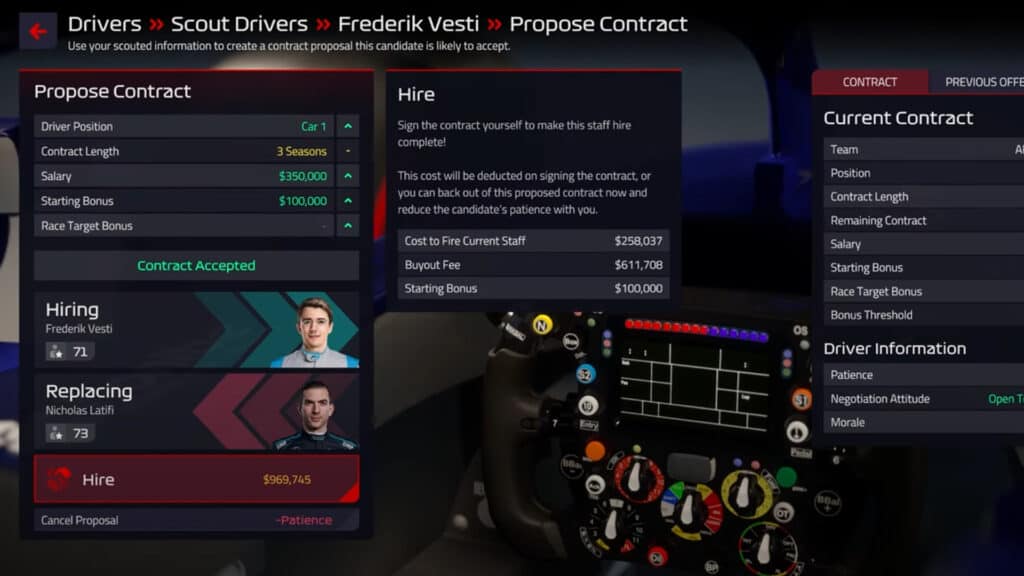
It will take a few races for them to get up to speed, but the growth potential they bring to their own development can eclipse your current line-up. For example, Lance Stroll’s growth potential is set as 1.16, but a Formula 2 driver such as Jack Doohan or Frederik Vesti can easily be within the 1.50s, meaning they’ll have better stats within the first 10 races or so.
Oh, and don’t think about replacing Stroll with Hulkenberg, as their growth potential is a measly 0.65 alongside worse stats.
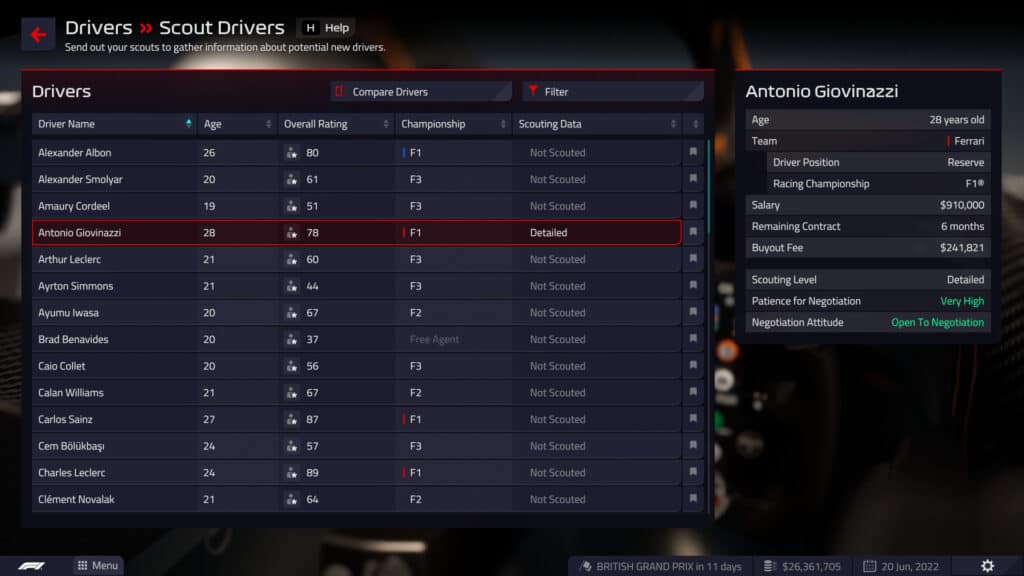
This may also come with the price of breaking a contract as well, but a lower salary for your new driver can provide a higher profit for your finance sheet. I know it may be painful or immersion breaking, but sadly, it must be done.
Utilise practice sessions
Squeezing out every last potential lap time is key throughout a season, which is where practice sessions come in to be very handy. It is easy to just let the AI take care of this, but this comes with a costly price when it comes to set-ups and tyre usages.
We will cover set-ups in the next entry, but letting the AI handle this can be a gamble, as it can range from anywhere between a 30 per cent to a 90 per cent confidence rating.
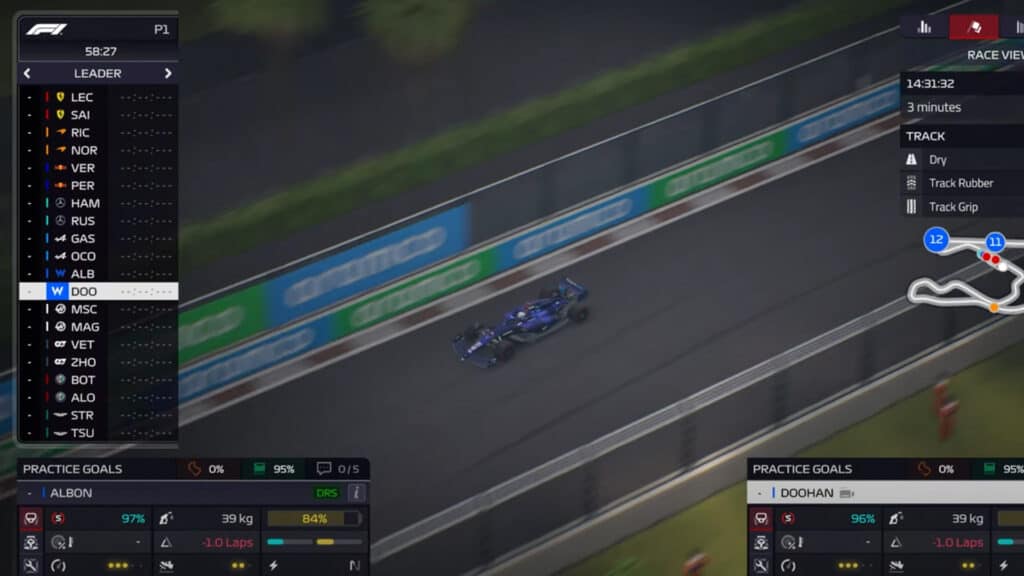
You may have a plan for qualifying, whereas the AI messes this all up by using every soft tyre available to them and leaves you having to settle on a set of medium tyres for Q1, not good.
Use this time to experiment with different strategies, pace options and set-up discoveries, as it’s crucial to gaining every last tenth. It’s called practice for a reason.
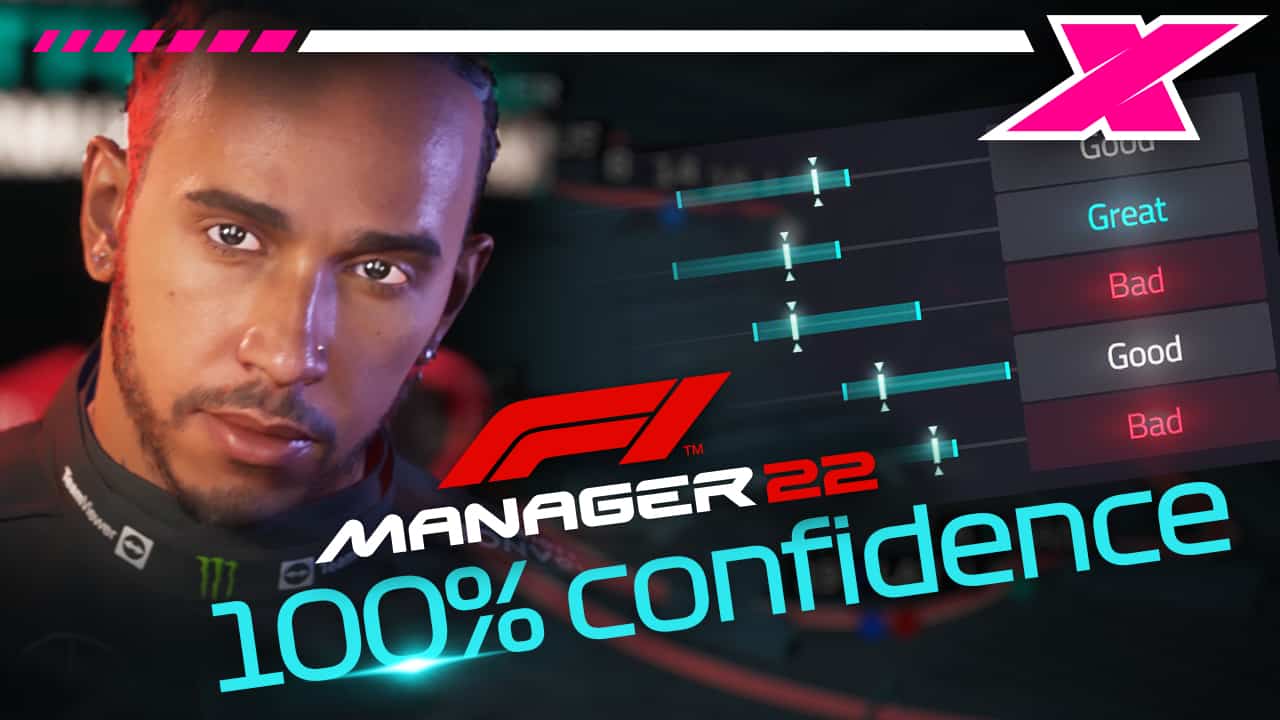
100 per cent confidence set-ups
As for that pesky slider mini-game that is set-ups, there is an easy method to follow when it comes to achieving 100 per cent confidence for both cars.
The more you play around, the easier it will become to understand, especially when you see the link between sliders and specifics aerodynamic areas. The front wing angle connects to oversteer, the rear wing adjustments connect to straight-line speed, anti-roll distribution connects to traction, and tyre camber and toe-out are micro-adjustments to the overall set-up.
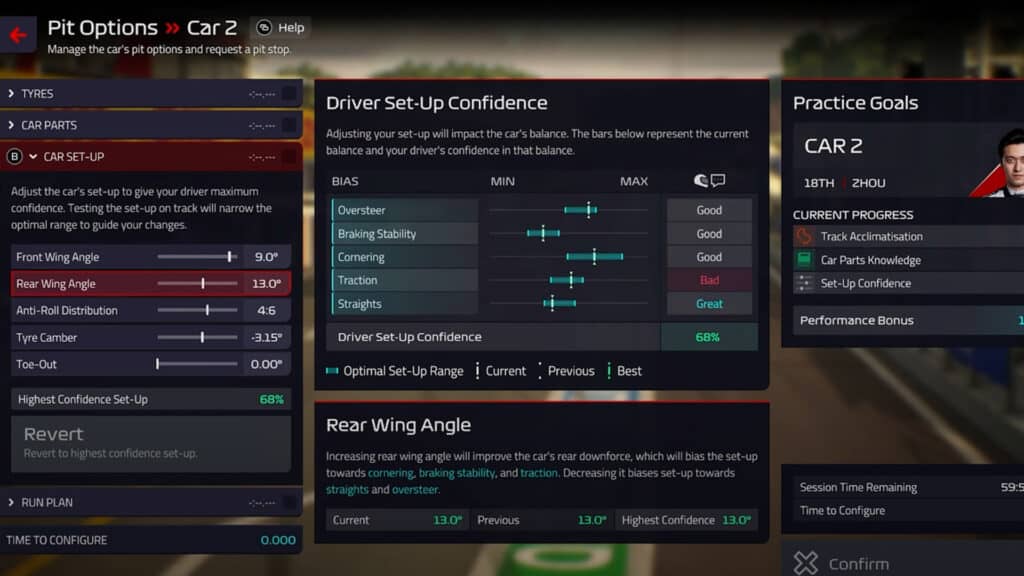
What we would recommend is lining up these parameters inside the optimal blue area, sending out the drivers for a practice run, and then calling them back into the pits as soon as their feedback reaches 5 out of 5.
Once they’ve given feedback, you can adjust accordingly to the new optimal range and slowly tweak until the range gets smaller and smaller. You can easily squeeze in two runs within each practice session, and every run provides valuable feedback to the set-up.
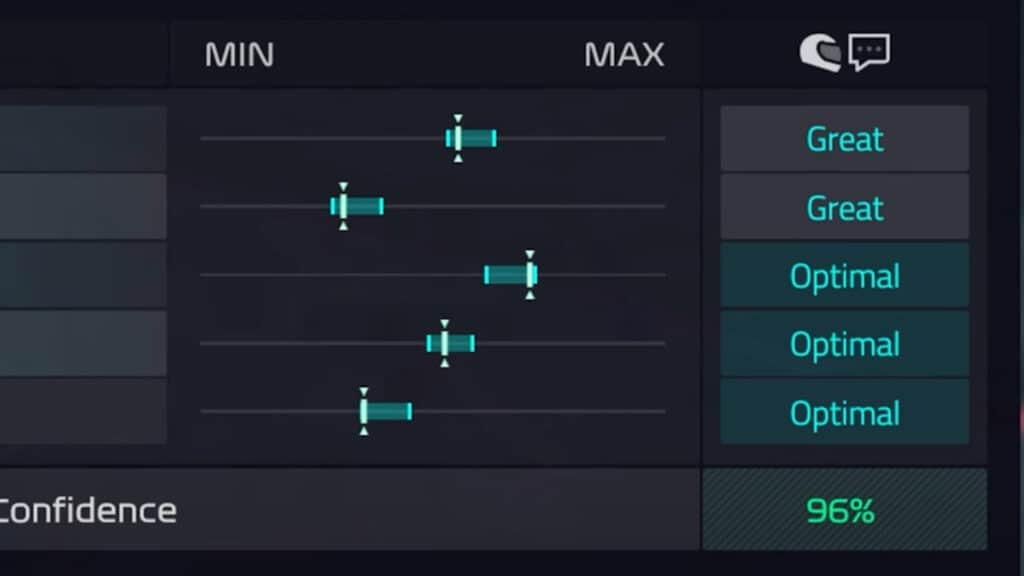
You’re looking out for an optimal feedback rating on the right, which is the perfect point for the specific setting to be. If it’s rated great, minimal adjustments are required. For good, a medium-sized change is required, whereas a bad rating requires large changes.
This feedback is only relevant to the previous outing with that specific set-up, so you may have a line outside of the optimal area that claims it’s the best set-up, but do not get this confused with the current feedback if it says optimal.
We would recommend changing these specific areas in order. Firstly, the rear wing angle changes the straights setting. This is only affected by the wing adjustments, meaning you won’t need to worry about this very much.
Secondly, adjust the front wing angle to set the required oversteer level, but not too much to affect the straights, which you may need to adjust the rear wing angle if it’s outside the optimal area.
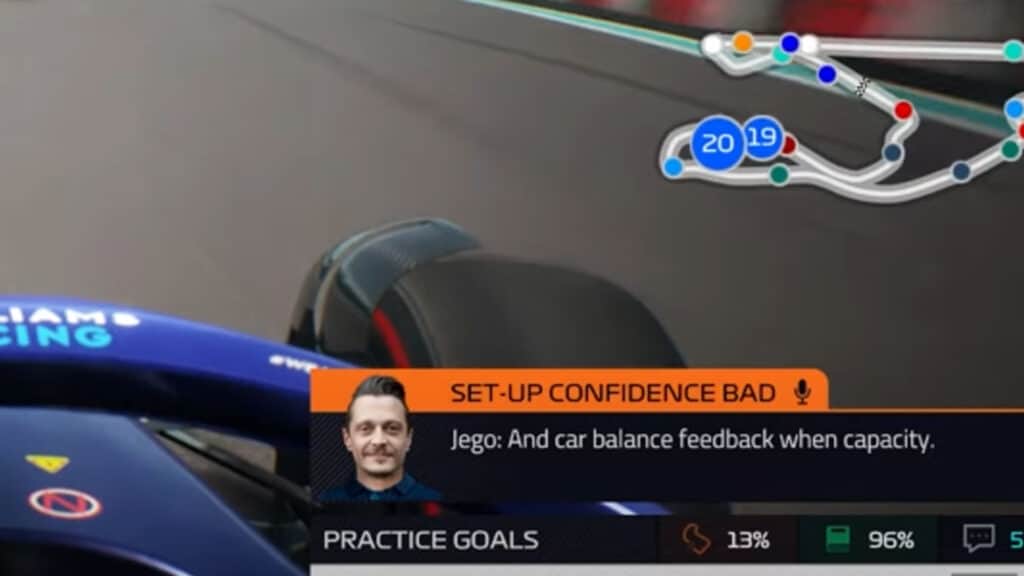
After this, change the anti-roll distribution to change the traction, as one click majorly affects this area and softly affects the others. Next, tyre camber affects the rest with minimal adjustments. Make sure to keep an eye out on the oversteer and traction levels when adjusting this setting, as you may find yourself outside the optimal area.
Finally, the toe-out affects the cornering and braking stability areas, which also provides minimal changes to these settings.
There is also another link we’ve found specifically to the traction. If you wanted to decrease it while leaving everything else, simply adjust the anti-roll distribution and tyre camber to the left by one click, and the opposite if you need an increase.
For another decrease or increase, add one click to the anti-roll, two clicks to the tyre camber and then one click on the toe-out.
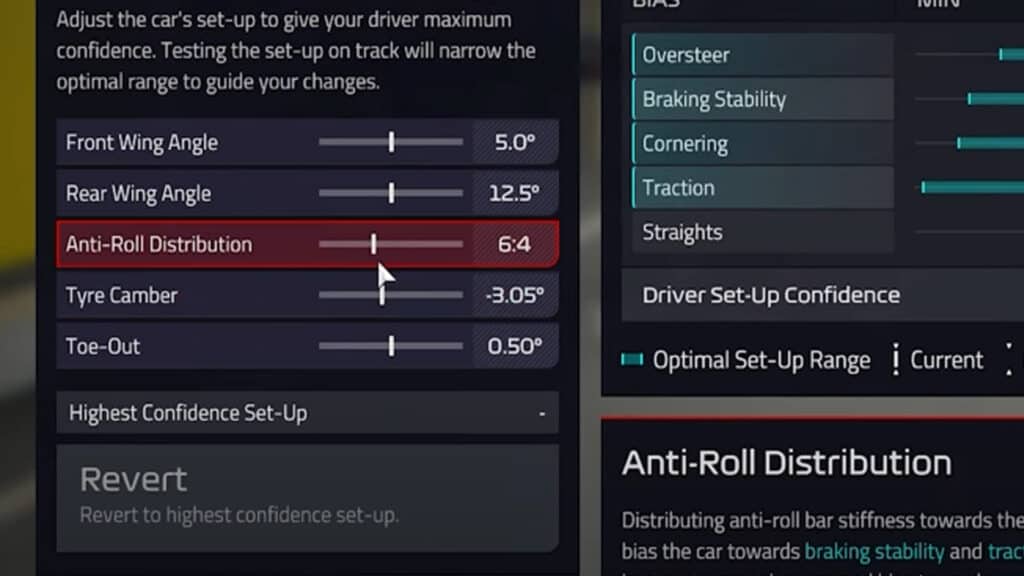
The straights can also be adjusted without affecting the oversteer and traction by adjusting the front wing, rear wing and tyre camber by one click, but this does come with a different cornering change, so adjusting the toe-out is key here.
Adjust accordingly, make small adjustments as you go along, and you’ll hopefully reach that golden 100 per cent confidence sweet spot.
Facilities and research
This is all down to personal preference when it comes to required facilities, as you may desire additional engineers to help with research or extra team morale to increase the board’s confidence, but there are two buildings we would recommend that help with your finances.
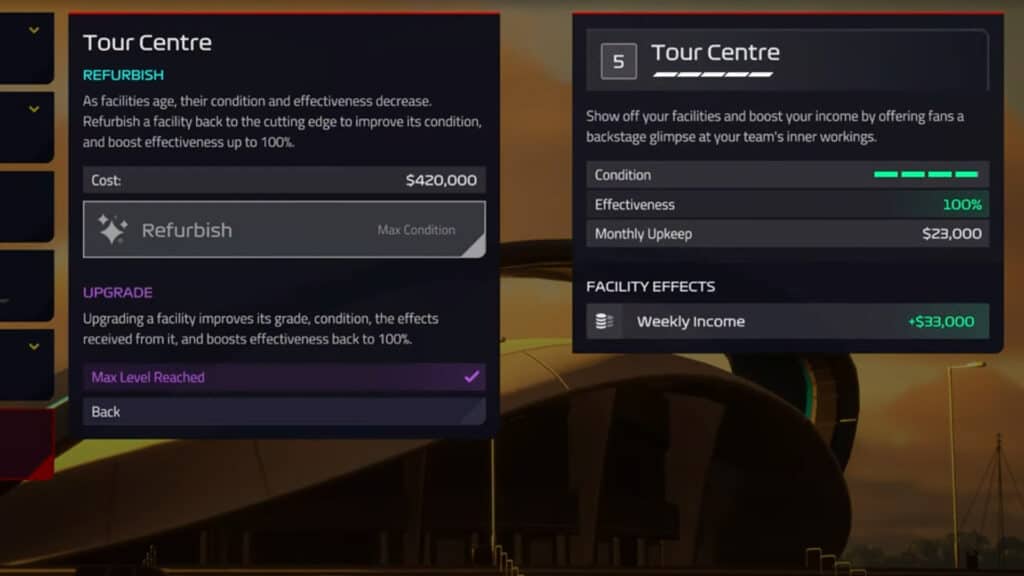
Firstly, upgrading the tour centre to the fifth level gives you weekly profit of $33,000 for a monthly upkeep of $23,000, meaning an average profit of around $109,000 per month. Alongside its refurbishment cost, you’ll easily make a couple of million dollars from this one building throughout the season.
Secondly, the helipad increases your team attractiveness and sponsor targets payout, which will increase the rewards from performance targets if these are met, well worth the cheap cost. Lastly, a maxed-out race simulator facility increases the weekly experience gain of your drivers and provides a faster way of earning development points.
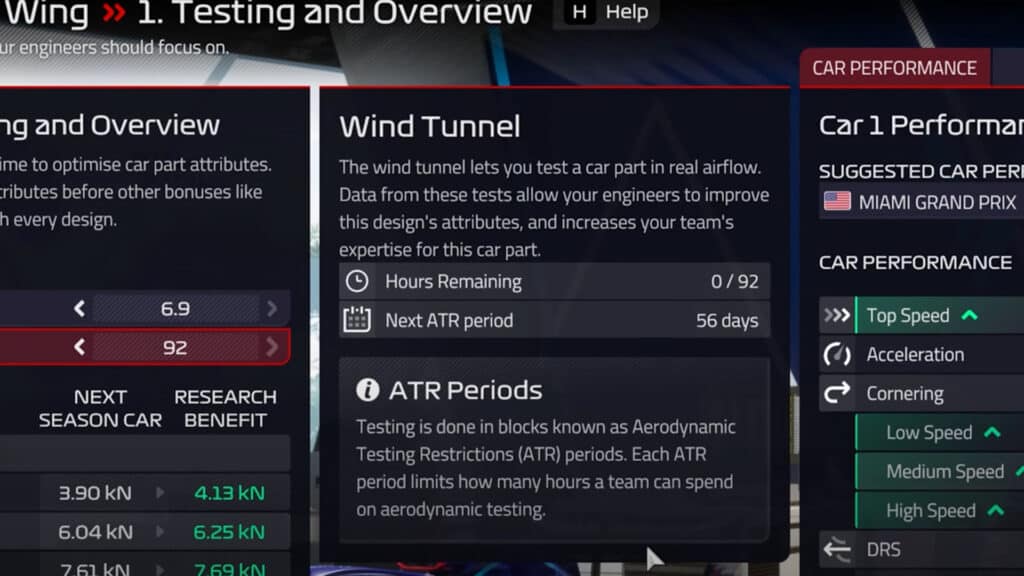
As for researching new parts for your car, don’t be afraid to spend all of your CFD and Wind Tunnel hours in one go, as the ATR periods may not reset until you’ve finished researching a specific part.
These periods can be seen within the calendar as a red icon with a graphic representing three airflow parts, and also within the research area after selecting a new part, which tells you how many days until the next ATR period resets.
Applying the most amount of hours and engineers on one specific part each time can easily maximise the potential of your car for the next season.
Strategy tips
Forgotten to add a strategy to your drivers or missed out on the rain? Never fear, as this can be easily accessed and changed during a race.
Simply click on the strategy view on the top right of the screen, and you can adjust strategies on the fly and view conditions according to the track and your cars.
his information is exactly what you’d find in the pre-race section, so there’s no panicking to be had if you’ve been caught in an unexpected downpour.
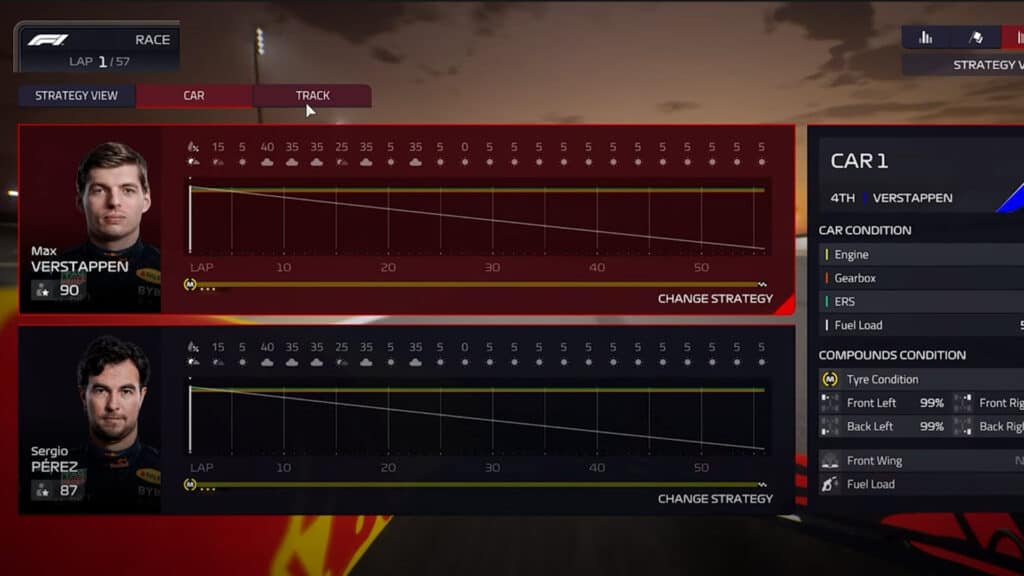
One thing we missed early on is adjusting the driver’s pace according to specific tyre stints. You can change this while editing a strategy, which also gives you a prediction of grip levels as the race goes on
This is crucial if you want to experiment with a start on the soft compound with an attacking pace, and then pitting for hards with a conserving pace target. Just remember to update and select your strategy, however, as your driver will come on the radio and shout “Stop Inventing”.
Perfect race starts
You’re now in the top 10 with an incredible beast of a car, but how do you get the perfect start for almost every race? Rather than adjusting the pace targets while the race is going on, you can set this before it has even begun.
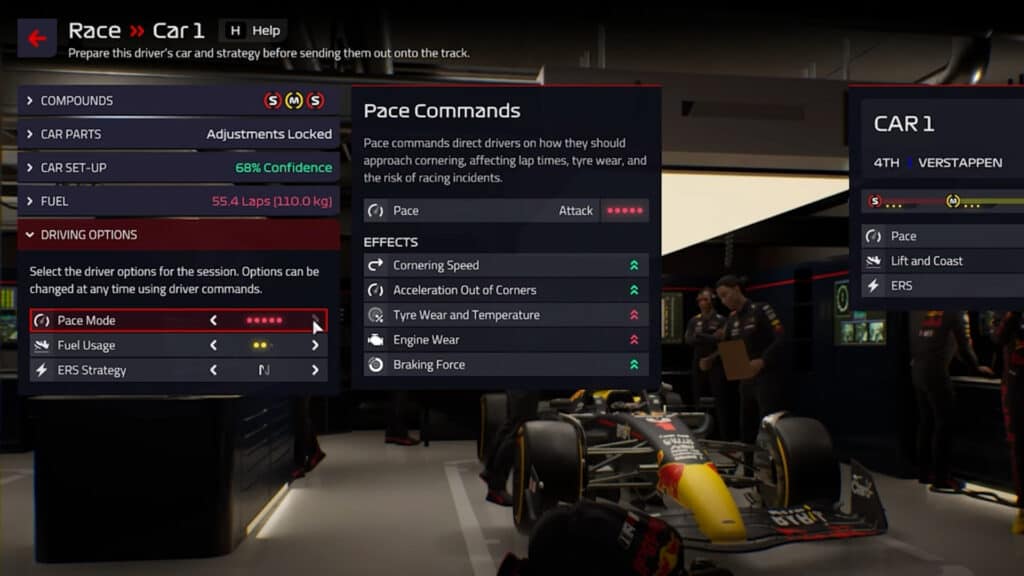
On the pre-race screen, simply click on the driver options tab at the bottom of the UI, and then set the pace mode to attack, the fuel usage to push, and the ERS strategy to Overtake.
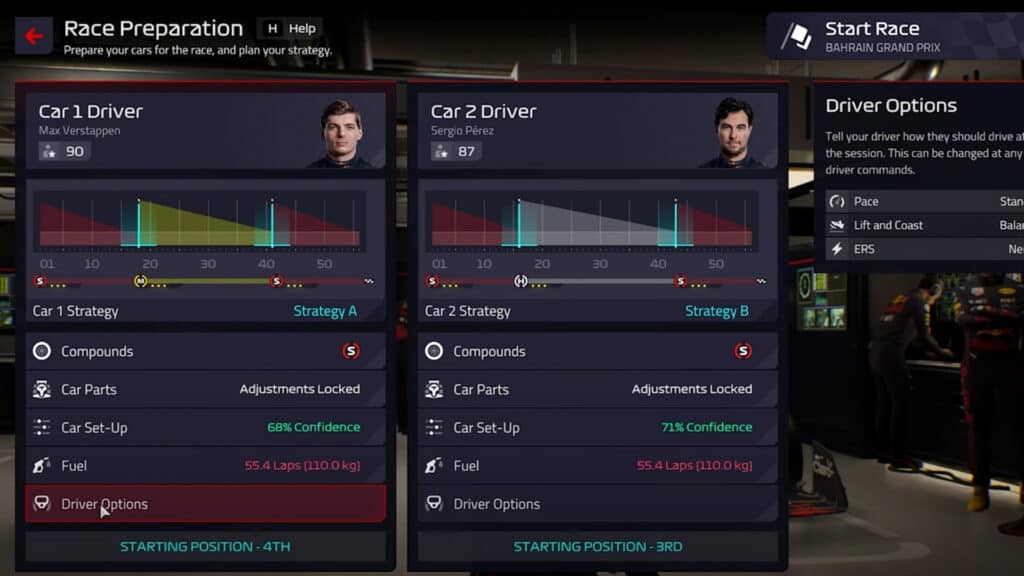
This ensures the fastest launch you can provide to your drivers which hopefully leads to a good bunch of positions gained within the first lap. Just remember to turn these down afterwards however, as you don’t want to be left in the dust within the second lap due to the lack of ERS.
Save regularly
This is the most crucial point about this game that we can recommend. Save your game regularly, whether that’s overwriting your save or making backups as you go along, otherwise, you might end up accidentally replacing your main auto-save file when starting a new career.
At this current time, there is only one slot for the autosave file, and it is replaced instantly whenever you progress through the career.
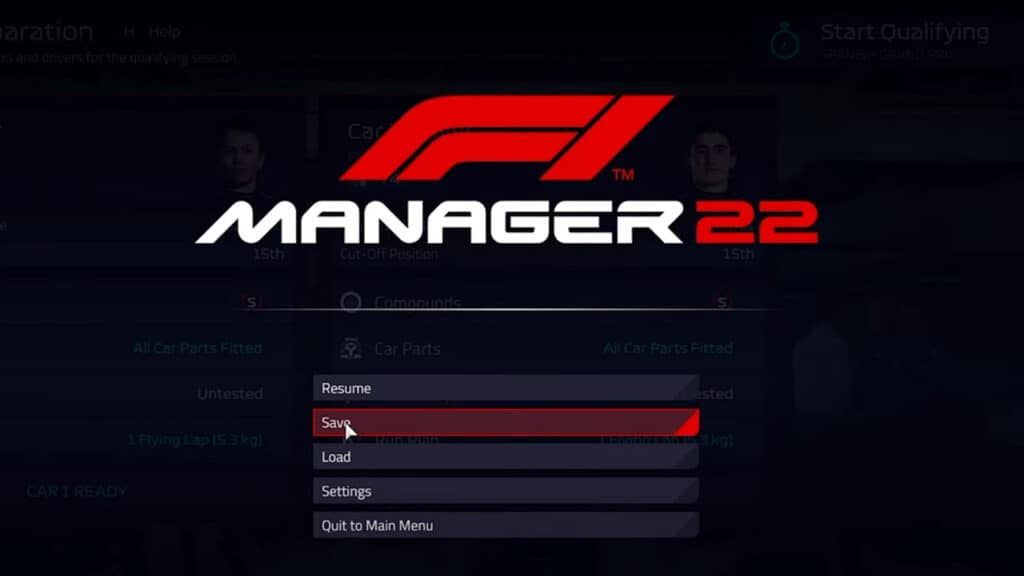
When it comes to loading up a different career, this autosave file is instantly overwritten with the latest progress on your screen, and your old auto-save file is lost. Make sure to save regularly, so the hours and hours of progress spent on your team aren’t lost forever. Or don’t, if your name is Jüri Vips…


