With WRC 10’s release on the 2nd of September came new opportunities for fans to engage themselves within the sport of rallying. Many of you who plan on purchasing this game will of course already be well acquainted with the rally gaming genre, but what if you are new to the concept?
Maybe you are a rally fan who wants a shot of driving rather than simply watching, or maybe you are a gamer that wants to try kicking up some dirt of your own for the first time?
Well, if you could describe the sport of rallying in two words, unfortunately, those two words probably wouldn’t be “Beginner Friendly”. It’s tough, it’s ruthless and it can be a little daunting at first when squeezed into a video game.
Thankfully that is where we come in. The aim of this video is to help you understand how to get the most out of wrc 10, improving your results in the process. So buckle up, apologise in advance to your co-driver, and activate your launch control as we run you through our tips and tricks for WRC 10.
Listen to, and set-up, the co-driver
The only type of motorsport where the passenger has as much control over the outcome as you do is rallying.
Understanding your co-driver and their pacenotes is critical to staying on the road and setting fast stage times. So important in fact, that we are covering it before anything else.
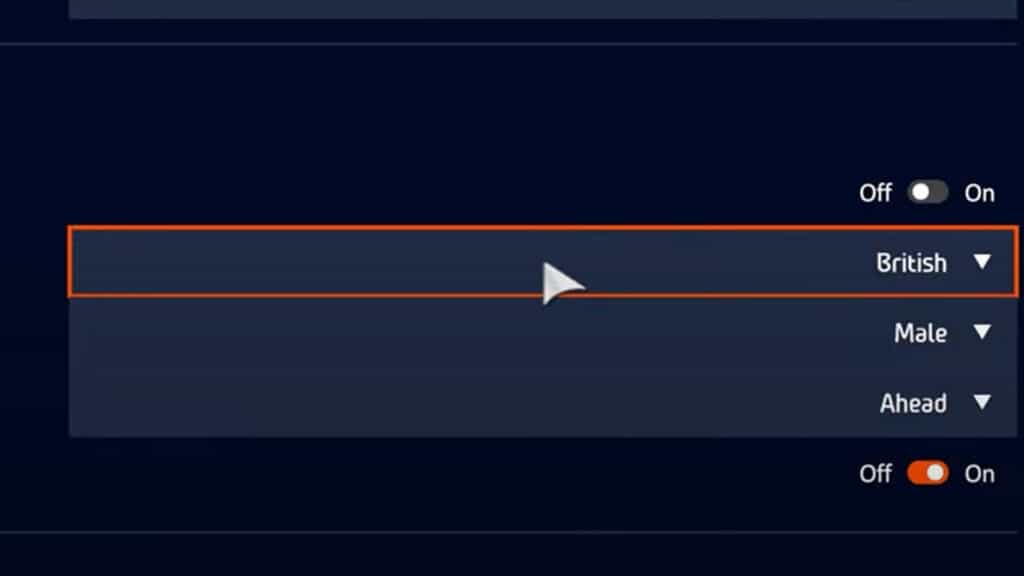
Hearing your co-driver is one thing but understanding them is quite another. Thankfully, there are six languages to choose from, these being English, French, German, Spanish, Italian and Japanese. If you like your notes in English, you also have the option of a female voice which is a nice touch.
The pace notes that these co-drivers read are the important part, as they guide you through each individual stage, warning you of the perils that lie ahead. These may sound a little daunting initially, with lots of numbers and words being thrown your way whilst you try to wrestle a 380-horsepower rocket ship. Multi-tasking is tough, I get it. Don’t worry, we are here to help, so I’m going to run you through some of the basics of pace notes.
Pacenote numbers
The most common instruction you will hear will be a left or right followed by a number between one and six. For example, “left three” or “right five”. This is telling you which way the corner is going and fast the speed should be taken. One means a very tight and slow corner, six means a very fast and open corner, and the rest fall into place in between.
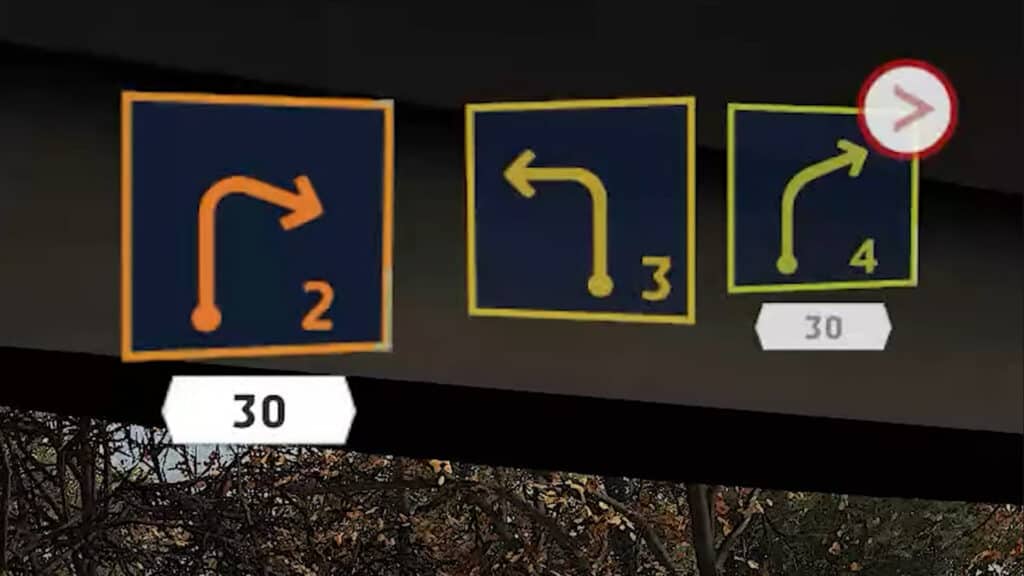
A common misconception is that this number indicates what gear you should be in for each corner. This isn’t strictly true. Having said that, however, it can often line up nicely as tighter corners with lower numbers will require lower gears.
Other corner types you may come across include hairpins, which are nearly 180 degrees, square lefts and rights which are 90-degree corners and flat left or rights, which are, you guessed it, flat out.
Corner and distance desriptions
If you hear short, medium, long or very long in a pacenote, that is referring to the length of the corner and if you hear a number such as 50, 100, or 150, these are the distances between the corners. So, if your co-driver says “right 4 long 70” they mean there is a long, medium-speed right-hander coming up, followed by a 70 metre straight.
Once you have nailed the descriptions of the corners, you can then listen out for the details that will give you that extra edge.
Adjust the co-driver timing
To avoid unscheduled meetings with the scenery, we would recommend making one more change, and this one is important; the co-driver timing setting.
There are five options to choose from, and this affects how early or late the codriver calls out the relevant pace note before a corner. Set it to very late and they will tell you about the corner you are currently crashing into, set it too far ahead and they will tell you about the corner you will arrive at in about five-10 seconds time.
This is a balancing act but generally, I’d recommend never using late or very late. Try using the ‘ahead’ setting, otherwise, you will find that as you get faster, the notes begin to come in a little bit too late for you to react in time.
There are a few specific buttons you will want to map which will make your life far easier when charging through a stage. Aside from your basic driving controls, you will also want to have buttons mapped for your handbrake, your lights and your windscreen wipers.
The handbrake, we will get to later, but make sure it’s in an accessible place on your controller or wheel that’s easy enough to find and press whilst you are turning into a corner.
Use your lights
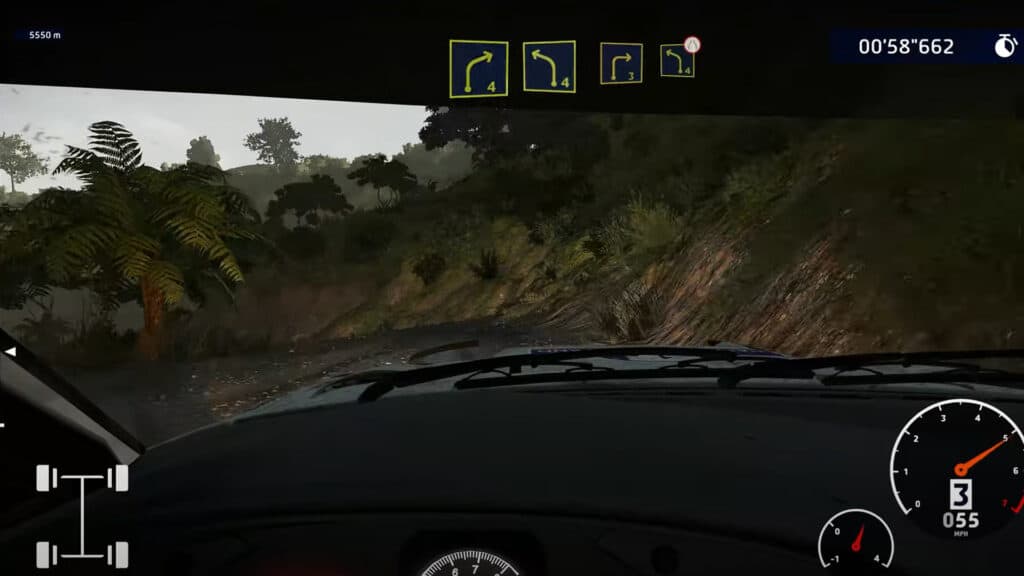
The lights are important as this game can be a bit dingy at times, especially when the sun is having a snooze or you are under the trees. This can often happen when you don’t expect it, such as arriving at a hairpin, hidden by the shadows. I’d therefore recommend sticking your lights on during darker stages and leaving them on throughout.
Use your wipers
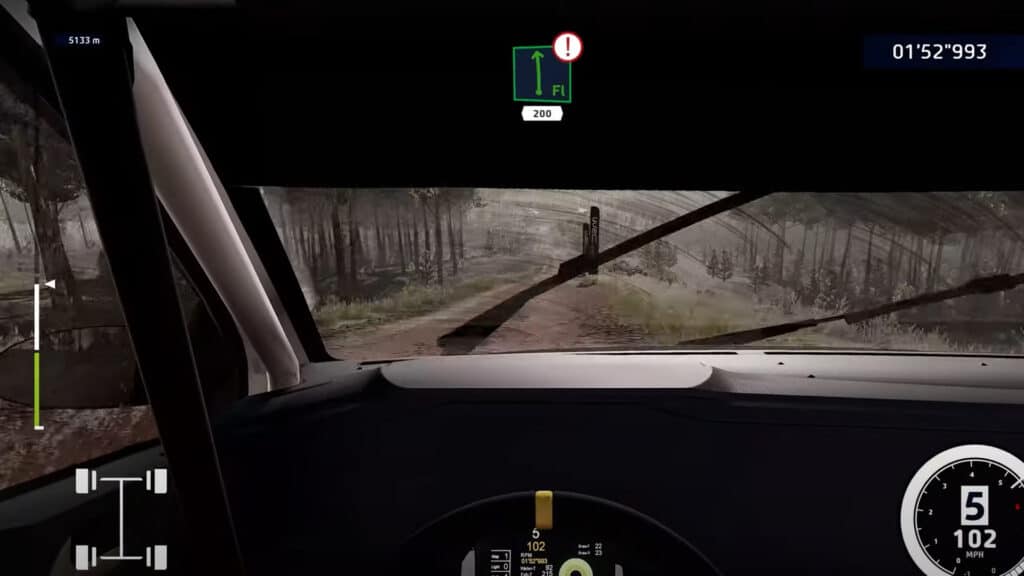
As for the wipers, well they don’t only help you in the rain. If you use either of the available cockpit camera angles, you will notice that your windscreen gets covered in dirt during gravel rallies. Instead of spreading the mud across the windscreen like they might do in real life without water, they actually clean your windscreen, so use this to your advantage and turn them on briefly anytime your vision is obscured.
Driving Assists are a big help
People are constantly telling others not to use assists, “it’s not realistic”, “you aren’t a real racer” etc.
The thing is, even if it is more realistic without assists, this is fundamentally a game. It needs to be fun, and the assists are there for a reason, plus, they are optional. There is nothing wrong with using assists if you need them, after all, there is no point crashing at every corner whilst you are still trying to learn the mechanics of the game. You will learn far more by finishing the stages with fewer incidents, and it will leave you less frustrated.
ABS and Traction Control
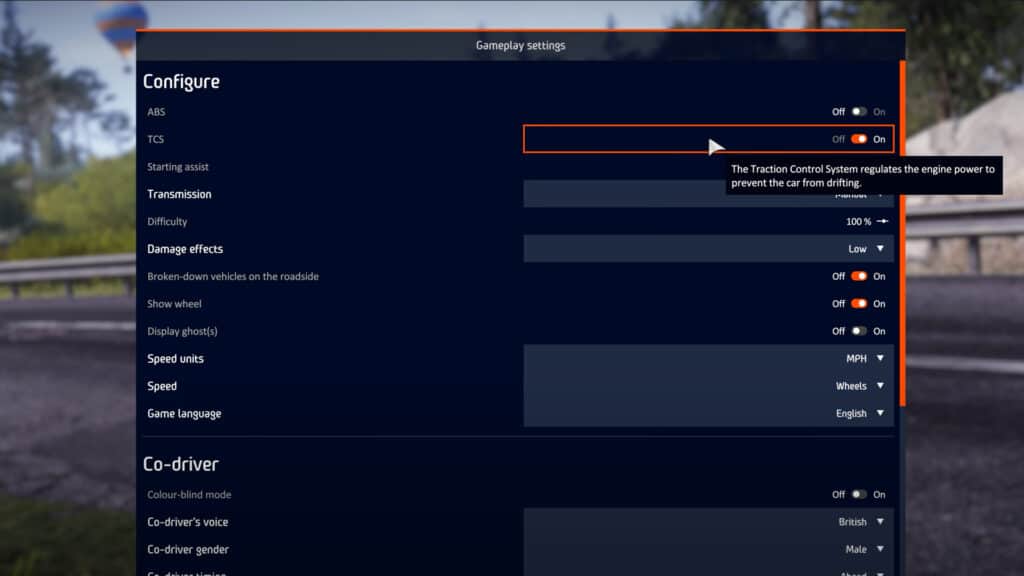
The first two options are ABS, which stands for anti-lock brakes and TC which stands for Traction Control.
ABS can be left on if you want to avoid locking up your brakes heading into a corner, and this can help you focus on other aspects of the driving. TC limits the power being sent to the wheels depending on how much grip is available, so turning this on will leave you less likely to spin when you apply the throttle. If you are struggling, turn both of these on.
Then, once you get comfortable and are more used to controlling the car, try running with your TC turned off. Finally, once you have nailed this, you can try turning ABS off and now you will need to be smooth and calculated on the brake pedal as well as the throttle.
Starting assist
The next option is a starting assist, this will basically just prevent you from jumping the start and incurring a penalty. This one is entirely up to you, but again if I had to recommend something, I’d say start with it switched on and focus on learning the WRC 10 driving technique first.
Semi-automatic gears
Then we have the transmission, which is your gearbox. Manual means you will have to change gear yourself, whilst semi-automatic means the game will change gears for you, although you are able to override this. My advice? Stick to automatic if you are new to racing games or rallying, and only once you are familiar with the driving mechanics and the timings of the gear changes, only then switch it to manual.
Manual gears are quicker once you are used to them, but there’s no shame in using the semi-automatic option at first, especially when playing with a gamepad.
Damage settings
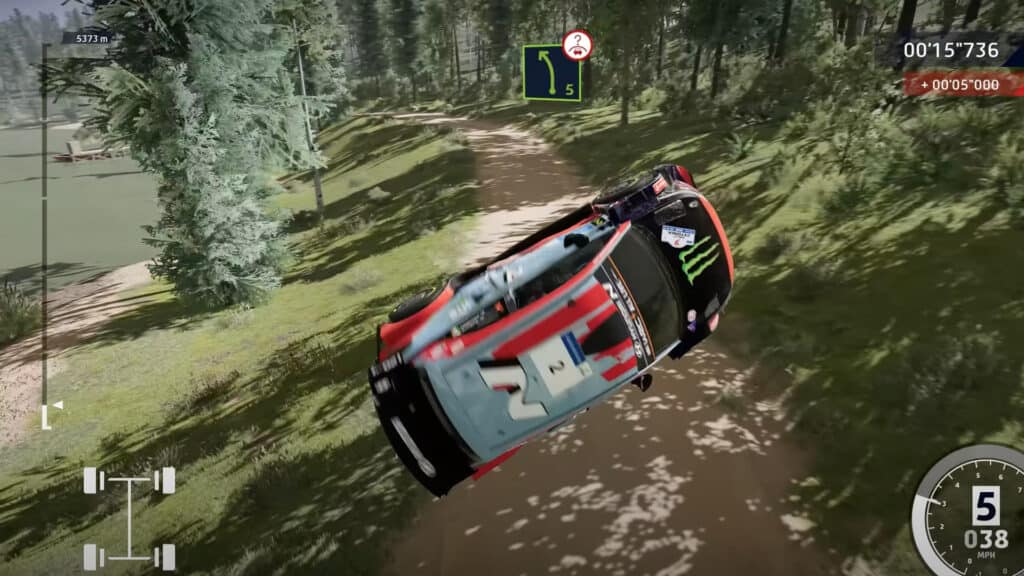
We all want to smash up our rally cars when playing games, but this can affect how the car handles and ruin your stage early on. To start with, I’d suggest starting out with damage set to low or visual only.
Realistic damage is cool if you are trying to simulate the real challenge of rallying, it adds an element of jeopardy which is undoubtedly fun and will help you learn how to avoid crashes. But, at the same time, if you are crashing out of stages and rallies in the opening few corners each time, you aren’t really learning much. It’s definitely something to build towards, just like many of the other assist options.
Steering sensitivity
There is one more setting I want to touch on before moving on, and that is the steering sensitivity. We found that when using a controller, you will probably want to turn down the steering sensitivity for both left and right (yes that’s a weird setting) in order to avoid overcorrections and tank slappers.
On a wheel peripheral, it’s better to turn it back up again, as this will give you more precision.
Pre-stage preparation and tyre selection
It is always good practice to check the stage conditions before jumping in the driver’s seat. What is the weather like? Does this mean I should expect less grip than last time? Is it fully gravel, or will there be large tarmac sections? How long is the stage?
All of these factors should influence your decision on tyre choice, and how you chose to attack the stage. For example, if you have a long stage that’s 20kms in length, you will need to use harder tyres so that you will have consistent grip throughout, and you may need to take it easy at the beginning to avoid having to drag a damaged car all the way through.
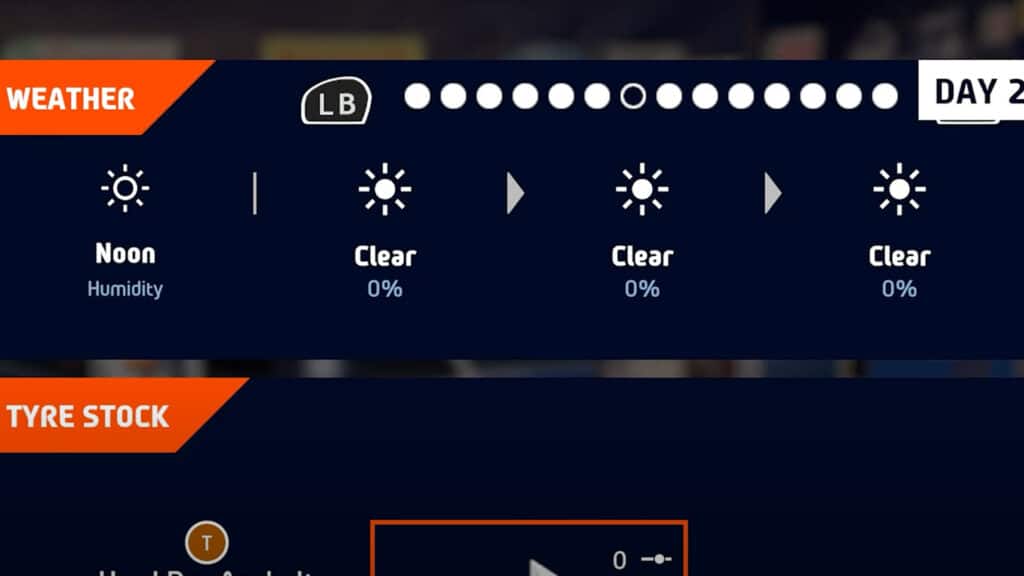
If it’s a shorter stage, you can use softer tyres that offer more peak grip and maybe you can push a bit harder.
When you are competing in longer events, however, with multiple stages in a row, then the tyre choices become a little more complex.
At the beginning of each rally, you are asked to select your tyre allocation for the event. It is important here to take a look at the weather conditions for each of the stages so that you can decide how many wet tyres you want to give yourself as an option. Unfortunately, at the time of writing, there doesn’t seem to be any way of viewing the actual stage lengths or surface types before confirming your tyre allocation. As of right now, the best option will be to take a range of harder and softer tyres to give yourself as much flexibility as possible.
Once you have started the first stage, you will need to know the colour code for each of the tyre compounds as this is the only information you will be given throughout the entirety of the rally.
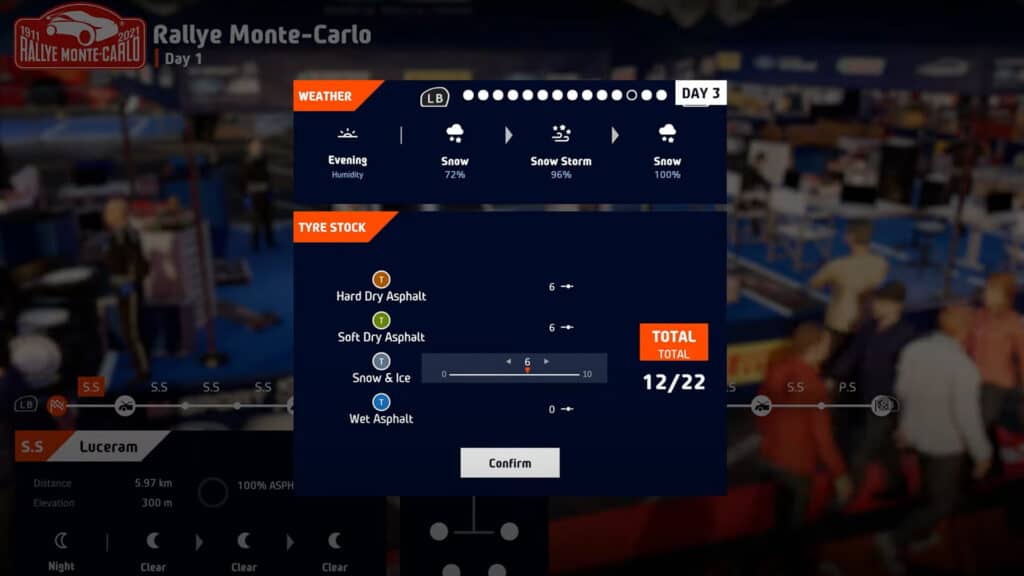
- Green signifies the softer tyre option for both asphalt and gravel
- Red signifies hard gravel tyres
- Brown signifies hard asphalt tyres
- Blue is the wet asphalt tyre
- Grey is the studded, ice or snow tyre
You can even try mixing compounds amongst the four in use. I’d recommend, on a stage with a mixture of ice and dry tarmac, for example, experimenting with a diagonal mixed compound setup. So maybe a dry front left and rear right, with an ice tyre on the front right and rear left.
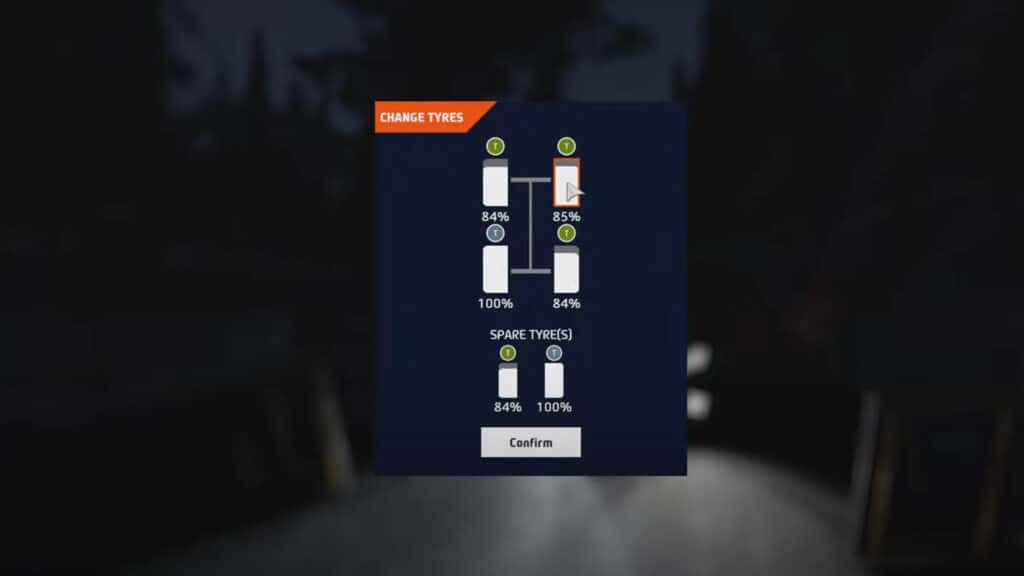
Someone called Sébastien Loeb used to do this, and he did alright you know…
Oh, one more thing on tyres. Use your spares to your advantage. They will give you more grip when you need it the most, so don’t forget to put them on if you have plenty of sets to work with!
Esports professional advice
To wrap things up, we spoke with 2020 and 2021 WRC eSports Grand Finalist Izamusing, who has very kindly offered to share some pro driving advice.
The first point of note is about using the handbrake, or as he likes to call it, the ‘fun lever’. It’s actually less useful than you might think, so even though it may be tempting to pull it every time you come across a corner, he suggests only using it for a very tight hairpin or when it’s your only way to try and avoid a crash.
Modern rally cars have tons of downforce, and according to Izamusing, this requires a smooth driving style, especially at higher speeds. Try to focus on keeping the momentum moving forwards rather than sideways, basically keeping the car facing forwards as much as possible and avoiding massive drifts. He suggests using no more than 45 degrees of slip angle if you want to optimise your speed.
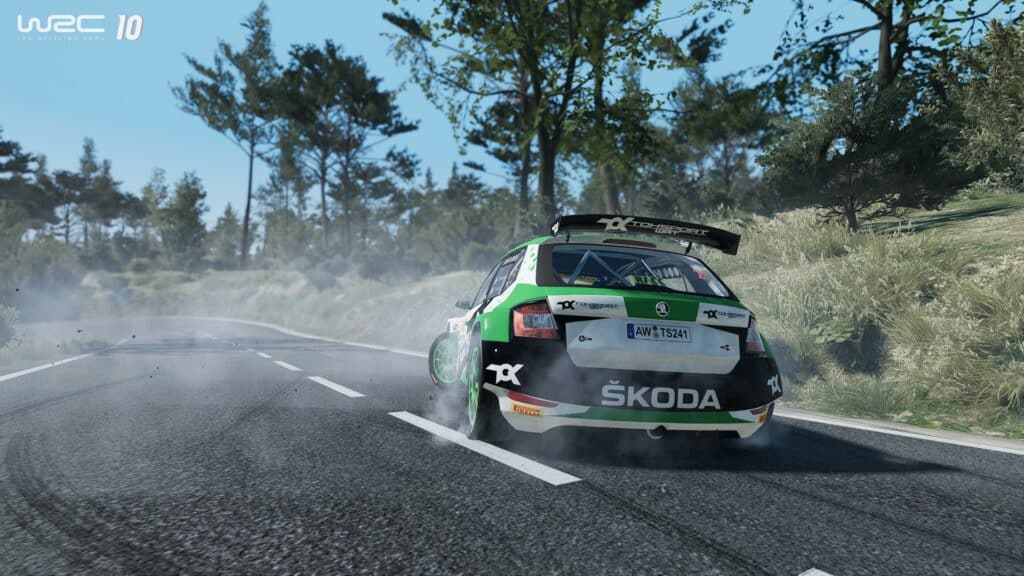
If you frequently lose control mid-corner, but your speed is adapted to the corner, try using a bit of brake and throttle at the same time to balance the car (using your left foot on the brake pedal).
It takes a lot of practice but rewards you with a lot of confidence. You can even tap the brakes while steering to quickly change direction at high speed.
One more tip for drivers looking to take their speed to the next level: If you haven’t had at least a close call while driving fast on a stage, you weren’t going fast enough for your level of skill!
A massive thanks to Izamusing for those tips, and make sure you go and follow him on social media.
Do you have any more tips and tricks for WRC 10? Let us know in the comments below!


