While rFactor 2’s latest v1.1128 release candidate (13th April 2022) brought a host of sound and particle effects updates, in the background it also quietly introduced a new photo mode to Studio 397’s ever-evolving racing sim.
With only a one-line mention in the update notes –”Extended Freelook mode to allow control via joypads as well as adjustments of exposure, aperture, sensor size and focus” – I wanted to see what kind of impact this has on taking screenshots in-game.
The fact you’re reading an article about it probably gives the game away slightly… it’s ace!
I remember when this was all depth-of-fields…
Throughout rFactor 2’s long life, it’s lacked the kind of photo mode to match rival racing games like Assetto Corsa and Project CARS, as well as more modern rivals such as Assetto Corsa Competizione, Gran Turismo 7 or iRacing.
However, Studio 397 has now introduced separate adjustable settings for camera Aperture, Sensor, Focus and Exposure. This is an attempt to mimic real-life motorsport photography parameters in-game, and anyone with real-world motorsport photography experience will feel right at home immediately.
I’ll explain what each parameter is and what it does, plus offer tips on how to take the best-looking in-game shots in rFactor 2‘s latest release candidate.
New freelook camera functions
The following is a list of mappable functions that arrived with release candidate V1.1128 for rFactor 2. I’ve added a note on their basic function too (after my limited testing):
- Freelook enable – enables the freelook camera
- Freelook reset – returns freelook camera to starting position
- Freelook focus tracking – tracks the car you’ve focused on – ideal for shots containing a group of cars.
- Freelook focus increase – focus point is deeper into the image
- Freelook focus decrease – focus moves towards the front of the image
- Freelook aperture increase – sharpens up background details – more like the previous rFactor 2 look
- Freelook aperture decrease – blurs background and foreground depending on the focus point
- Freelook sensor increase – blurs up background and foreground
- Freelook sensor decrease – sharpens up background and foreground
- Freelook exposure increase – makes the overall image brighter
- Freelook exposure decrease – makes the overall image darker
To take a photo in-game, first ensure you set the game to save replays. Pick your car, track and session type and head out on track, making sure to select your desired weather conditions and time of day. Top tip: a wet track looks great in the sun!
View the replay and use the on-screen controls to fast forward, rewind, pause or run the action in slow motion until you find a potentially great angle. Pause by pressing the spacebar, or use the mouse to click the on-screen pause icon. Now press the U key to enter freelook mode.
Once there, you can use the W, A, S and D keys to move forwards, backwards, left and right, while the mouse controls direction. Make sure to map other camera control buttons like Increase/Decrease FOV (pitch), Cam zoom in/out, Cam move up/down and Cam tilt left/right.
You can also adjust the speed at which the free camera moves by editing the Controller.ini file, located in your rFactor 2\UserData\Player folder. Don’t make it too speedy though, as it’ll be a nightmare to control! You can also map a ‘Cam move slowly’ key to compensate.
Say cheese
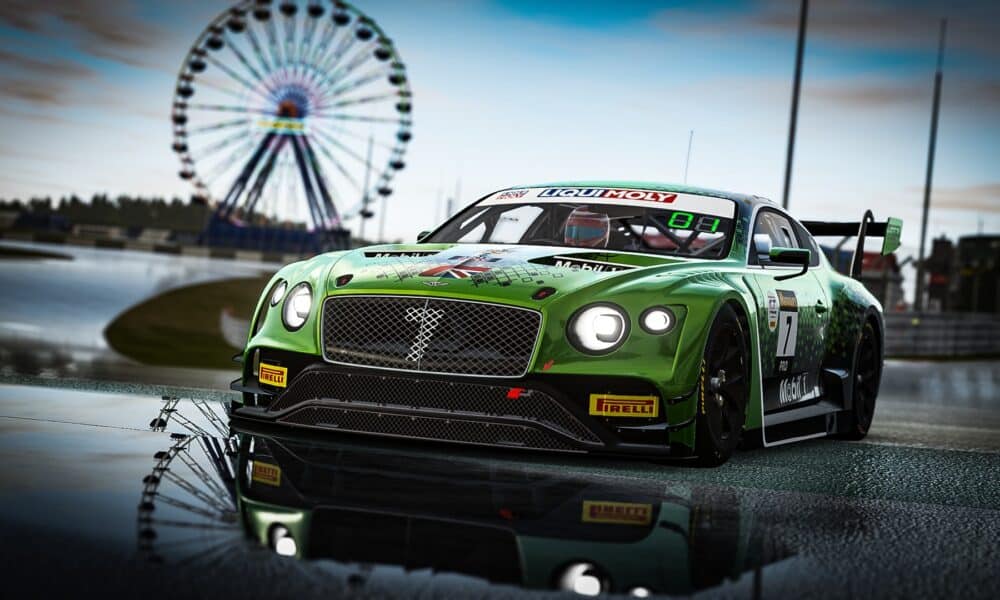
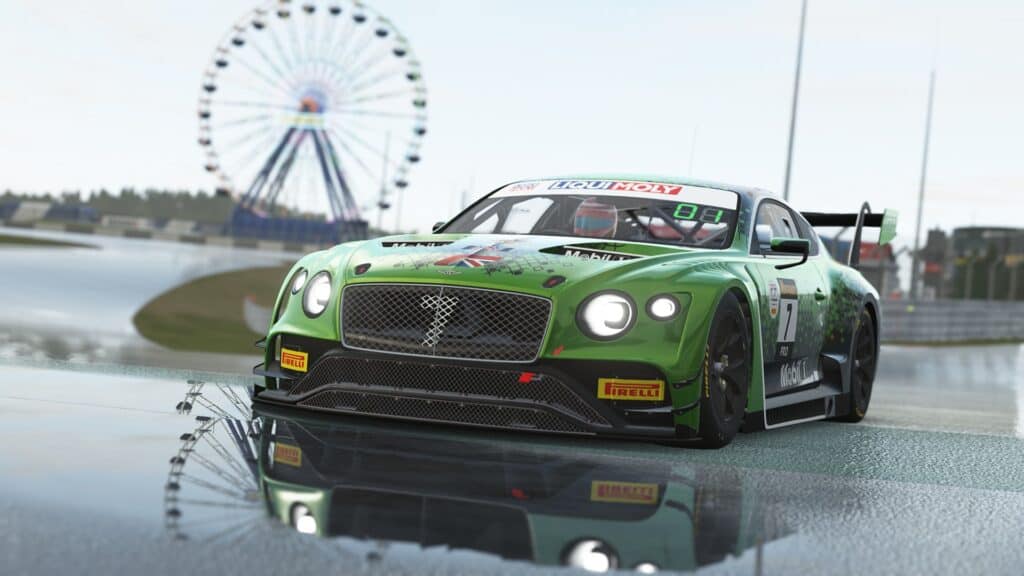
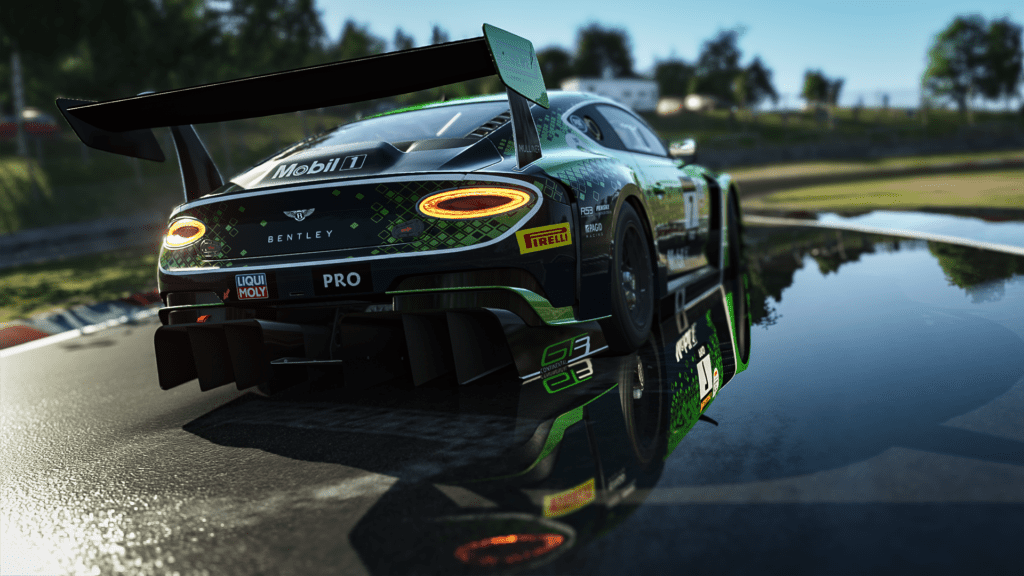
So, the following is a shot of my Bentley after using the U key to move the camera to my desired position. The first thing to do is use the Freelook focus increase/decrease keys you mapped earlier to get the focus right for the next stage. Pressing and holding the keys is how you implement the effects. Be patient, it can take a while!
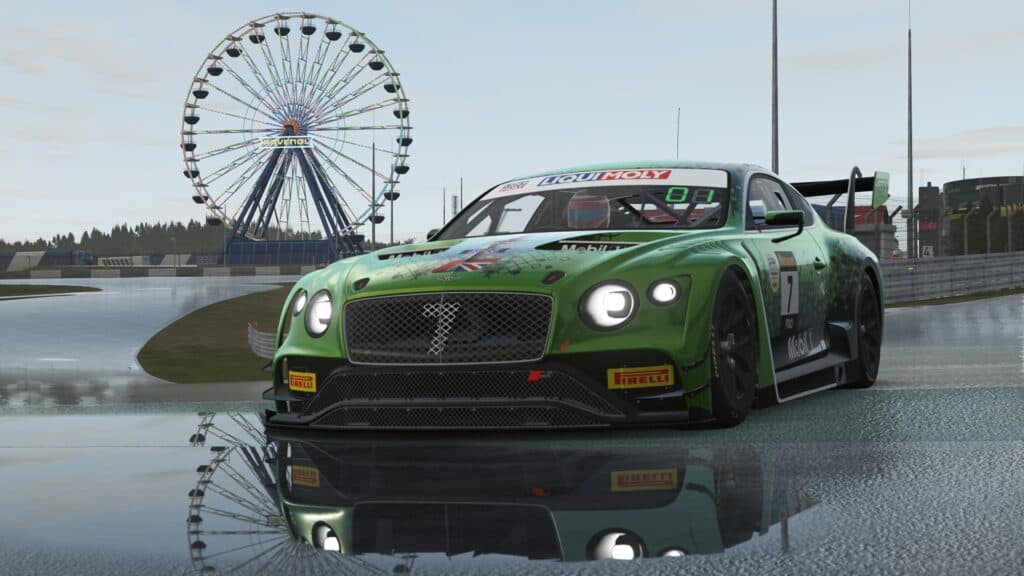
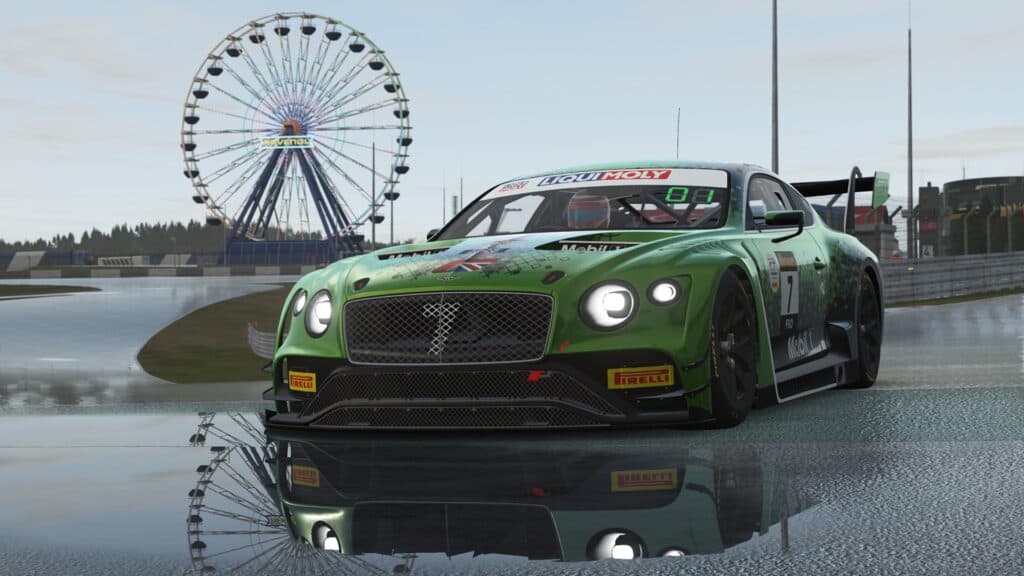
Doesn’t that Bentley look mean next to the Ferris wheel? Juxtaposition, innit? The next photo shows the focus after it has been adjusted where I want it – at the front of the car, incorporating the reflective puddle.
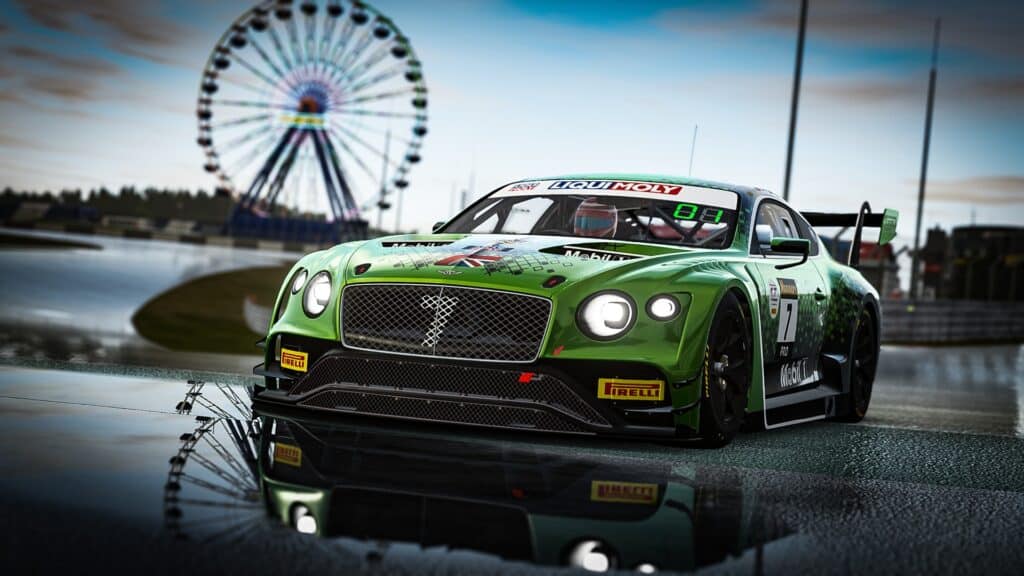
The image doesn’t ‘pop’ as much as it should just yet, but we’ll see some cool stuff in the next stage.
Next, we adjust the Freelook aperture increase/decrease setting to get just the right amount of background and foreground blur to achieve a nice depth of field effect.
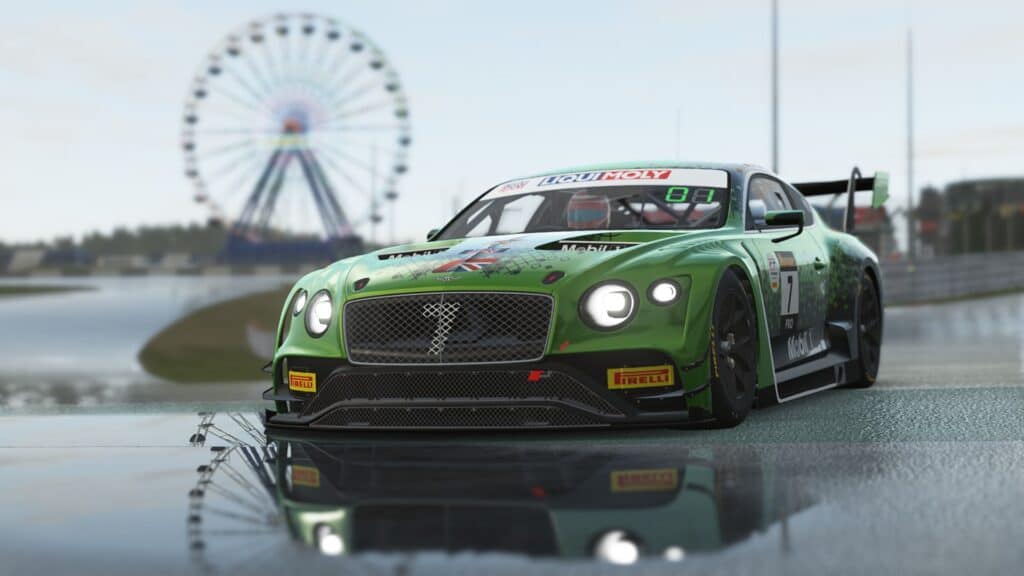
That looks a bit better now, so I’ll try the Freelook sensor increase/decrease setting to see what effect this has. I’ve also added an interesting little camera tilt to proceedings too. Jaunty.

As you can see, Freelook sensor increase/decrease fulfils a similar function to Freelook aperture increase/decrease, so it seems like you can adjust one of these to achieve the same goal. Below I’ll show what Freelook exposure increase/decrease does to the image.

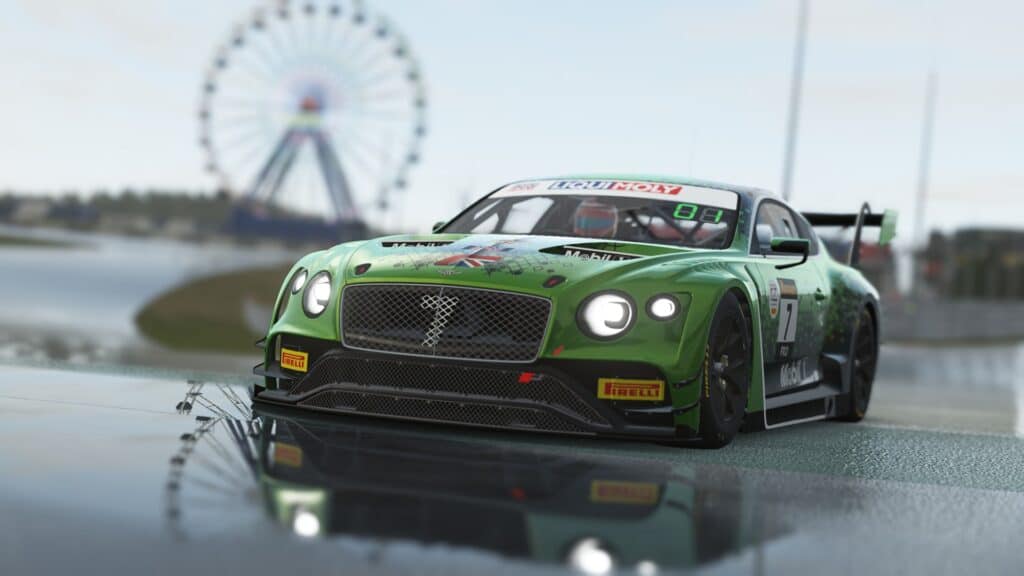
Increasing exposure lightens the image, while decreasing the setting darkens it. Because the scene is quite dark, I’ll stick with lightening it a tad, and adjust a couple of effects in Adobe Lightroom to finish it off.
And here it is. I’m sure you’ll agree, it makes rFactor 2 look outstanding and doesn’t require a bunch of legwork or Photoshop skills to obtain a high-quality image.
Please Release Me
If I were to criticise at this stage, I think the extended Freelook mode requires its own bespoke photo mode HUD, with numeric figures representing the changes you’re making.
That way we can see what we’re adjusting and what effect it has on the image, and the process is repeatable. For example, Aperture should be displayed as an F-stop number, like the photo modes in Gran Turismo 7 and Assetto Corsa Competizione.
Another issue is the Freelook sensor increase/decrease option provides the same effect as Freelook aperture increase/decrease. In real photography, the camera sensor picks up light information coming from the lens via shutter speed and aperture settings. This isn’t what rFactor 2‘s Freelook sensor setting is doing.
Barring these minor quibbles, the overall effect of the new Freelook mode controls is hugely positive, and with a bit of tinkering can really show rFactor 2 in its best light. Do you think the new photo mode should be added to the next build of rFactor 2? Let us know in the comments below.
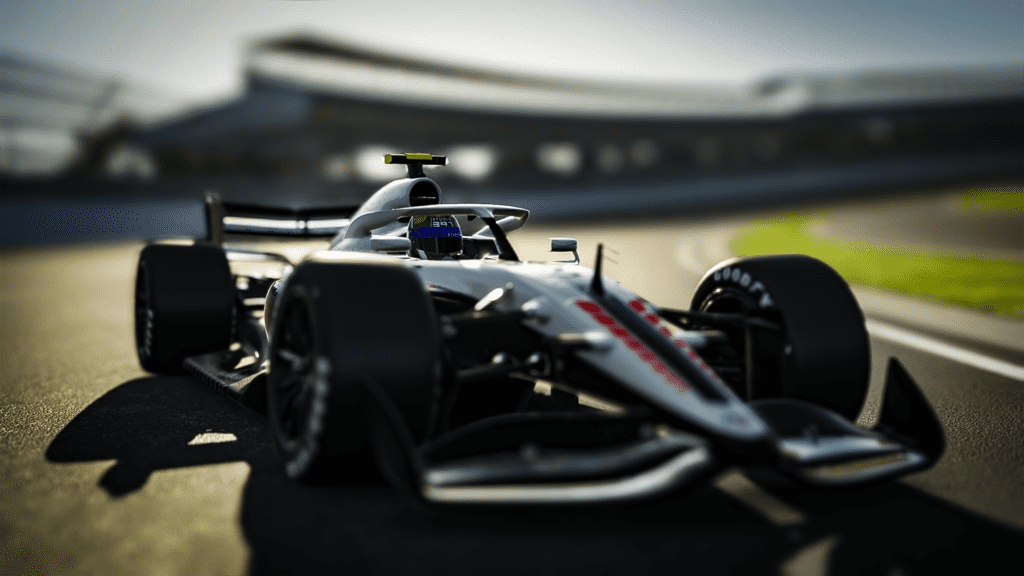
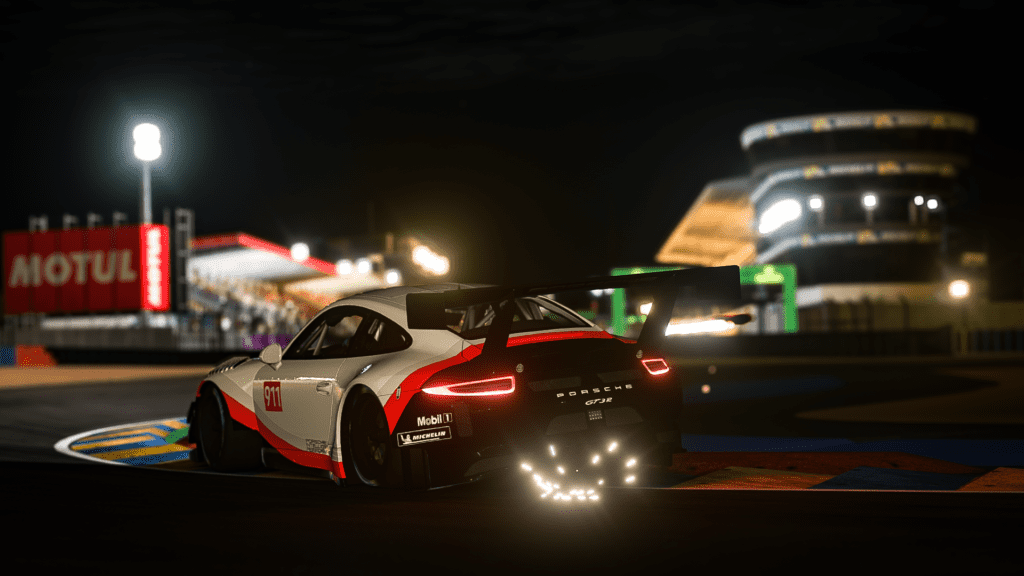
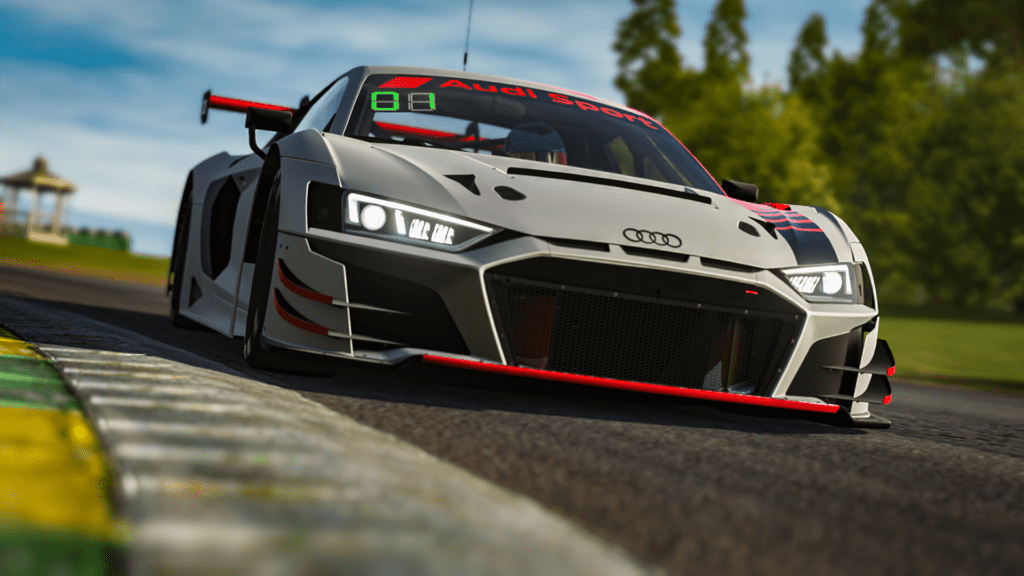
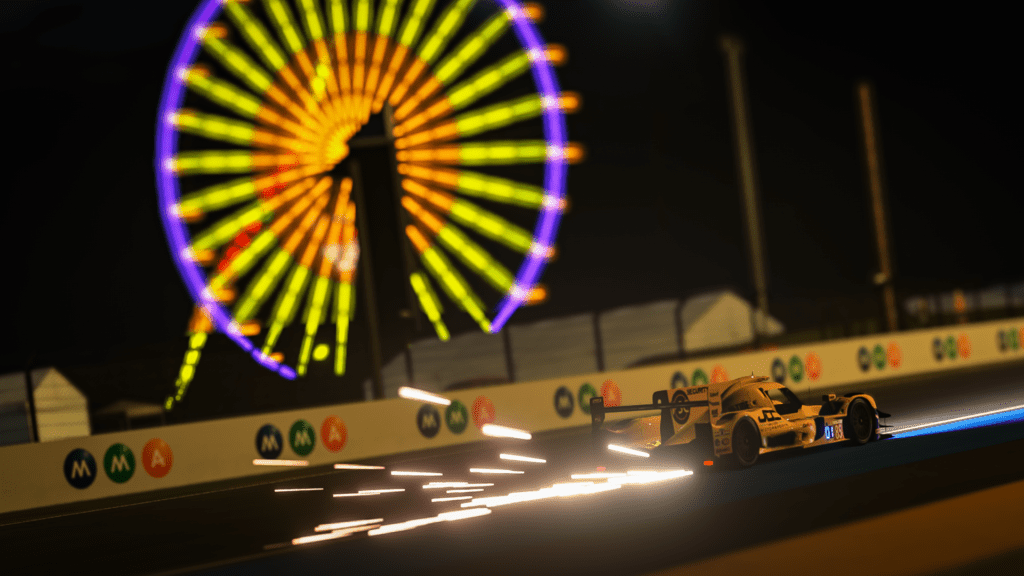
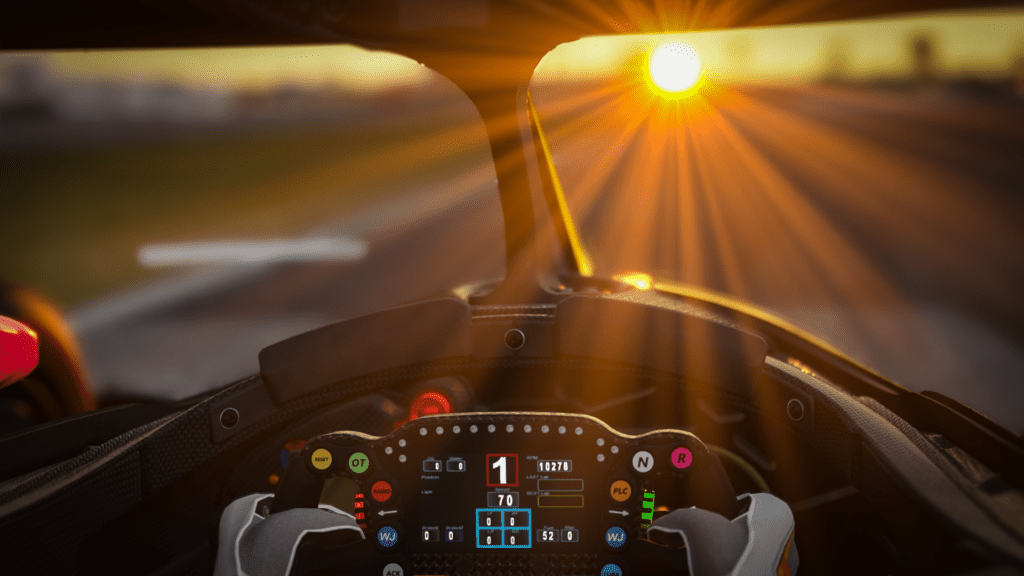
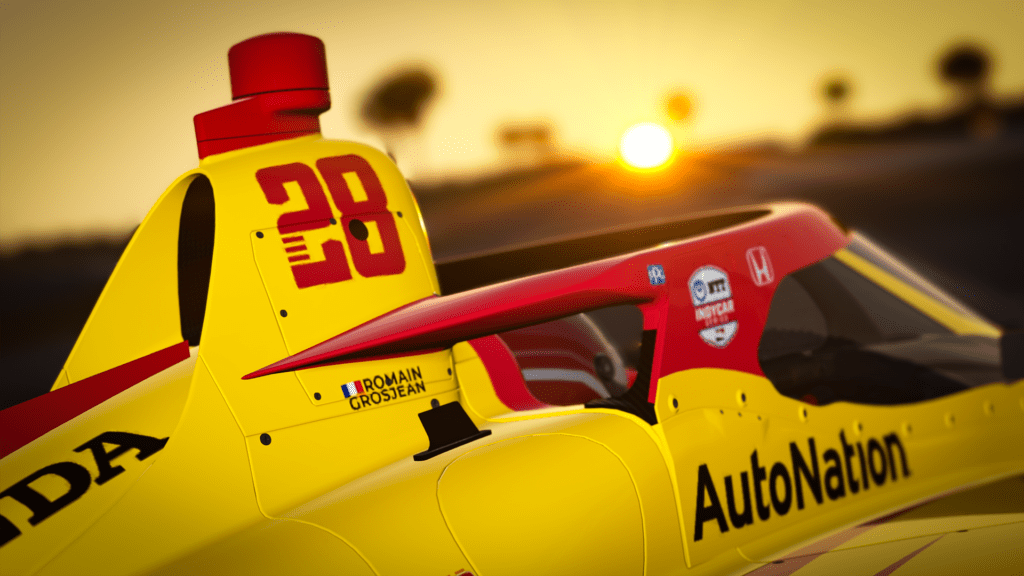
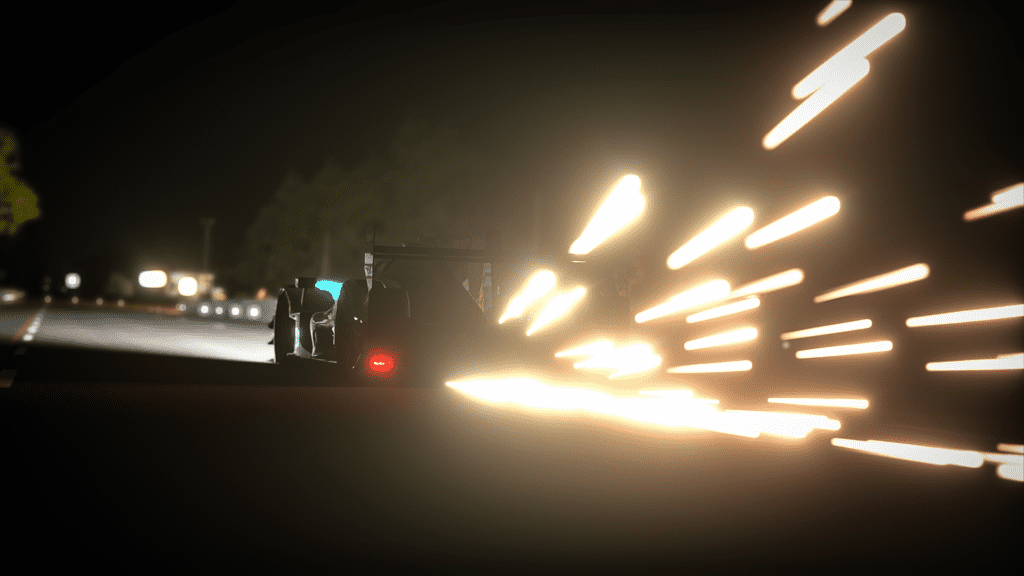
Here are a few more photos from my brief experiences with the new photo mode features:
Full disclosure – Traxion.GG is part of Motorsport Games and the Motorsport Games family of brands. All Traxion.GG content is editorially removed from Motorsport Games video game development and created by a dedicated team.


Chat with the Community
Sign Up To CommentIt's completely Free