Way back in March this year, we published a guide to creating lifelike screenshots in Assetto Corsa Competizione. At the time we said “…despite the limitations in Assetto Corsa Competizione’s screenshot mode, it can undeniably produce excellent images. Although the user interface is a little clunky at the moment…”
With the recent v1.8 update to the game this week, there are several significant additions to its PC-only Cinema HUD photo mode. Here’s how to maximise it and create amazing photos in-game.
Graphics Settings
A lot of the graphics settings used before the v1.8 update are still relevant now, but you’ll now notice the addition of DLSS and FSR.
If you have a nice and expensive NVIDIA RTX graphics card, then by all means turn DLSS (NVIDIA Deep Learning Super Sampling) on – it provides a lovely little FPS boost and maintains image quality at the same time. If you don’t have one of these cards then FSR (AMD FidelityFX™ Super Resolution) will provide a solid improvement too.
Before the update, when I maxed my graphics settings out to take screenshots, my frames per second dropped to around 15fps. After the update however, Assetto Corsa Competizione (ACC) sits comfortably above 30fps. I need to stress that I’d never use these screenshot-only settings during a race as when you add other vehicles – or even inclement weather – to the mix, expect significant frame drops.
It’s a good idea to save the below settings as a bespoke screenshot-only graphics preset, then create a separate graphics profile for online racing so you get a smoother experience.
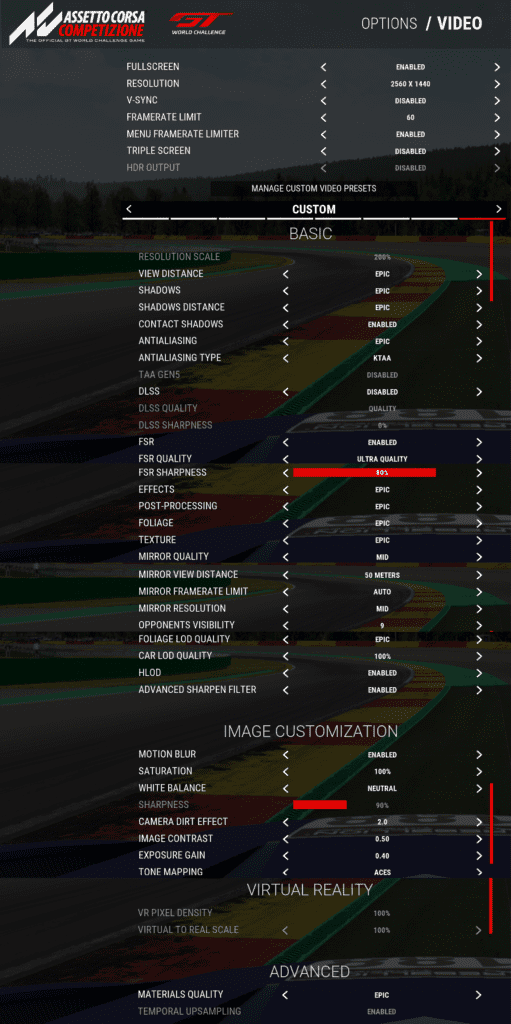
My normal racing graphics profile is called ‘Potato esports’…
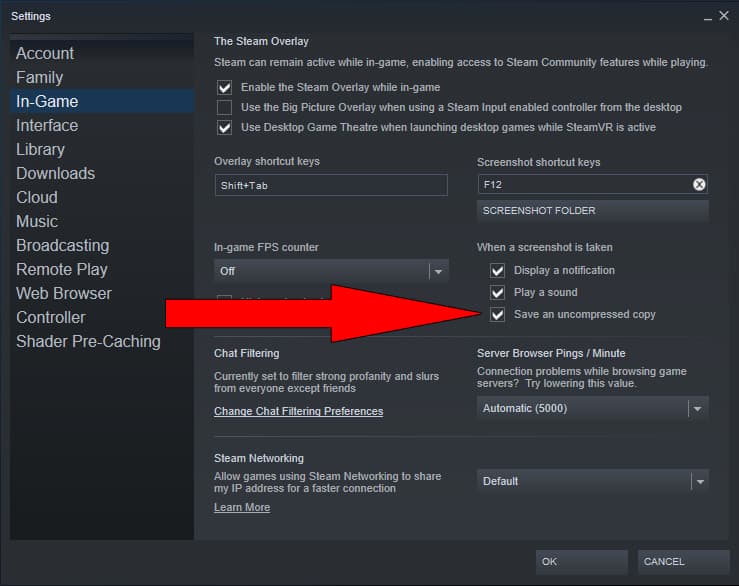
As before, to achieve the best quality screenshot file, enter Steam, head to ‘Settings,’ then ‘In-Game,’ and check the box that says ‘Save an uncompressed copy.’ This saves the screenshot as a PNG file instead of just a JPG.
Photoshoot
So, onto the nitty-gritty of the new Cinema HUD screenshot mode in Assetto Corsa Competizione. How much has changed?
Well, the entire Depth of Field menu is completely different for starters, with only six options available for adjustment – reduced by two from the previous build. To see the new menu, enter a replay, then double-click your mouse scroll wheel to bring up the Cinema HUD. Next, to ensure you activate depth of field blur effects, switch ‘Depth Effect’ to ‘Enabled.’
Now, press F7 to enable the free-camera, and move it around using the directional arrows. If you have a gamepad, you can also use it to change position and other cool stuff like panning, but this is mainly for video creation, so we’ll move away from that just now, but it can be enabled in the ‘camerasettings.json’ file by activating the ‘useGamepadForFreeCamera’ setting.
You’ll notice this camera always follows your car’s movement, that’s because the ‘Follow Car’ option is set to ‘Enabled’ by default, and is the best way to get an in-focus shot of your car. Setting this to ‘Disabled’ gives you a genuine free-camera, so you can try some more experimental, arty shots, or even landscape images. We’ll stick with ‘Follow car’ enabled for now.
To set up my first shot, I’ve moved the virtual camera into a nice spot in the stands on the exit of La Source heading down to Eau Rouge at Spa-Francorchamps. As you can see, it’s blurry.
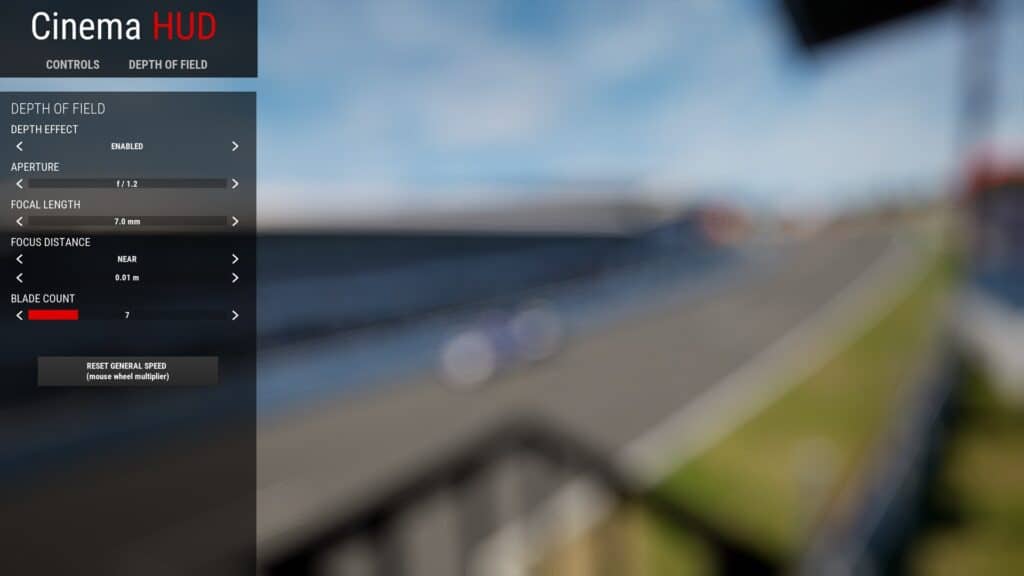
Let’s get rid of that then, shall we? Adjusting the ‘focal length’ changes the field of view (FOV) in-game, mimicking how a telephoto camera lens works.
This zooms the virtual camera in from your standing point in the grandstand (where presumably you’ve just spilt frites et mayo on your virtual camera bag). By then adjusting the focal distance you can sharpen up the focus on the car – Jonny Adam’s AMR Vantage no less.
Setting the focus distance to ‘Far’ is also important, as most of your in-game screenshots will not be close-ups. ‘Near’ has less adjustability in the ‘Focus Distance’ slider, as it is primarily for fine-tuning macro shots, where incremental changes make a bigger difference to the final image.
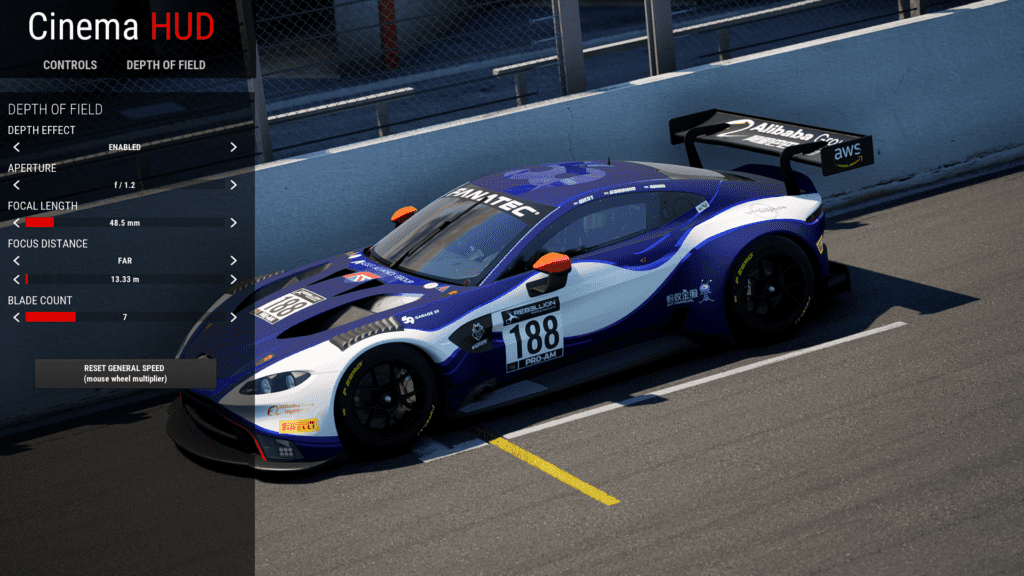
As in previous game builds, press the mouse scroll wheel to remove the Cinema HUD, skip backwards in time in the replay, hit play, and get ready to hit F12 to take a screenshot at the desired point. If you don’t play the replay when taking a screenshot, you won’t get motion blur as we see below.
It takes time to get right, so you can try slowing the action down a tad and decide if you’re happy with the results.
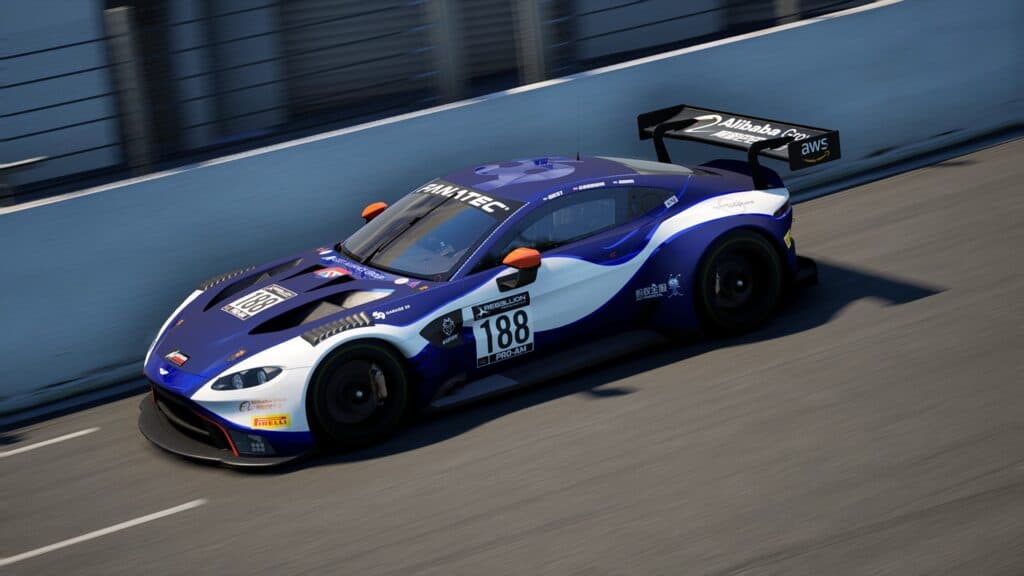
Finally, it makes sense!
We’ve covered the basics above, but now we move onto explaining the ‘Aperture’ (also known as ‘f-stop’) setting. Speaking as an amateur motorsport photographer, the photo mode in Assetto Corsa Competizione before the v1.8 update didn’t make sense to me in comparison to something like GT Sport.
The Gran Turismo series traditionally has an excellent photo mode, partly because it uses settings a real photographer would understand. So that means; shutter speed, exposure and aperture. Although exposure and shutter speed are not included in ACC, aperture is, which I’ll explain further.
The aperture on a camera is essentially the opening that allows light in. A fully open aperture (lower f-stop numbers) lets more light in and creates more background and foreground blur – the quality of which is known as bokeh. A more closed aperture (higher f-stop numbers) results in the whole image being much more in focus. So, lower f-stop settings are great for portraits, and higher settings are perfect for landscape photography.
Without going into specifics about exposure compensation, this is what ACC’s photo mode is trying to replicate. In terms of pretend racing cars though, it’s really down to your preference, but from my limited messing about with ACC’s new photo mode I’d say keeping the f-stop number low works brilliantly in most circumstances. And if you’re a fan of background blur you’ll love what ACC does here.
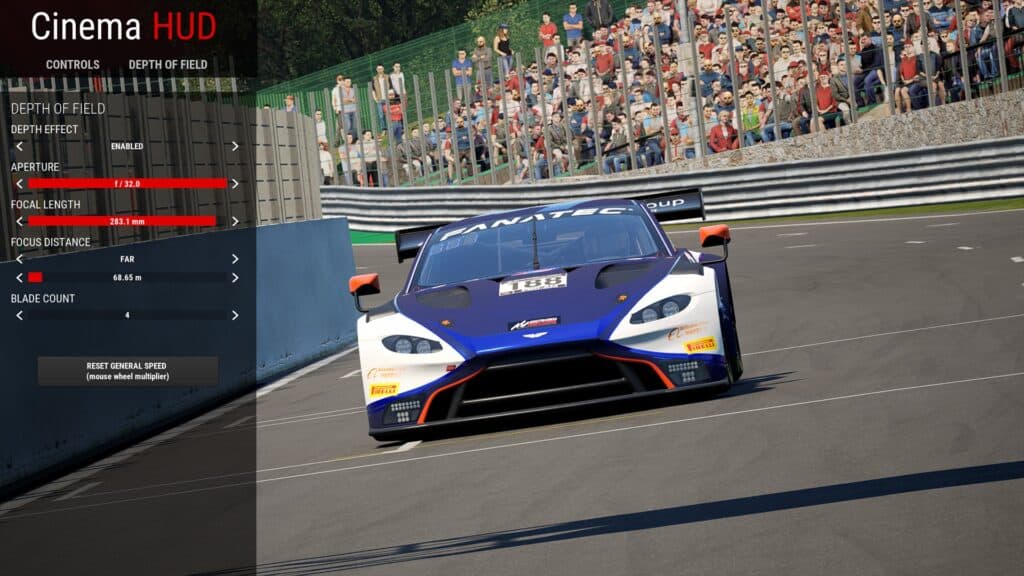
The above shot demonstrates a high aperture setting – notice how the foreground, subject and background are completely in focus.
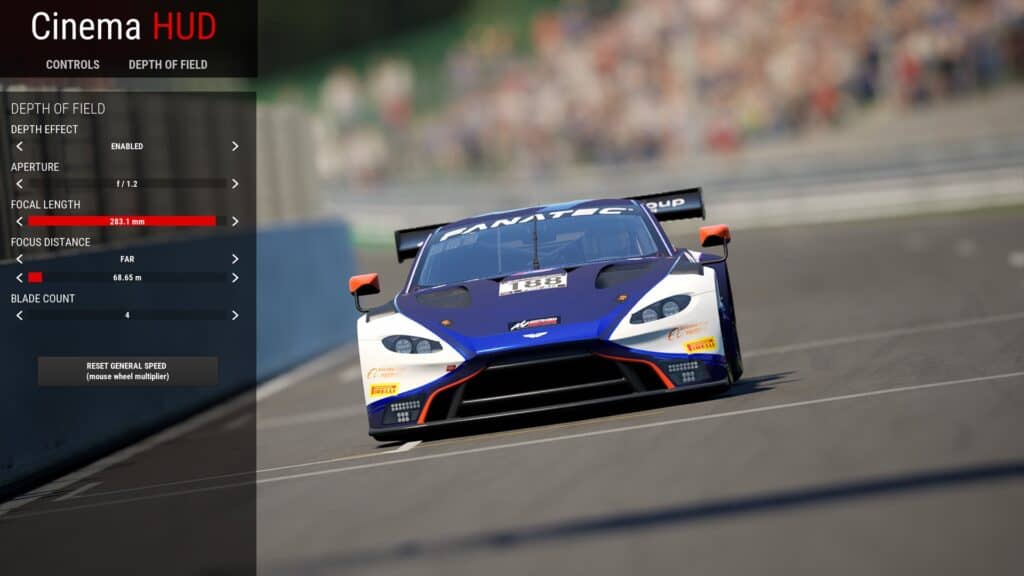
And now the same shot with minimum aperture. Notice the smooth background blur now. Pretty.
Bokeh
Yes, it’s a real word. Bokeh is basically the quality of the background blur effect, which is affected by the number of blades covering the aperture. Most decent-quality cameras will have around nine blades, like my Nikon 70-200mm f/2.8 telephoto lens does.
Speaking generally, more blades = better bokeh, in that the blur is smoother and easier on the eye. Less blades make the blur a more hard-edged shape, so less attractive.
Unfortunately, in my tests, I’ve been unable to notice a big enough difference when changing the number of blades in ACC, but will update this guide if and when I can find out the best way to use it. I’ve added an example below where I’ve started with the minimum four blades, then taken another screenshot with the maximum 16.
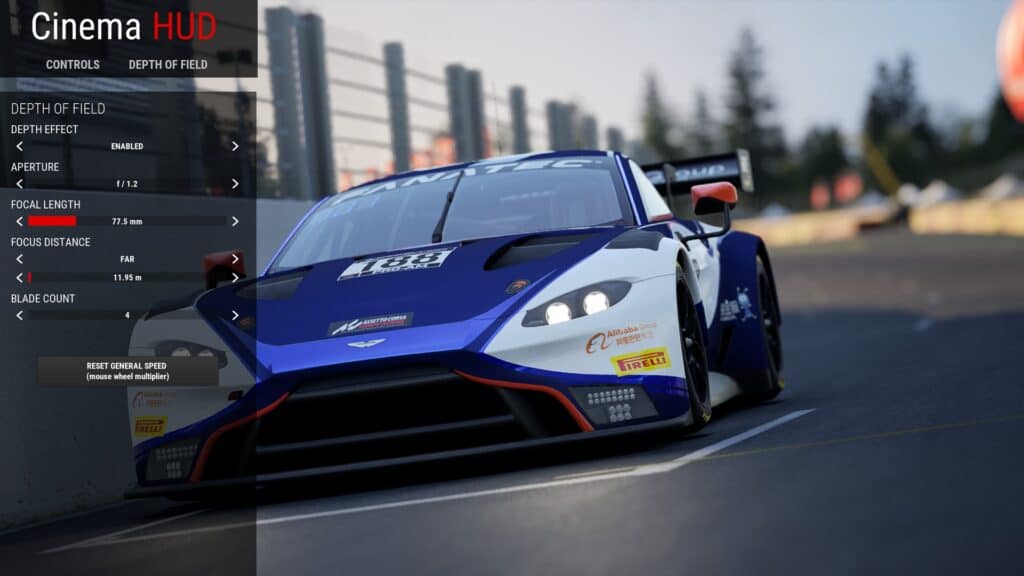
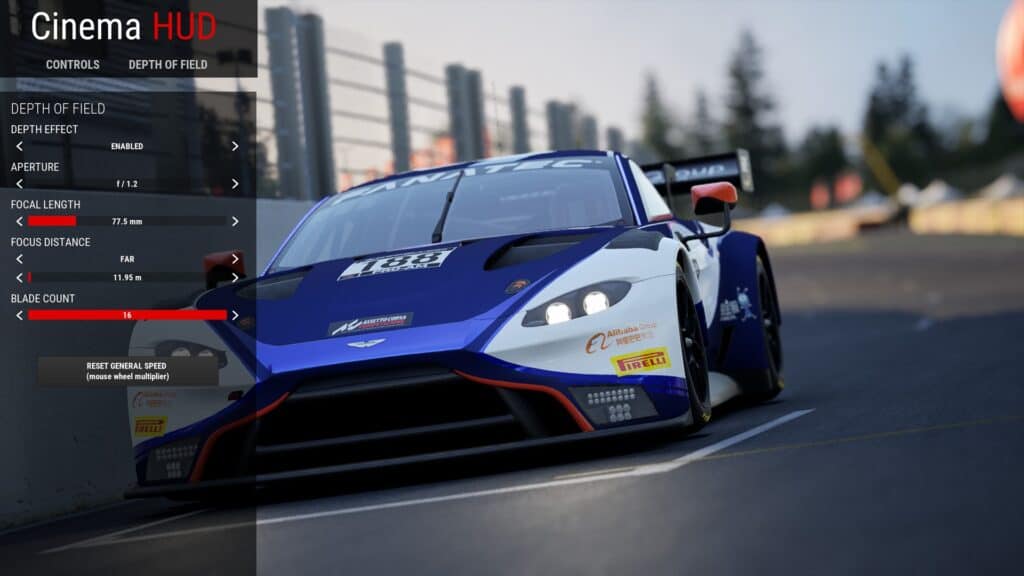
Not a dramatic difference as you can see, but I’d recommend sticking with 16, as that would be the best and most desirable option available in real-life.
An improvement?
As stated in our previous article on Assetto Corsa Competizione’s photo mode, we thought it was an effective screenshot creator with a sometimes spectacular end result. However, a lot of the settings didn’t quite make sense, or just plain didn’t work at all in the case of ‘f-stop’.
The v1.8 update on the other hand, has simplified processes much more, and the extra visual improvements to the game help make images pop. The new v1.8 update is a huge improvement, and awesome photos are now so much easier to create.
Happy snapping!
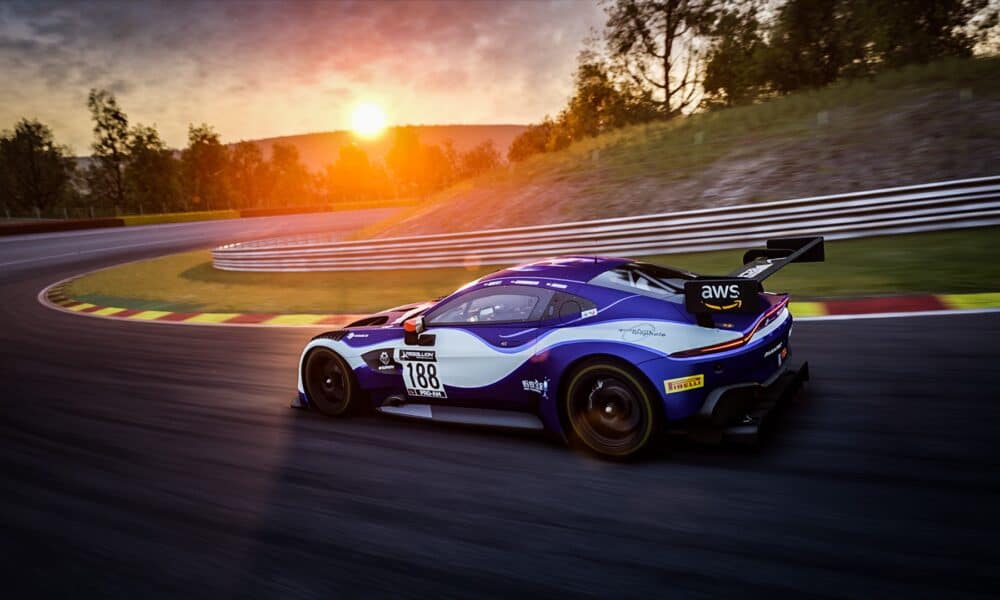
Here’s a few more shots from my first in-game photoshoot. I’ve not cropped any of these, but have given them a quick pass-through Adobe Lightroom.
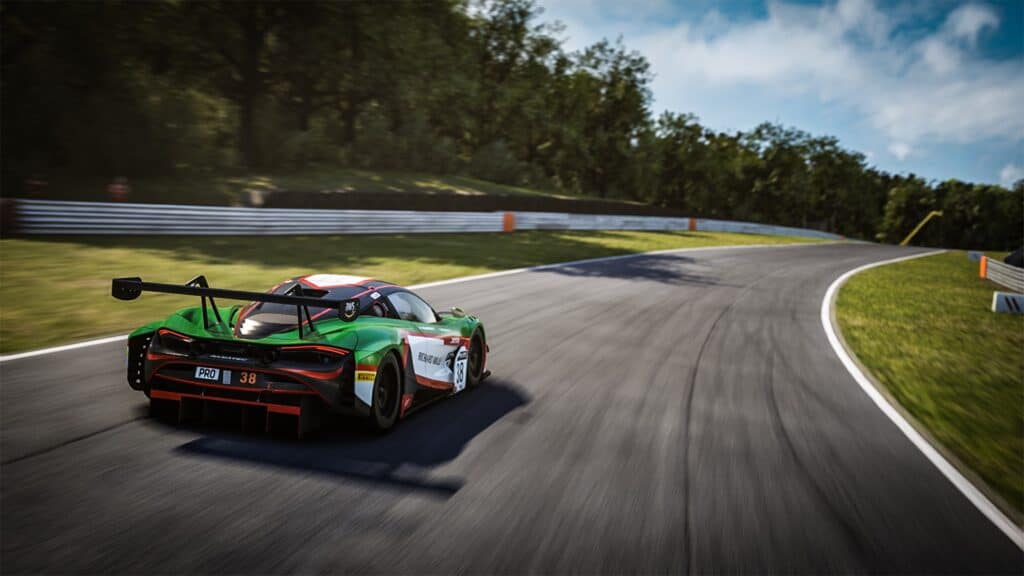
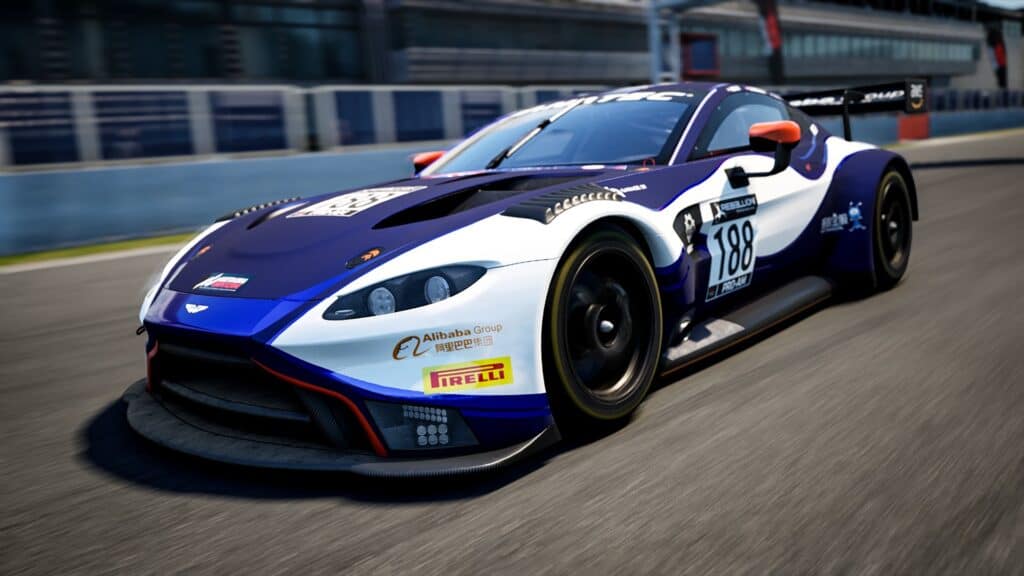
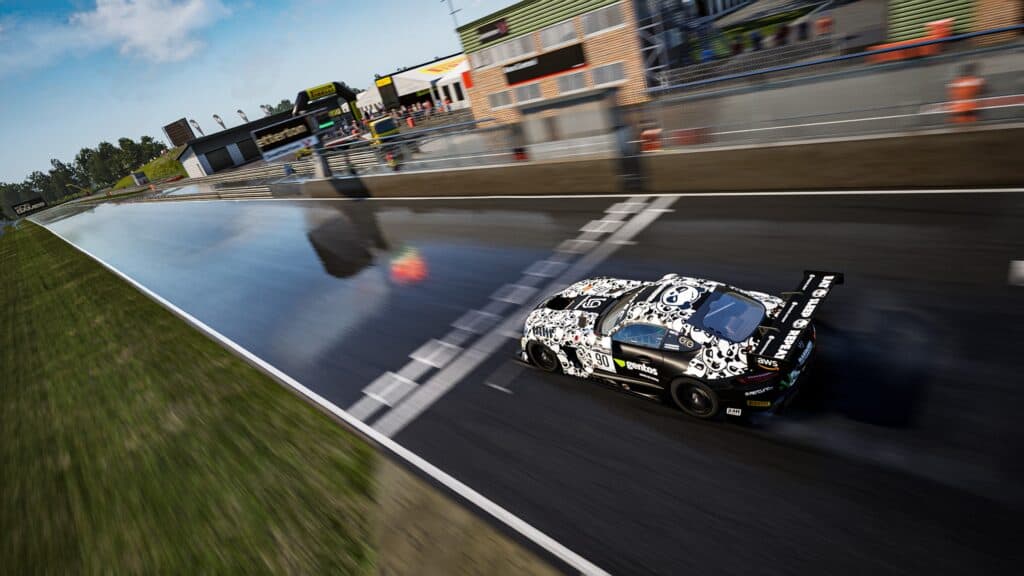
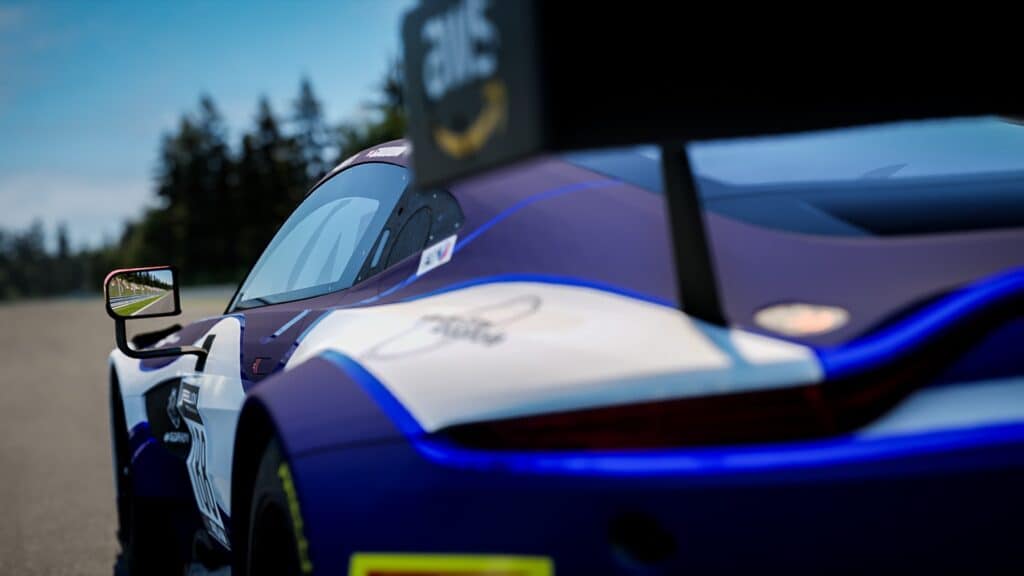
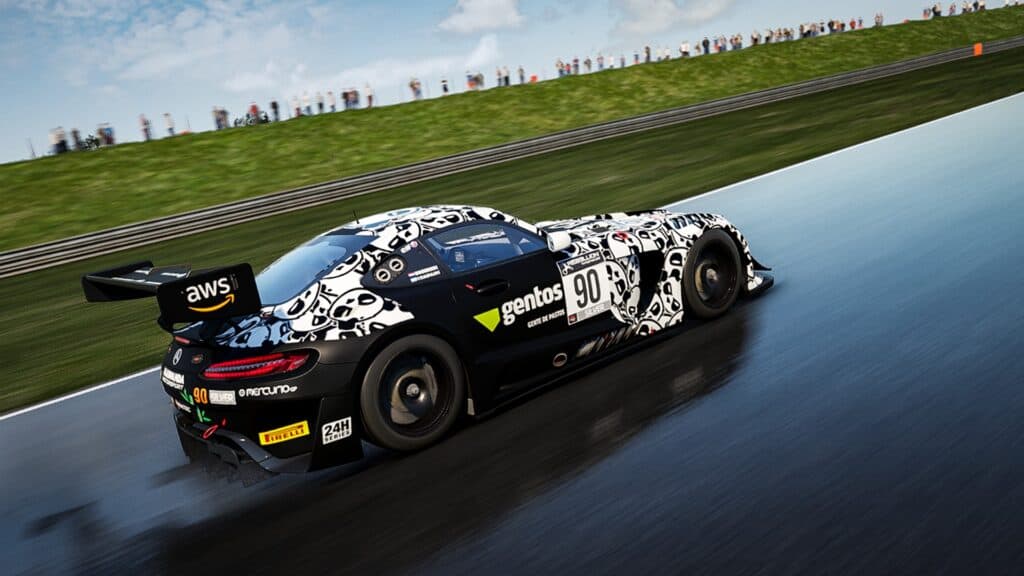
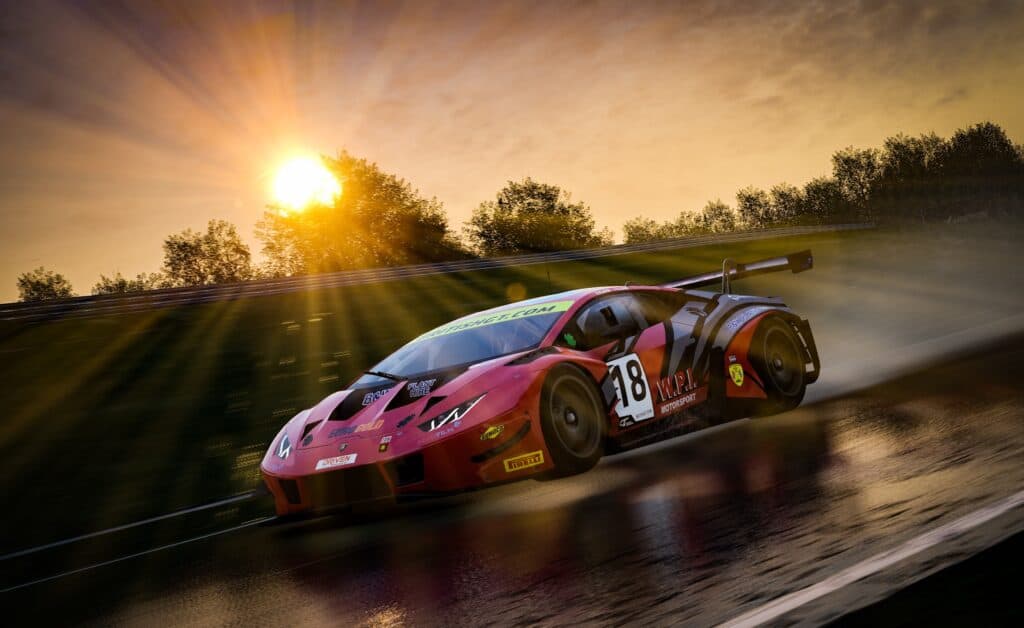
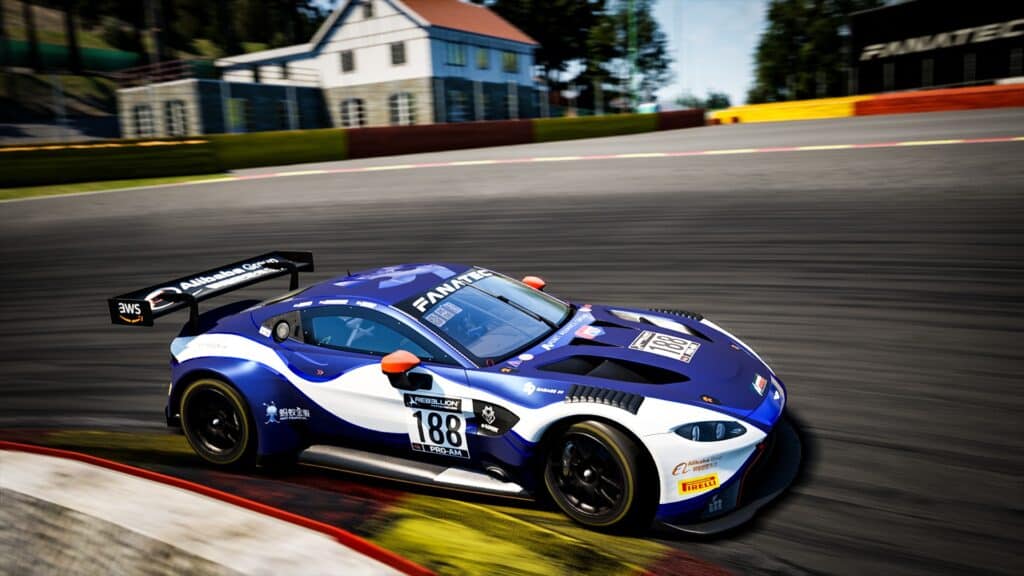
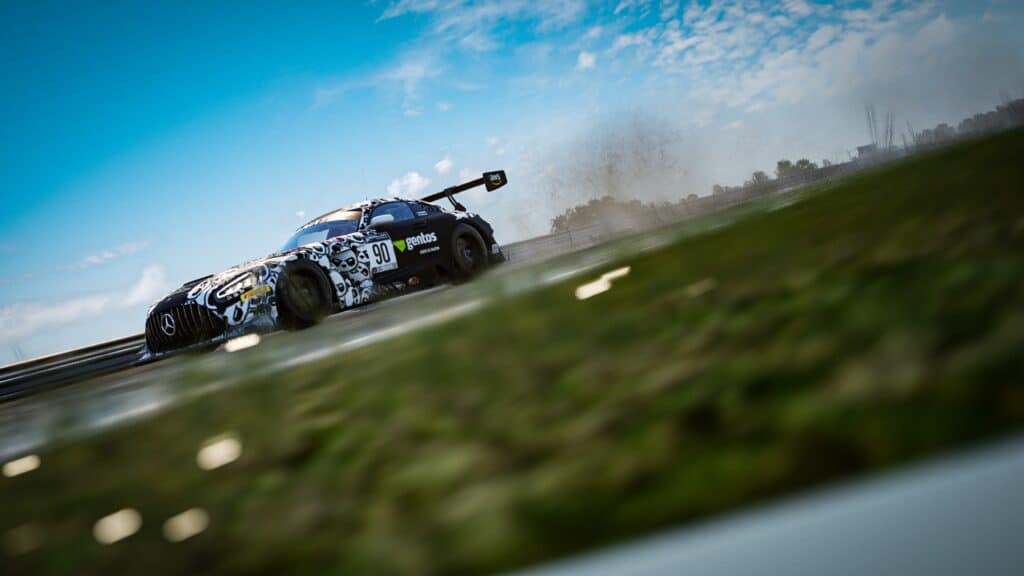
Have you tried the new photo mode in Assetto Corsa Competizione yet? Taken any great photos? Let us know in the comments below and show us your screenshots in our Discord group!


Chat with the Community
Sign Up To CommentIt's completely Free