Super Woden Rally Edge has received a new PC update, and it allows custom livery designs to be important.
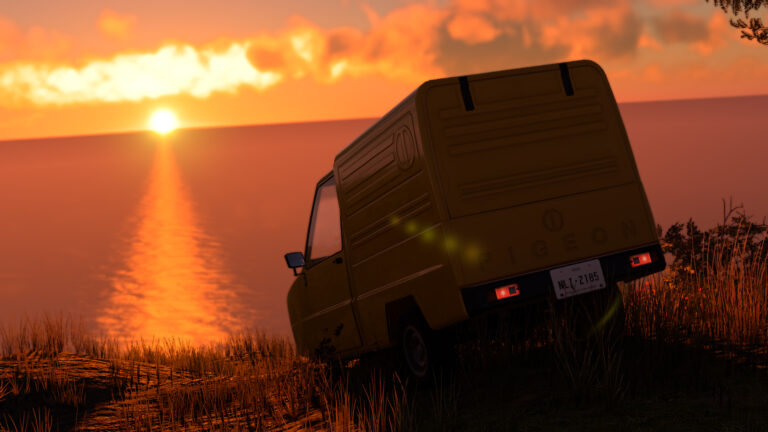
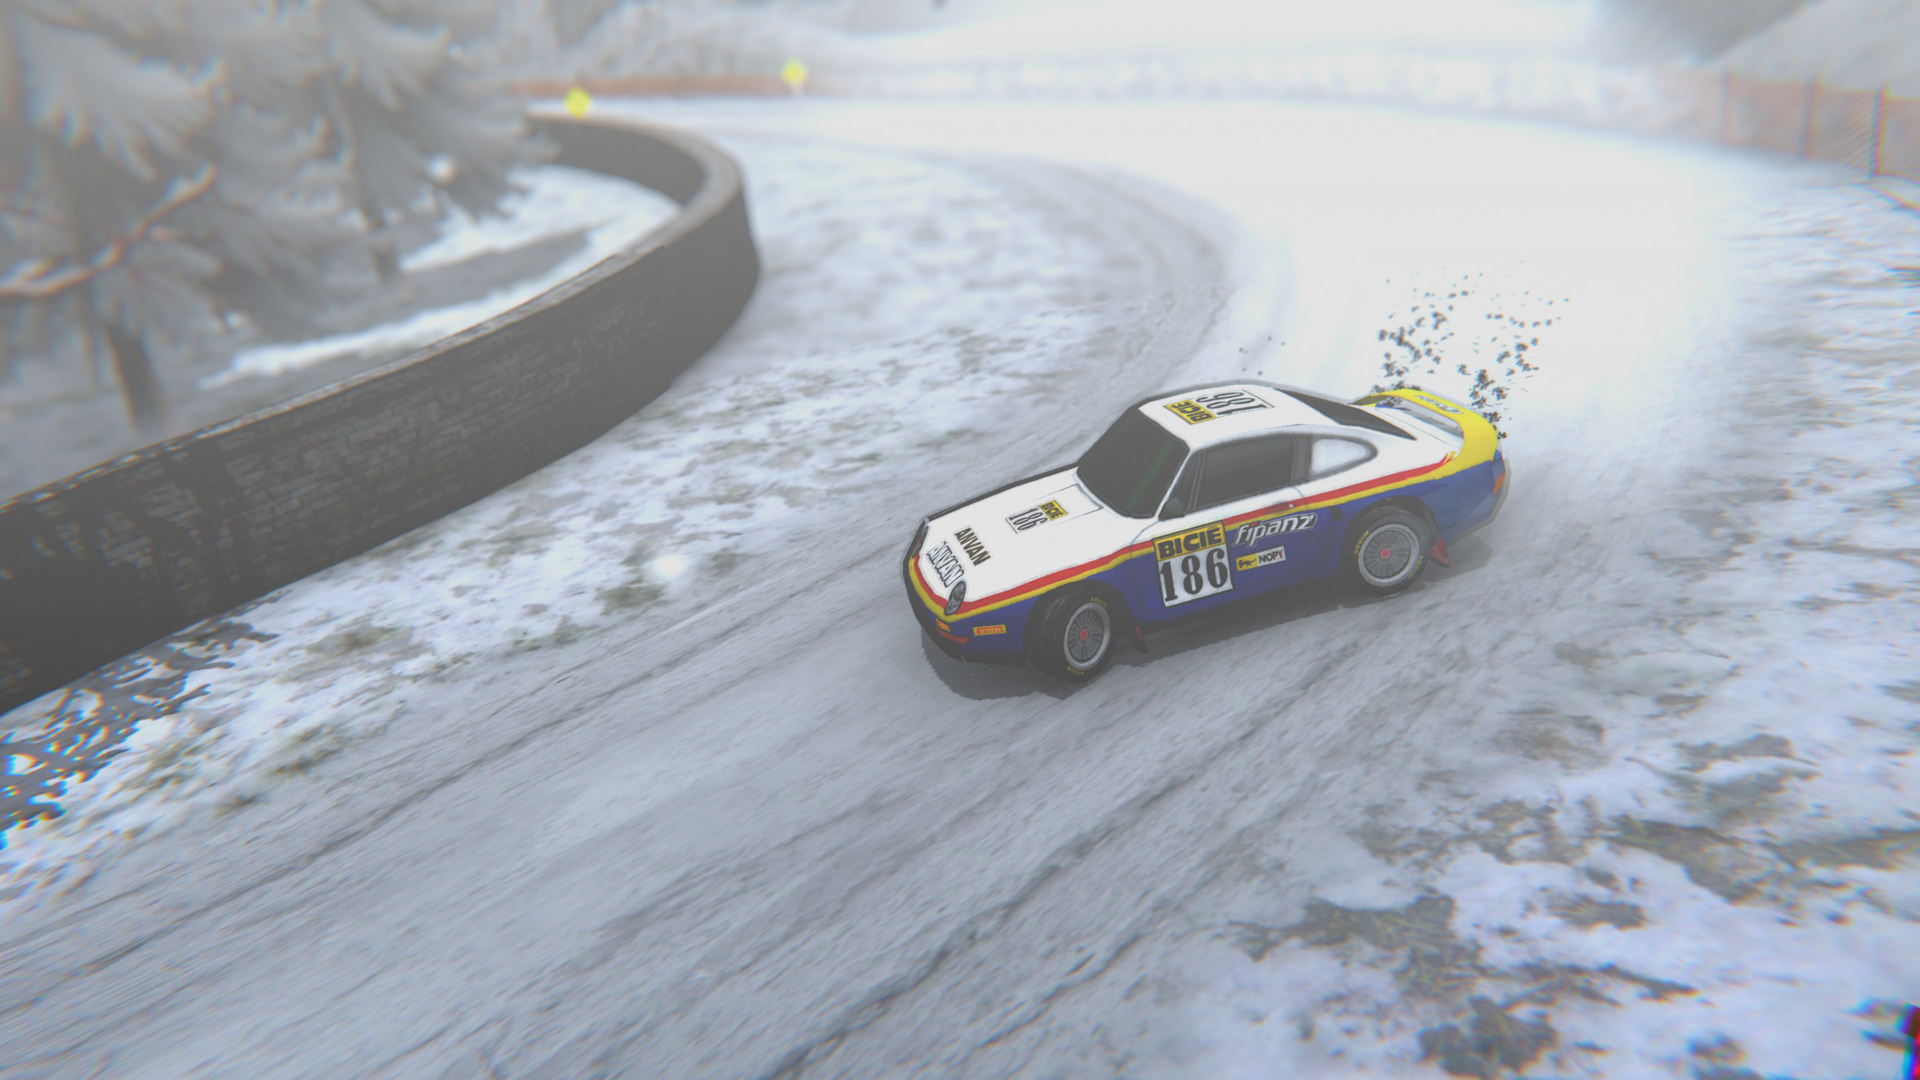
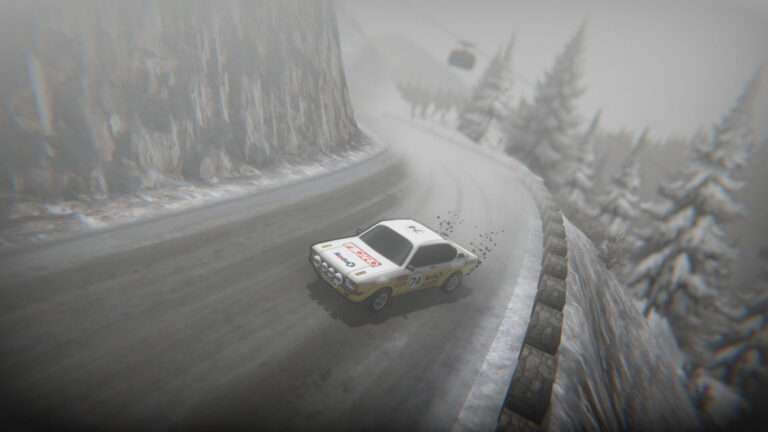
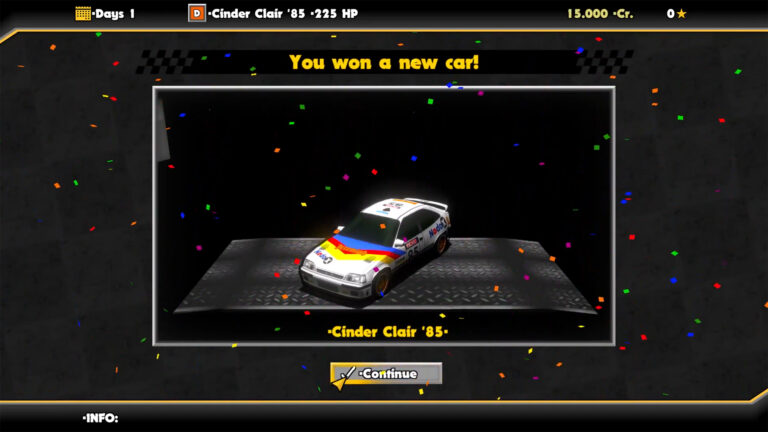
The superlative driving sensation features an eclectic mix of fictional rally machines across several retro decades.
These may be recognisable by the motorsport cogniscenti, and while all use unique names and paint schemes, players can now add their own (wink, wink, nudge, nudge) styles.
VIDEO
The method does not use in-game tools or mods. Instead, inside the game files, there’s already a template .png file in a matching folder for each vehicle. From there, you can open it in image editing software and design away.
The full guide is on the Steam Store page for the game , but we’ve also placed it below. In our review, we gave the solo-developer title a 9/10 . It is also set to be released for consoles later this year .
How to add custom livery designs to Super Woden Rally Edge 1. Liveries folder location Go to the game installation folder and open:(Game folder)\Super Woden Rally Edge_Data\StreamingAssets\CAR_SKINS
Inside this folder you will find:
Subfolders for each car manufacturer Inside each one, a subfolder for each car model Example:CAR_SKINS
2. The template.png file Inside each car model folder there is a file called:template.png
This image contains:
The basic elements of the car The outline of the model It is meant to be used only as a visual guide to know where each part of the car is mapped.
3. Creating your own livery Open your preferred image editing softwarelayers . Open template.png Arrange your layers as follows:Top layer: template.pngBottom layer: your custom skin (this is where you paint) Design your skin using the template as reference. 4. Saving the livery When you finish:
Hide or delete the template layer Save only the skin layer The file must:Be saved in the same car folder Use PNG format Be named with a number, starting from 0 Examples:0.png → first custom skin
5. Example liveries In the same folder you will find images with the default game liveries.
These files are for reference only Editing them will not change the in-game textures They are provided to help you understand how the original skins are made 6. Restoring the original livery To go back to the original car texture:
Simply delete the custom skin file you created:0.png, 1.png, etc. The game will automatically use the default skin again.
7. Viewing changes in game To see your skin in the game:
Launch the game Reselect the livery in the menuThe texture will update immediately. Restarting the game is not required.


Discussion