


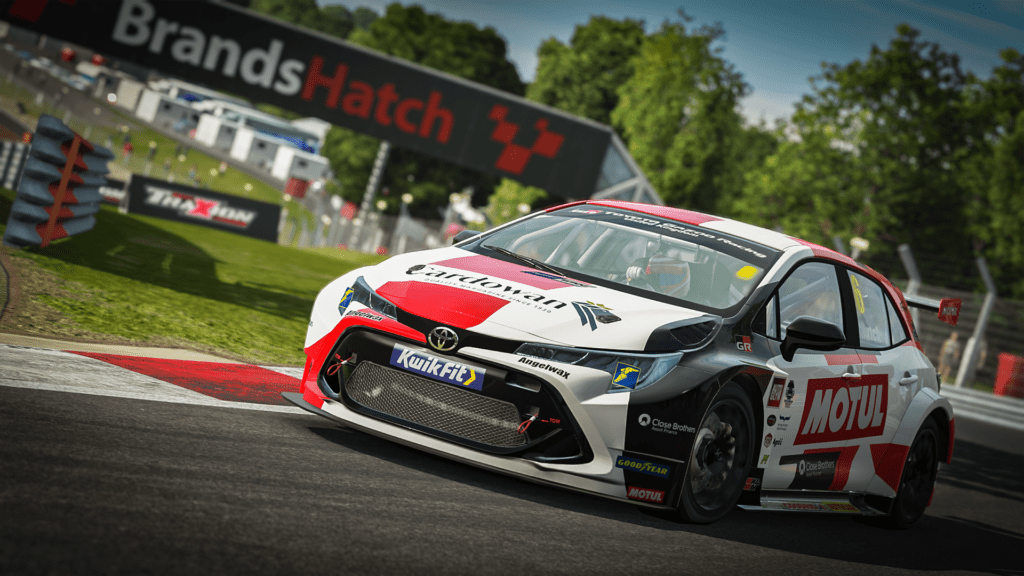
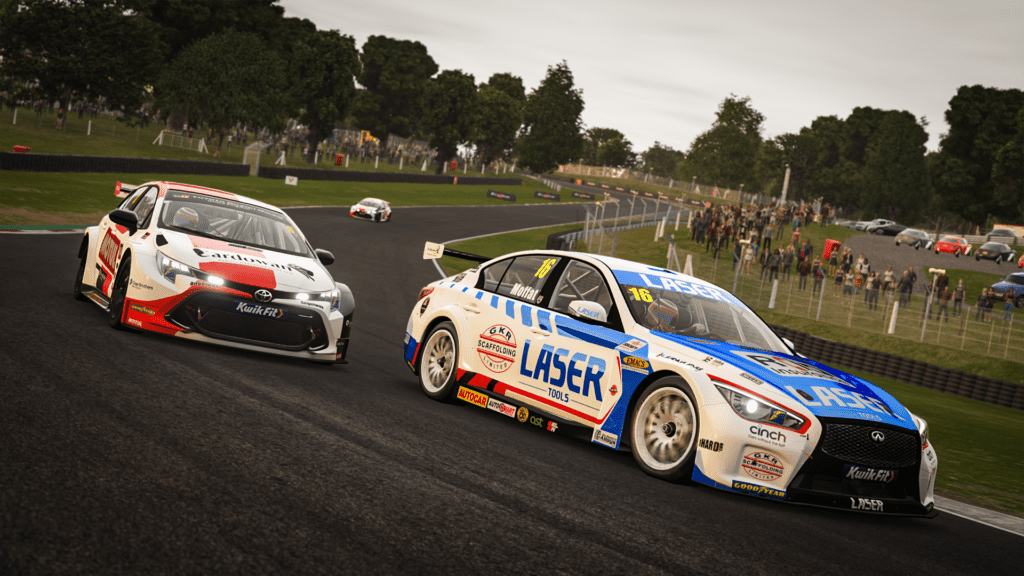
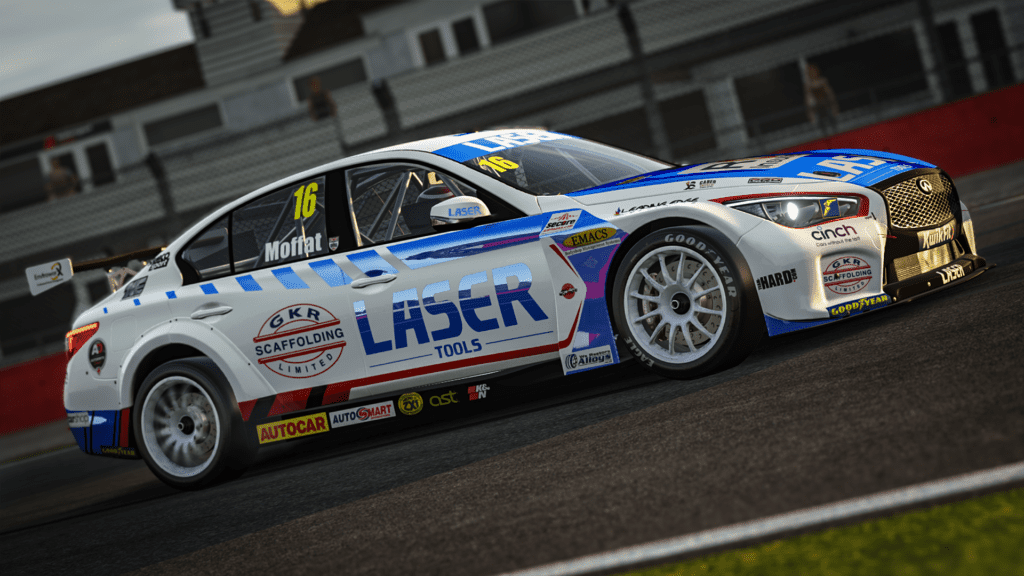
The new BTCC content drop for rFactor 2 brought the Infiniti Q50 and Toyota Corolla GR Sport to the sim for the very first time. Boasting a stack of realistic features, including engine sounds and tyre compounds, drivers will need to delve into the confusing world of tuning to make the most of the new cars.
With reams of set-up options, coupled with realistic driving physics – this isn’t TOCA Touring Cars – finding the sweet spot with the Toyota and Infiniti can take a lot of work. However, we’re here to help and offer set-up tips and advice to help you get quicker and more consistent.
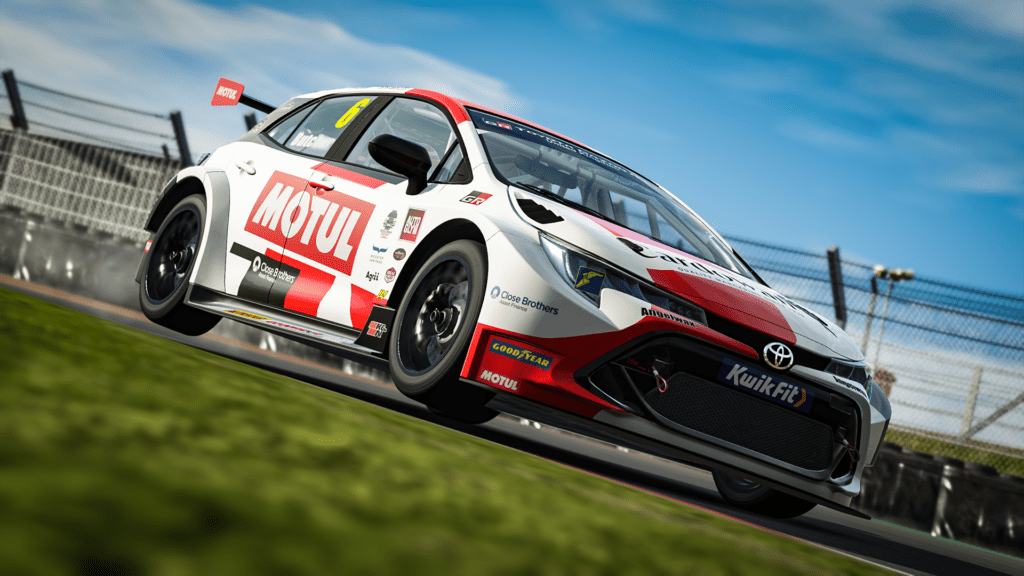
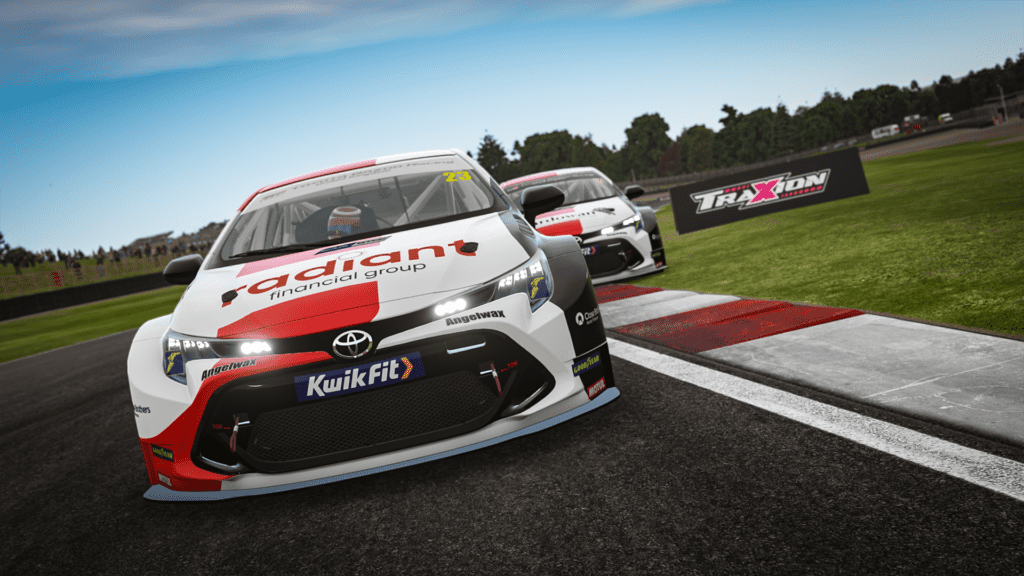
For this guide, I’ll be using Rory Butcher’s and Sam Smelt’s 2021 Toyota Corolla GR Sport around Brands Hatch Indy. I’ve set ambient temperatures to 20℃, with a heavily rubbered-in track pre-set for all my lapping.
I’m sticking with medium compound Goodyear tyres and added enough fuel to last a race distance – 25 litres.
The first thing to do is set your steering wheel controller range to match the car’s in-game.
In the ‘Chassis’ set-up section, you’ll see the Toyota’s ‘Wheel range (lock)’ setting is 352 degrees with an 11.5 steering ratio. Changing your steering wheel range to match this figure will provide the closest relationship between your wheel and the sim car.
rFactor 2 is quite clever, however, in that it can sometimes define this automatically – like in the PC version of Assetto Corsa Competizione – without the player having to change anything. Under the ‘Calibrate Controls’ and ‘Steering Settings’ menus, there are options to switch this on or off.
If it doesn’t work automatically, you can adjust it manually as explained.
Brake Bias
For my first runs on-track, I settle on a brake bias of 48.5/51.5, which is slightly more rearward-based than the 50/50 default split. The tyres tend to lock up quite a bit, so I change the brake pressure to 80% instead of the default 90%.
Although this increases the theoretical braking distance of the car, it also helps increase confidence when braking over bumps or while turning, leading to more consistency. This is perhaps a good thing to do when learning a track or building confidence.
You can also change the amount of blanking tape on the front or rear brake ducts. Covering the duct with more tape allows less air in to cool the disc. Keeping the disc at optimum temperature makes braking more consistent. Overheating the discs will cause brake fade and wear the discs.
Around Brands Hatch Indy, the front tyres and brakes are constantly in use, so keeping the duct blanking at 0% is best. The rear tyres and brakes have a much easier time of it, so I set this to 33% to help keep warmth in the tyres.
My opening lap time on the Toyota’s default set-up with some brake tuning is 47.187s, with a theoretical optimum of 47.094s.
Gearing
In both Toyota and Infiniti, the length of the first three gear ratios cannot be altered. In fact, in the real world BTCC championship, all rear-wheel-drive cars – the BMW 330i M and the Infiniti – have a mandated longer first gear ratio to limit their advantage from a standing start.
The length of gears four, five and six can be adjusted, however, so it’s best to aim for the correct compromise in terms of holding a higher gear through a corner – potentially carrying too much speed – or using a lower gear and carrying less momentum.
It’s always a good idea to match up the final drive in sixth gear to the longest straight on whichever track you’re on too. That way the car isn’t bouncing off the rev limiter in sixth gear too early or is only in fifth gear at the end of the longest straight.
Maximising your gearing set-up is crucial to finding extra lap time, but you do need to leave a little extra potential top speed in races. There’s no point sitting on the rev limiter in someone’s slipstream, for example. Especially important in BTCC races, where the action is often nose-to-tail.
Optimising the gear ratios gains me a tenth of a second, so the default setting isn’t too bad.
Engine Mixture
There are six settings under ‘Engine mixture’ for the BTCC cars in rFactor 2. Each setting represents a different engine map. Higher numbers produce more power and are less economical. Lower numbers produce less power and are more economical. Setting ‘Engine mixture’ to ‘6’ provides the most power and is the least economical, so will produce the fastest lap times.
However, you may want to use a lower setting towards the end of a BTCC race when the tyres are worn, gentler power delivery will help preserve the car’s rubber. Under safety car conditions reducing the mixture will also help save fuel. This is important, as the first two safety car laps are added to the total race distance, effectively increasing the distance the car has to drive.
The default value on both cars is ‘5’ but switching it to ‘6’ gains me nearly a quarter of a second, quite a difference on the 1.2-mile confines of Brands Hatch Indy. Fuel usage suffers, however, as I’m now using 0.97 litres of fuel per lap instead of 0.9l.
Tyre Pressures
In some sim racing platforms – Assetto Corsa Competizione, for example – ensuring your car’s tyres are at their optimum pressure is crucial to setting quick laps. This isn’t quite so important in rFactor 2, as traditionally setting pressures as low as possible gives drivers the most grip.
In my findings so far, this still seems to be the case with the BTCC cars. I dropped front and rear tyre pressures on my Toyota to 130kPa and gained nearly two tenths on my best lap. My optimal best wasn’t massively improved, but I was able to hit consistently faster lap times with lower pressures.
Suspension Settings
Suspension is the key to race car set-up. There are so many different settings to tweak that it can become a bit of a minefield. I give a more detailed breakdown of suspension settings in my Gran Turismo 7 front-wheel-drive set-up guide, which can be used for reference.
Caster
According to suspensionsecrets.co.uk, caster is “the measure of how far forward or behind the steering axis is to the vertical axis, viewed from the side”. It’s difficult to picture, I know, and even more difficult to change on the fly in real race cars.
Positive caster is the most common in road and race cars, and increasing the angle creates more self-aligning torque. This helps the car on the corner exit by making the car more stable under power.
On the flip side, more caster means the driver has to put more force into turning the wheel, something that can be mitigated on a sim set-up by turning down the force feedback effects. Handy! More caster can also help engage the rear tyres more by tilting the car on its axis. Clever.
Surprisingly, adjusting the caster one-click upwards to 17.5 degrees gained nearly two tenths in lap time and eased off the initial torque steer I experienced on the Toyota during its tyre warm-up phase.
Camber
Increasing negative camber generally provides more grip by exposing more of the tyre’s surface to the track under load during cornering, so you want to run the largest value possible without affecting the car’s stability under braking or tyre wear.
I found that extreme values made the car almost undrivable. The Toyota would pitch itself into every bump or road imperfection. Imagine the effect of changing lanes on a motorway while driving a sports car with ultra-wide tyres – the car always wants to follow the painted lines.
Too often in driving games cranking up the camber values gives you more grip with few downsides, so it’s refreshing to see rFactor 2 employ more realistic methods. I change the rear camber values to -4 degrees but find reducing the negative camber on the front axle helps with stability, so increase this to –2.5 degrees.
Ride Height
By default, the BTCC cars’ ride heights sit at 8.5cm front and rear. Reducing the front ride height or increasing the rear ride height will add ‘rake’ to the car – ie: the nose points downwards – which aids turn-in and aerodynamic efficiency. The aim is always to run the car as low as possible without it bottoming out, as it helps improve the car’s centre of gravity and overall manoeuvrability.
The minimum rear ride height possible is 8.5cm, so I run 8.0cm at the front and 8.5cm at the rear, as I don’t experience any issues with the car hitting the tarmac (or porpoising!).
In the wet, however, a higher ride height may be required to mitigate the onset of aquaplaning. Other, bumpier, tracks like Knockhill might require a higher ride height to offset all that lovely kerb action.
Only a fraction of a second in lap time is gained, but the car feels slightly ‘pointier’. I’ll stick with it.
Wing
rFactor 2’s BTCC cars have an option to adjust the rear wing angle. Lower numbers equal less downforce on the rear and vice-versa. Because Brands Hatch Indy is a relatively slow circuit with only two high-speed corners, I found that minimising the wing gave a better optimal lap time.
As a result, the car moved around a lot more and was more prone to sliding. The ultimate lap time was better, but consistency suffered. Therefore, it might be better to use the low wing for qualifying only.
The default wing value is ‘4’, so I reduce to ‘3’ to ensure some stability and a slight increase in top speed.
Spring rate
Springs tend to be stiff on race cars and controlling the stiffness between front and rear axles is crucial to car balance. Too stiff at the front and the Toyota oversteers on corner entry, but too soft and it feels sluggish.
After a lot of tweaking, I found that softening the front springs by two clicks while stiffening the rear springs as much as possible brought a nice balance to the car’s behaviour. In the fast left/right Surtees chicane, for example, the Toyota felt a lot more planted and easier to change direction.

Anti-roll bars
Anti-roll bars (ARB) connect the wheels on an axle, controlling how much they move independently of each other. Softening the bar will encourage more movement to the loaded tyre during cornering, while stiffening will have the opposite effect, limiting the movement of the wheels relative to each other.
On the front-wheel-drive Corolla, the rear ARB is quite stiff and the front much softer. I found that softening the front ARB made the car quicker and more compliant into Druids hairpin but softening the rear reduced lift-off oversteer. This made the car more consistent and comfortable to drive but only helped gain me a fraction of a second in lap time.
Softening the car too much can lead to an increase in tyre wear, so this requires a balanced approach to maintain performance over a race distance. However, in wet conditions, a softer car produces more grip and confidence than a stiff one (some touring car teams have been known to disconnect ARBs for wet races). Speeds are also lower, so controlling body roll through suspension stiffness isn’t as crucial.
Dampers
Dampers control the oscillation of springs. Stiff damper settings (higher numbers) result in twitchy handling characteristics and the car may ‘jump’ over bumpy surfaces. Soft settings (lower numbers) will result in a lazy-feeling car that will roll a lot more in corners.
‘Slow bump’ and ‘Slow rebound’ control the car’s weight transfer in cornering, braking and acceleration, while ‘Fast bump’ and ‘Fast rebound’ control the dampers’ reaction to sudden shocks – ie: kerb strikes. ‘Bump’ relates to how quickly the damper compresses, while ‘Rebound’ relates to how quickly the damper returns to its default position.
A balance is required between the two extremes depending on the track surface – it can take a lot of trial and error to get right. Ideally, you would use Motec data to check on the damper histograms to ensure the settings are optimised, otherwise, you have to do it by feeling.
I increase the ‘Slow bump’ and ‘Slow rebound’ by five clicks all around. This helps stabilise the car at Paddock Hill Bend and Surtees but obtaining the optimum settings will take a long time!
Differential
Controlling the diff is massively important in both real and virtual race cars. With a low ‘Power’ setting, a front-wheel-drive car can wheelspin uncontrollably on the corner exit. With ‘Coast’ set too low, the car will simply push on into understeer mid-corner. The key is finding a balance between the two while adjusting the severity of their action through the ‘Preload’ setting.
I found the default settings work well, so I just increased the Preload setting by two clicks to reduce the initial impact of ‘Power’ and ‘Coast’ and the car felt better balanced on the brakes, while also retaining solid traction (Traxion?).
In terms of set-up, the new BTCC cars offer a huge variety of parameters to change. The key thing to remember is that there’s no single ‘magic bullet’ setting that will improve your car both in terms of one-lap speed and full race distance pace.
It’s a constant compromise; changing one setting that improves grip – like softening front ARB – may also reduce tyre life. Changing another setting that increases top speed – like reducing wing level – will make the car more inconsistent.
Finding a balance of these settings takes many laps of practice, but every set-up change I’ve made has a noticeable effect on car behaviour.
After starting with a 47.187s lap, tweaking the set-up as per the steps above got my lap time down to a 46.073s – a 1.1s drop. Pretty significant on such a short track, proving it’s worth spending time on perfecting your BTCC set-up.
Now I’m off to tune my dampers by driving another 10,000 laps…
Full disclosure – Traxion.GG is part of Motorsport Games and the Motorsport Games family of brands. All Traxion.GG content is editorially removed from Motorsport Games video game development and created by a dedicated team.