Getting into sim racing might seem like quite an expensive endeavour, though that’s not always the case. While I’m sure we’ll cover sim racing on a budget in the future, most of the ‘expense’ you’d think of when it comes to sim racing comes down to the wheel and pedals you buy, or a proper racing cockpit.
This has led members of the community to build their own rigs out of anything they can find. Wood, PVC pipe, bits of old car, you name it. While I’m not that good at building things like that from scratch, we teamed up with the folks at SimPlexity to meet us halfway. This is their V12 cockpit, and as you can see, they sent it over in Traxion pink. Awesome.
But, how does this rig meet us halfway in terms of DIY?
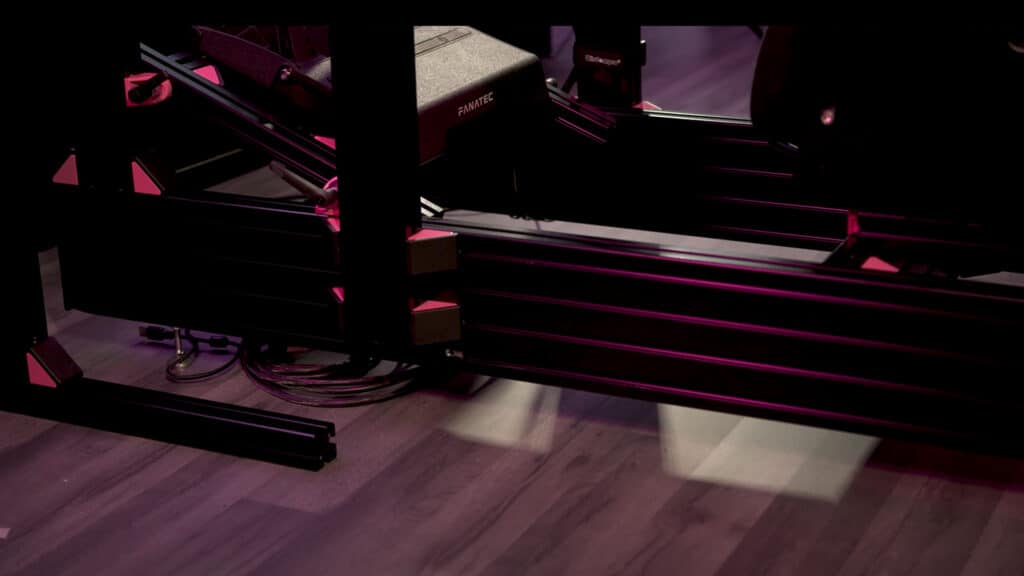
Well, the vast majority of this rig has been built using 80/20 aluminium extrusion, an incredibly versatile system that can pretty much be likened to heavier, more robust Meccano.
It’s all pretty straightforward. You can attach these beams together using these angular brackets and sliding inserts, and basically, the whole thing uses the same screws. So yes, you could do this entirely yourself. Get the right lengths cut, build it up, job done. However, you can get all the right parts, cut correctly, and shipped together in one go, and that’s where SimPlexity come in.
You could buy a load of plain wood and build a wardrobe, or you could go to IKEA and get that plain wood pre-cut with instructions from the get-go. Which would you do?
Since all the fitting together was completely universal throughout the vast majority of the build, you aren’t having to find this specific screw or that specific bracket to build elements. It all went together in the same way, which was incredibly easy.
However, with the grand scheme of this rig being simple, the instructions took that a little too literally. Here are the pre-cut lengths of extrusion you need, and here’s the finished thing. We’ve colour coded the image and given you a rough few points as to what you should build in what order, but that’s about it.
While it did all go together eventually, I would have liked a little more direction on these instructions. If you’d never built anything like this before, you’re probably completely out of luck with this. Also, unlike the GT Track cockpit I reviewed a few weeks ago, I wasn’t able to build basically the entirety of this myself.
The SimPlexity V12 isn’t exactly light – which does mean it’s rock-solid, but it did take two of us to get the chair mounted.
Another thing that works as both a blessing and a curse for this rig is its customisability. While the pedals have specific fittings to make it easy to adjust – ‘easy’ being a push with how heavy this thing is – and the chair is on rails as you’d expect. if you wanted to adjust the height of the wheelbase mount or shifter bar, you’ve got to pretty much take it entirely off before putting it on again.
There’s not much ‘loosen and shift’ here, so if you’re the only one racing, you’re okay! If not, then you’ll have to find a middle ground that will work for everyone using it.
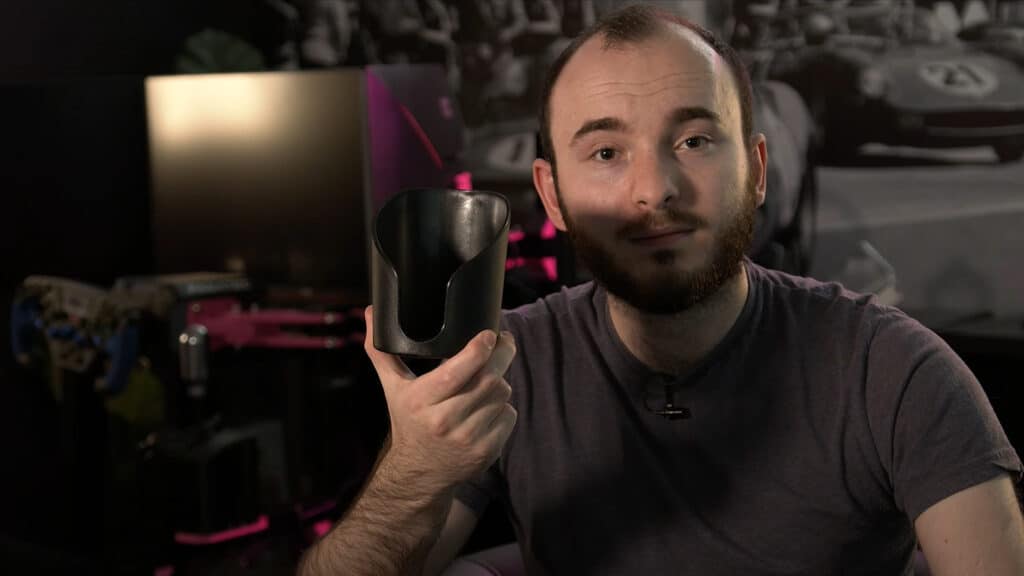
Once you’ve got everything mounted, this isn’t going anywhere, and as said, that customisability is a huge plus, because you can do literally anything with it. Build a display mount straight onto it, add another rig to the side to make it two-player, or just add a cup holder. Yes, a cup holder!
A minor downside is the setup being obviously not bespoke. It’s all made from parts you can go and buy individually, so therefore it looks as such. If you’re wanting a gorgeously sleek racing rig, this isn’t going to be it. But if you’re wanting something with that astonishing flexibility and functionality, you’re well away here.
It doesn’t look bad by any means, but this almost brutalist approach isn’t to everyone’s tastes. You can jazz it up with stickers, different coloured brackets, and RGB underglow if you so fancied, but that’s on you.
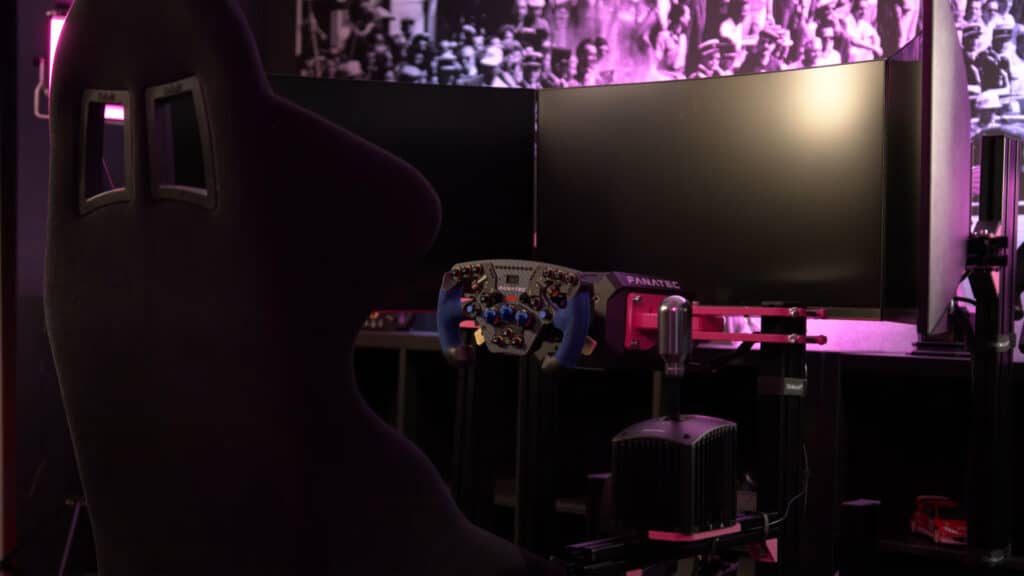
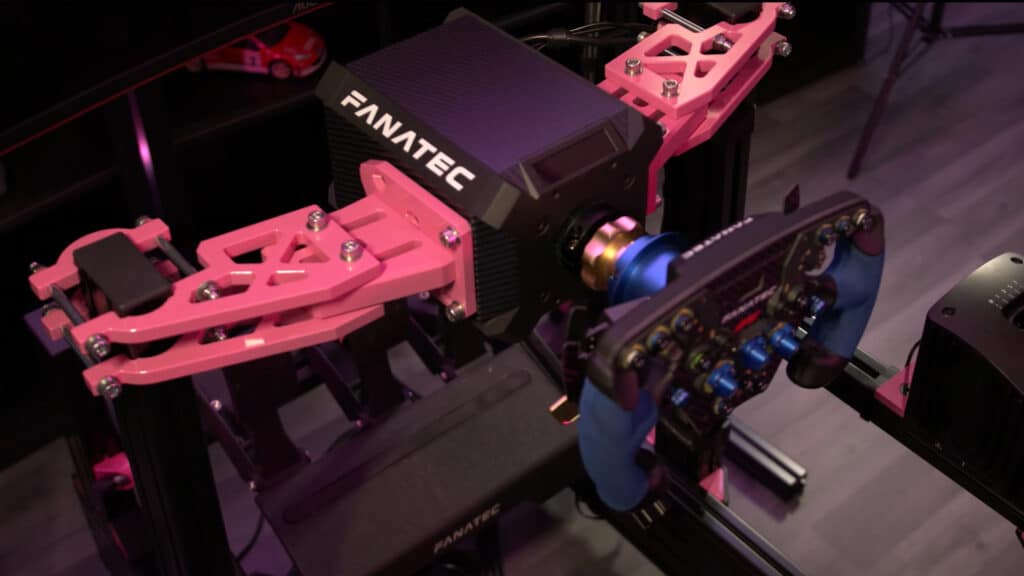
Something specific about our version of the V12 is the Fanatec Podium DD1 mounting method. While there is a normal plate you’d put across two posts to mount whatever wheel you fancy, we’ve got this bespoke Fanatec mounting system, and it has much more flexibility compared to just mounting the underside of it to a flat plate.
This is definitely a two, or three-person job in our case, as if you’ve ever lifted a Podium wheel base, they’re not exactly light. Though once it’s mounted, it’s not going anywhere. Just don’t expect to change the mounted base in record time. Thankfully we’re just leaving this one on here – as far as I know…
Speaking of changing up your peripherals, it’s not impossible, but it’s not all that easy. Mounting a set of Fanatec pedals was a little difficult. That’s not on SimPlexity of course, but just keep that in mind.
So it was relatively straightforward to assemble, is built like a tank and looks better than something made out of PVC pipes. But how is it to race in?
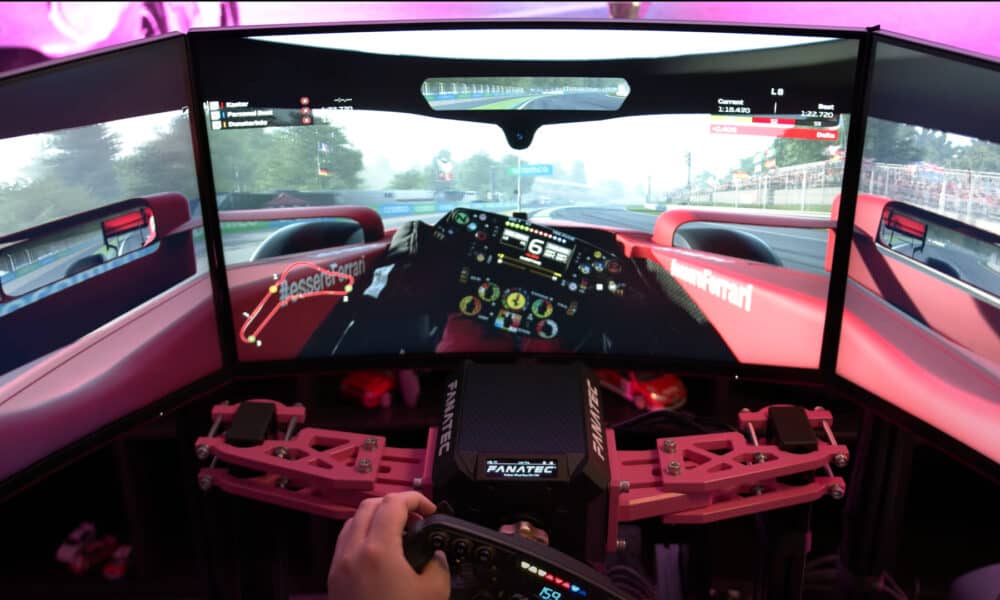
We had the Sabelt GT-090 with our rig. Just so you are aware, the price of this does not include a seat. Nothing moves around in this cockpit. No flex, no wobble, no nothing. At first I thought the mounting for the wheel base was going to be a bit flimsy, but it’s rock solid. Kick your brake pedal down like you’re hitting the final chicane at Spa, and you’re not moving backwards, nor is the pedal mount moving forward.
Also, you might have noticed this dashing triple monitor mount, which was also sent over by SimPlexity. And yes, you’re right in assuming that this all goes together in exactly the same way as the rig itself. Aluminium extrusion with the same fittings, just with a couple of bespoke machined parts for the adjustable arms and VESA mounts, and this is the whole package in action.
It was as easy to put together and nicely straddles the rig. However, if you’re planning to put 3 curved 32” 1440p 144z displays on it as we did, it’s relatively stable, but it could be better. We were admittedly pushing this triple monitor mount to its limits here, but if you’re attaching smaller displays to it, you should be fine. If it really worries you, you could weigh down the base, or get some longer extrusion for the feet. But again, that’s on you. At least you get the option though, which is nice!
That brings us round to that part of the review. How much does the SimPlexity V12 set you back? Once again, this doesn’t include the seat, this mounting for the podium wheelbase, nor does it bundle with the triple monitor stand.
The base rig will set you back £645, and the monitor stand will cost you £217. To put things here into a little more perspective overall, this chair is £225, and the Fanatec mount is just over £200. What I used here will cost you just shy of £1,300, and that’s without your choice of wheel, pedals, displays and platform to run your games on.
Add all our peripherals here, including a very overkill PC, and you’re probably adding another four-to-five grand on top of the rig price itself. Of course, you don’t need this podium mounting, the one straight out of the box is compatible too. You could mount a Logitech G920 to it and it’d work just fine! But we went for the Podium and this bespoke mounting because it’s that bit more stable, and just looks really cool.
If that price tag made your wallet fall out of your jeans and cry, then this whole setup probably isn’t for you. This is the top-tier stuff. This kind of rig that will be but a fraction of the entire budget for whoever is building an absolutely insane racing battle station. It’s almost not worth comparing this to the Next Level Racing GT Track cockpit I mentioned earlier. They are very much in two different leagues.
The sheer amount of customisability this thing offers means that if you’re wanting to do x, y, or z to it, you can more than likely find the parts to do it. Whether you’re buying a new wheel and pedals, changing your chair, or just completely rebuilding the thing from the ground up to change how the whole thing feels, you can. No other cockpit gives you that opportunity.
Though, even if you did just use this rig as intended, as-is, this thing is bomb-proof. No wobble, no creaks, nothing. The V12 might as well be made of concrete, it’s not going anywhere.
So if you’re in the market for something you’ll probably never have to replace, this rig is for you. If you’re needing a triple display mount either for this rig or even one you already have, the SimPlexity offering also might just do the trick for you too.
But what do you think? Are you now in dire need of this setup, or has your pocket money run away screaming? Let me know in the comments section below.
If you’d like to find out more yourself, you can find SimPlexity on Facebook or online for the Cockpit and Triple Monitor Stand. Full disclosure: The equipment was kindly provided by the manufacturer for review purposes.


Chat with the Community
Sign Up To CommentIt's completely Free