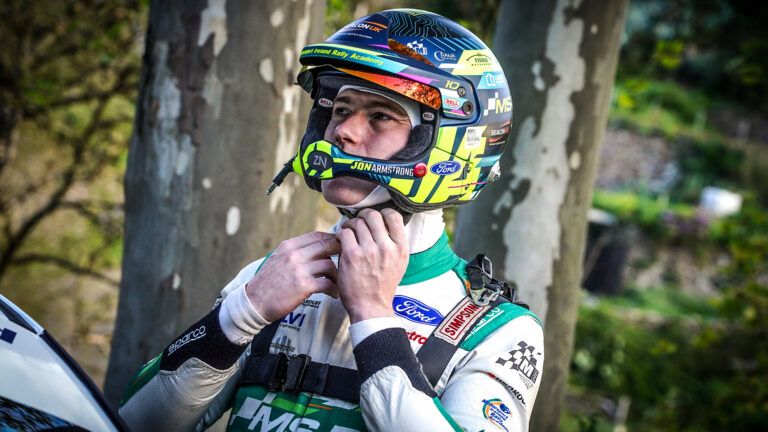
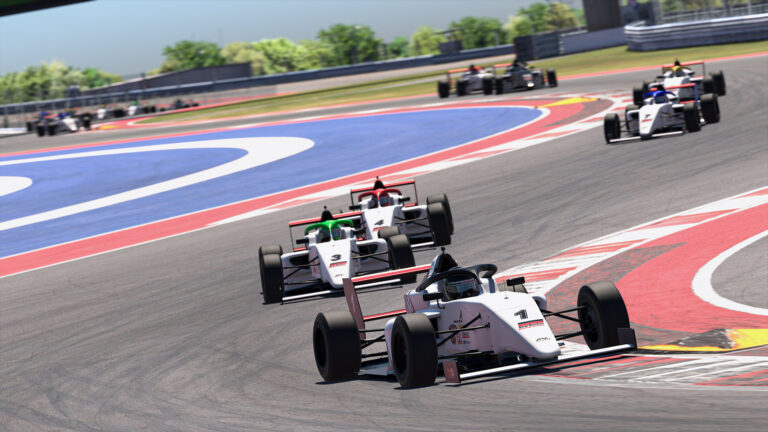
During many of the iRacing World Championship events, or some of the bigger iRacing community events, you might catch me on Twitter live-tweeting that race. While there are other sim racing reporters who do a fantastic job with keeping those on Twitter up to date with what’s happening, I’d like to think my ability to provide real-time images in conjunction with my updates helps immensely.
I’m definitely not the greatest iRacing photographer out there, not by a longshot. I don’t have the best equipment and a lot of my work is within tight timescales. However, I’ve been fortunate to produce a few lucky ones here and there. Today, I’m going to dive into some of my tips and tricks to getting decent photos in the iRacing simulation.
I swear I’ve had to have taken over 10,000 images during events alone this year. I’d probably only say I’m in love with a handful of them. If you’re not getting it off the bat, keep trying regardless. For some reason, a lot of people enjoy what I put out and I enjoy taking them. There seems to be a decent demand for images in today’s sim racing society as well.
I’m not here to give away all of my secrets today, because that might put me out of a job. Still, I’m always willing to share some basic tips to getting amazing photographs on the iRacing simulator. Even if you have a junk computer like I do, fantastic images can be had with a few simple tricks. I’ll explain my method, the built-in system, and some tricks to make your images look spectacular.
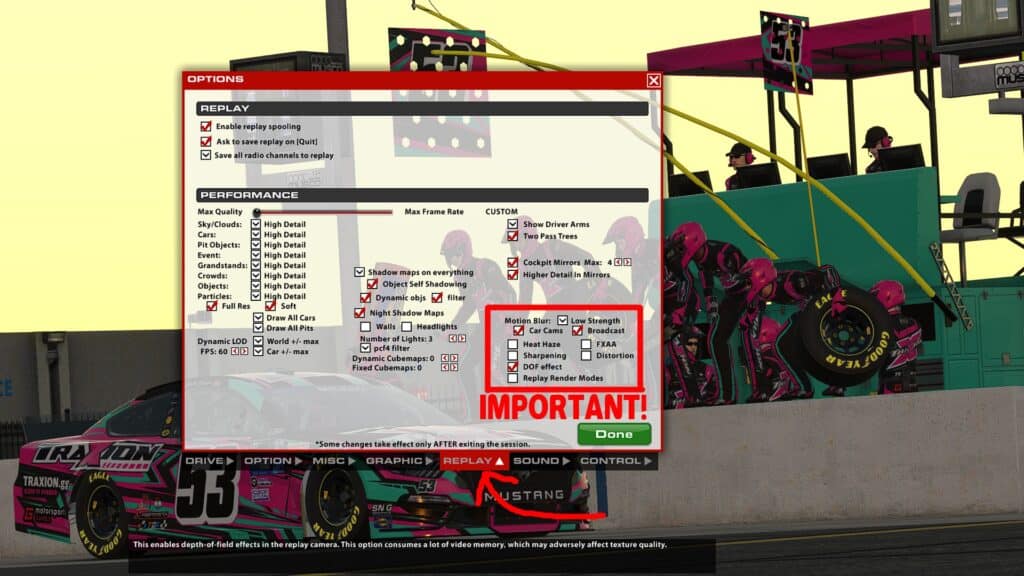
iRacing photo mode graphics settings
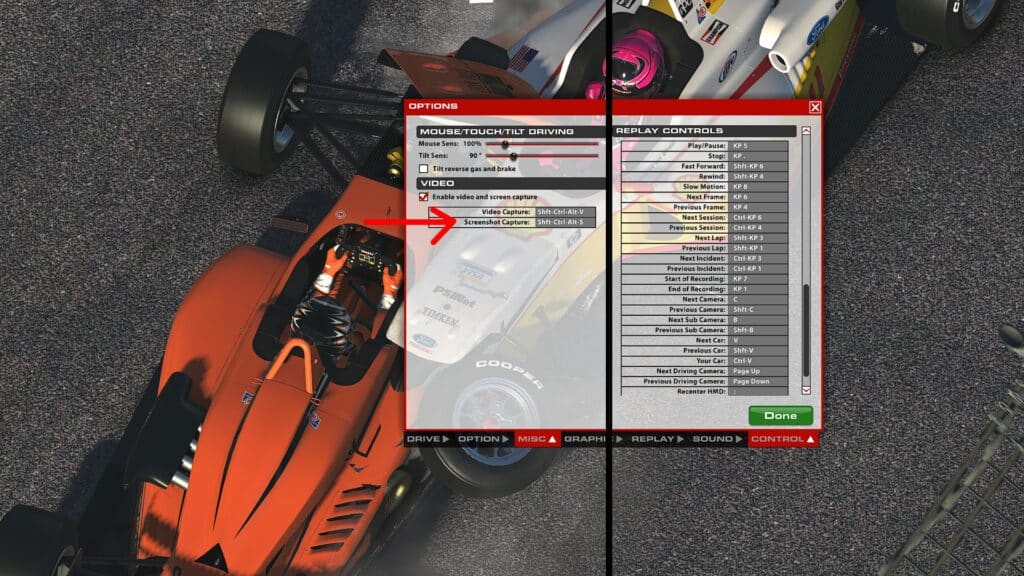
The options menu can be your best friend in getting the right settings for photos.
While your settings may vary depending on what you have as far as hardware and software are concerned, making sure the right things are selected is crucial to a good photo. Now, these are just my preferences, as other iRacing photographers might like more motion blur, or might be able to turn on some of the more draining features.
The first thing you’ll want to do is figure out how you’ll be getting the best possible pictures. If you’re taking photos directly from the sim, be sure to set a screenshot button. My personal preference is to use the print screen button that’s built into Windows. I’ll paste it over into an open Adobe Photoshop window so I can work on it in depth over there. Some won’t have access to Photoshop, so having a button set to take the pics might not be a bad idea.
If you just have it enabled and you’re fine with the default setting, pictures are saved to the iRacing/Screenshots folder by pressing SHIFT + CTRL + ALT + S simultaneously. While in settings, be sure to set any other keyboard shortcuts that you prefer. Most inputs in game are customizable in that regard.
Graphic and Replay tabs are probably the most important parts here. In Graphic specifically, do what your system will allow as far as performance is concerned. For the most part, just turn up what you can so you’ll still have a good experience when driving. A lot of these options are separately adjustable in the Replay tab, so you don’t need to race with everything maxed out.
The best iRacing photo mode settings
Keep reading to see why I put IMPORTANT in bold red and boxed off the area.
Gamma and Brightness are found under the display section of Graphic. Mess around a bit here if you find your photos don’t have good contrast or come out too dark. Another neat tip for those who can’t avoid having the iRacing logo watermark in the bottom right corner – the smaller your UI Zoom is set, the smaller that logo will be. You can’t get rid of it without cropping it out, but at least you can make it smaller.
The last important parts about a good screenshot are the Motion Blur and DOF Effect settings. You can get a car to look pretty crispy on its own, but if the background of the shot doesn’t have that extra bit of love, it could ruin an entire shot.
Under Replay, at least turn motion blur on to low strength. Medium and High are also good for those using higher end computers. For me personally, it makes it look off with my lower settings. Again, it comes down to preference, just make sure it’s on.
The DOF effect is otherwise known as Depth Of Field. That allows for the focus of a shot to change between what’s close to the lens and what is far from the lens. This is mainly controlled by the Aperture setting in the F12 menu, but you won’t get to highlight the focus of the image if this is not checked.
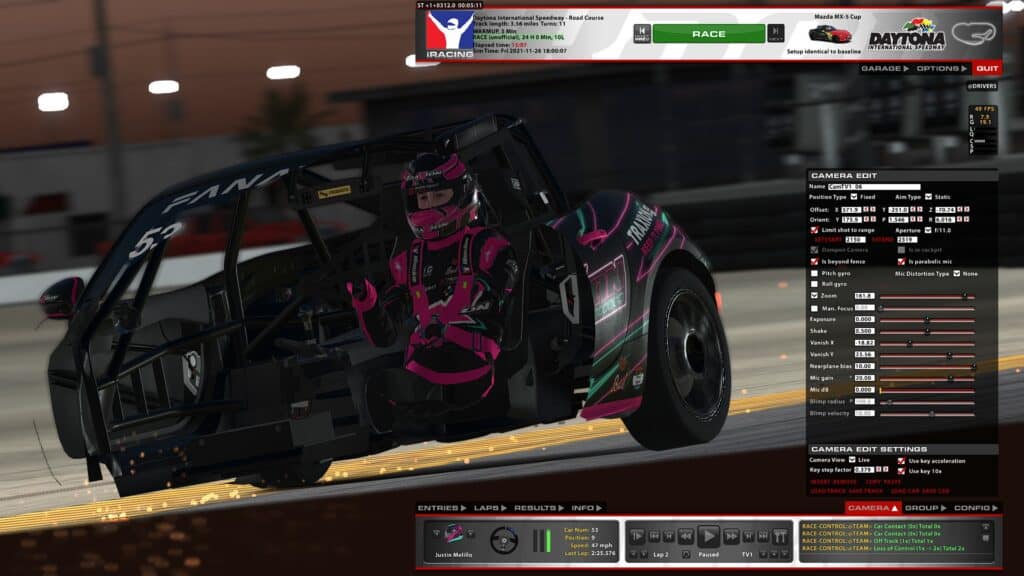
How to move the iRacing photo mode camera
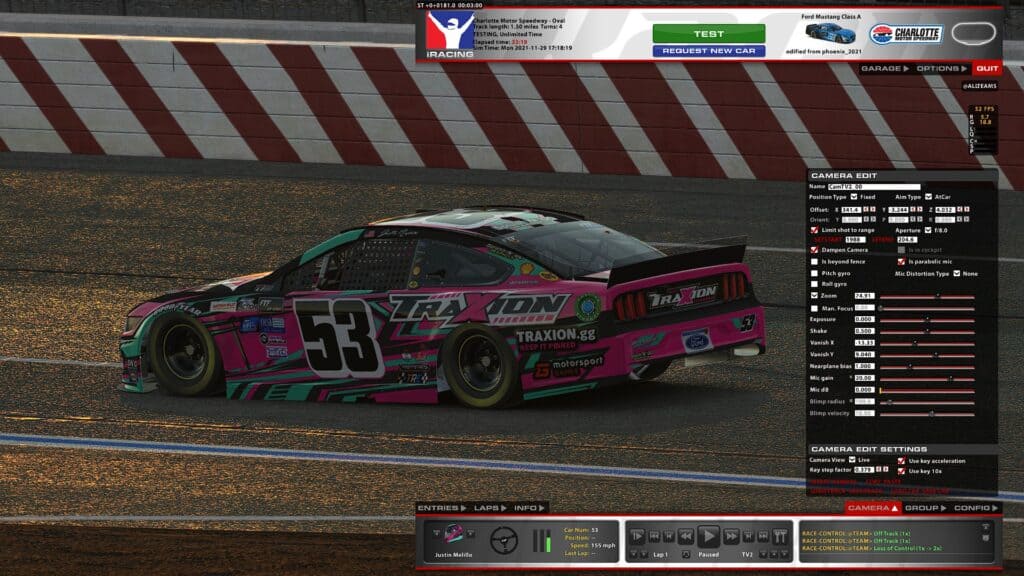
When sitting on the racing screen outside of the cockpit, when you hit CTRL and F12 together, a Camera Edit menu appears. While a lot of it can be used to create broadcast cameras for video purposes, there are a few key elements in here that can be used to get a perfect still shot.
Now, there are some people who have cameras saved in fixed positions to always get the same shot. While this is a great tactic, I personally like to get a new shot every time I’m shooting. It is inevitable that some will be at a similar angle. However, it’s a good practice to try to expand your horizon by moving that camera around the track. Remember, this is a game. If you want to position your camera right in the middle of the groove, by all means, go for it.
Use the offset X, Y, and Z axes to move the lens of the virtual camera. The X-Axis is a forward and backward motion, the Y-Axis is a side-to-side motion, and the Z-Axis will move the camera up and down. If your aim type is AtCar, adjusting one axis might also change values for the others as it moves the camera while still pointed at the car.
If you move the Zoom slider left, this will basically show you where the lens will be positioned. This can also be changed to the Static FOV slider. Per the iRacing support page, “When you select Static FOV, the camera fixes the lens to a given angle using the FOV slider. With Zoom mode, the slider represents the percentage of the car that will be visible on the display.” Interpret that as you may. I use both to get the lens exactly where I want it to be.
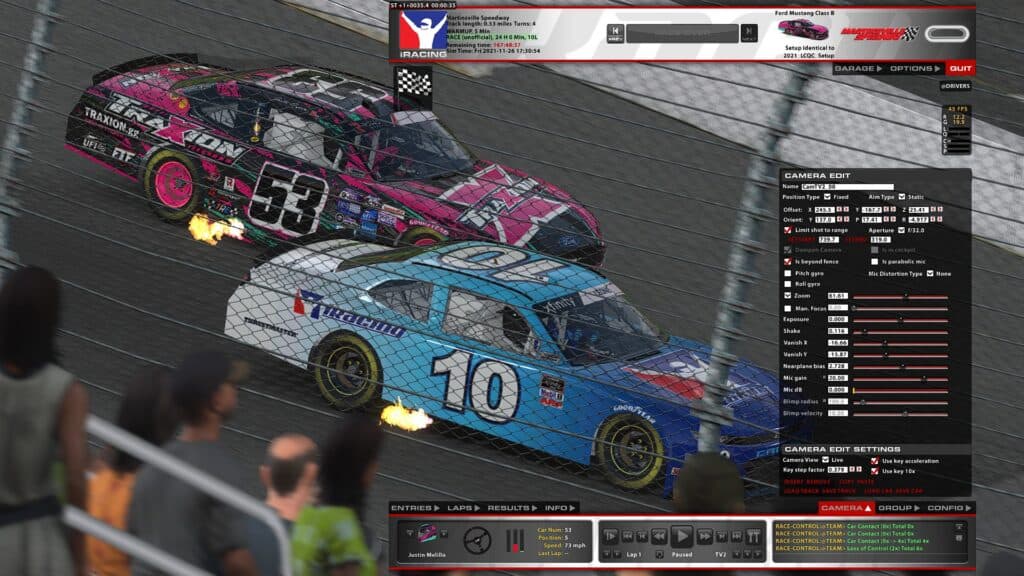
How to change field of view in iRacing’s photo mode
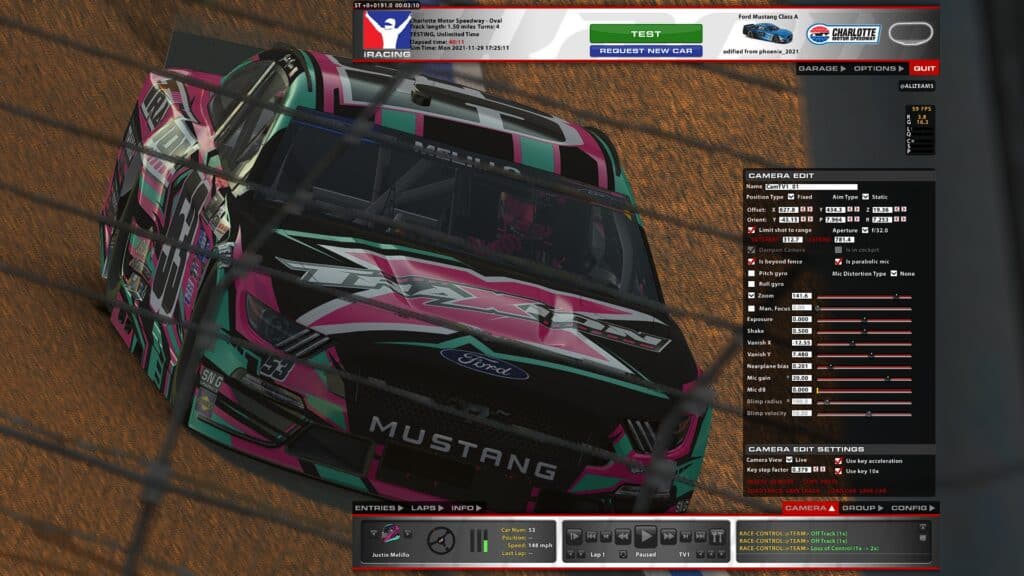
I’ll move the Nearplane bias up to get rid of that fence. I could also just move the lens.
Once you’re in a good spot, it’s time to use the Zoom or the Static FOV to close in on the subject of the shot. The Aperture is what you’ll use to get the DOF Effect in play. A f/32.0 will keep the most background in the image in focus. A f/1.0 will blur the majority of it. I try not to use either of these as they are both a bit extreme. I like a blurred background, but not where I can’t determine what it is. Setting to f/8.0 is a safe bet most times. Start there and work up or down to your desired blurred background of choice.
Sometimes a blurrier background might take some of the features out. By lowering the exposure, it will make things darker and less will be washed away in the brightness. It’s better to take a darker picture, as it is in real photography. A brighter picture won’t have the finer details unlockable in post-editing like in darkened photos.
If the shot is somewhere beyond a fence and you don’t want the fence in the shot, the Nearplane Bias will remove anything close to the camera, including the fence, the track, other cars. I prefer to get the shot without changing this setting, but it does come in handy at times.
iRacing photo mode tips
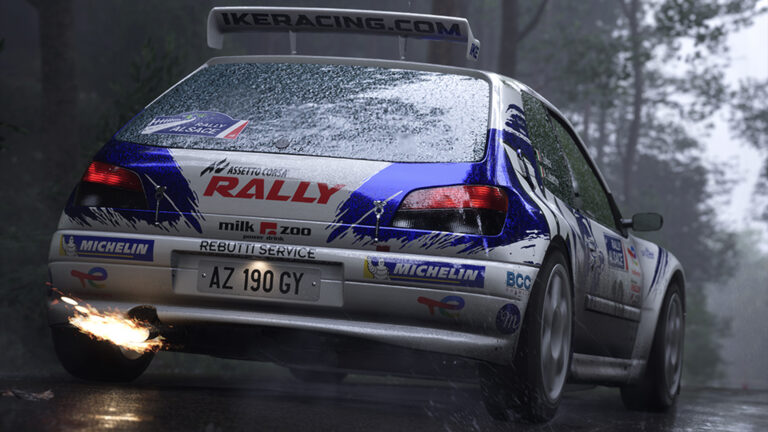
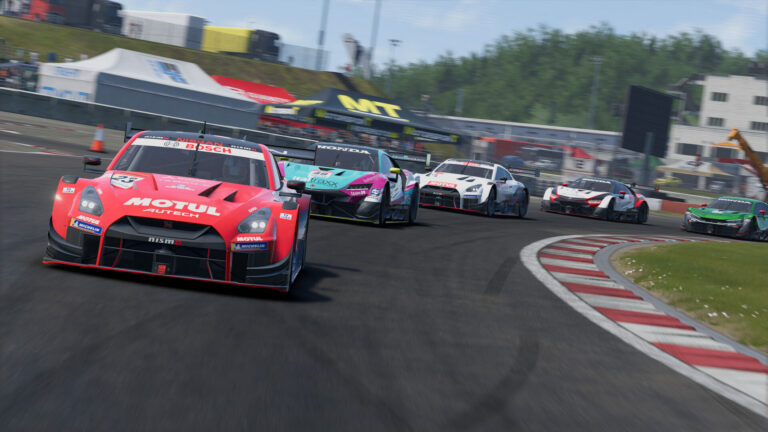
What I aim for every time I go out there and take photos is to have something I can publish and others will be amazed at how real it looks. It doesn’t happen every time, it doesn’t happen most times if I’m being honest, but it can happen with the perfect storm of lighting, positioning and post-editing.
The built in camera system has this option called Aim Type which will allow the focus to be on a single car, a group of cars, or nothing. AtCar is what you’ll want to use when focusing on a single car. AtGroup is good to keep multiple cars in somewhat focus, but it’s not great, in my opinion. I try to steer clear of that option for photography.
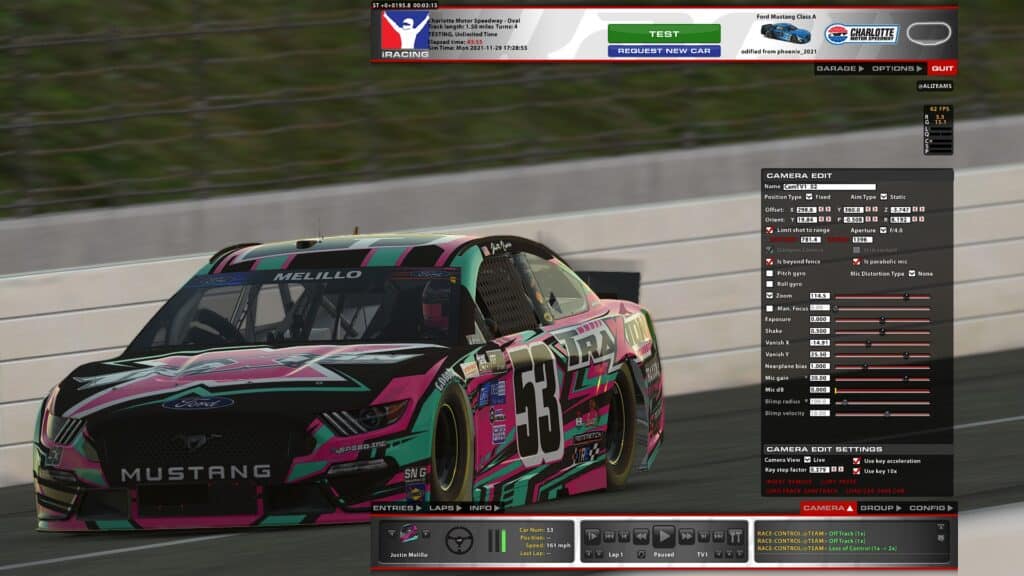
You’ll notice that the Orient Axes, Y, P, and R are unlocked when Static aim is chosen,. I use Static aim every single time, but not until I’ve gotten how I want things with the AtCar aim. Here’s where things get technical.
Nudging is moving the replay one frame forward or one frame backward. They are the buttons that are to the left and right of the rewind and fast forward button options. Visually, it’s a single triangle pointing with a vertical line connected to the point. Nudging will get the motion blur effect in play. It will also readjust the auto focus if you don’t want to mess with the manual focus.
Nudge, nudge, nudge… PERFECT!
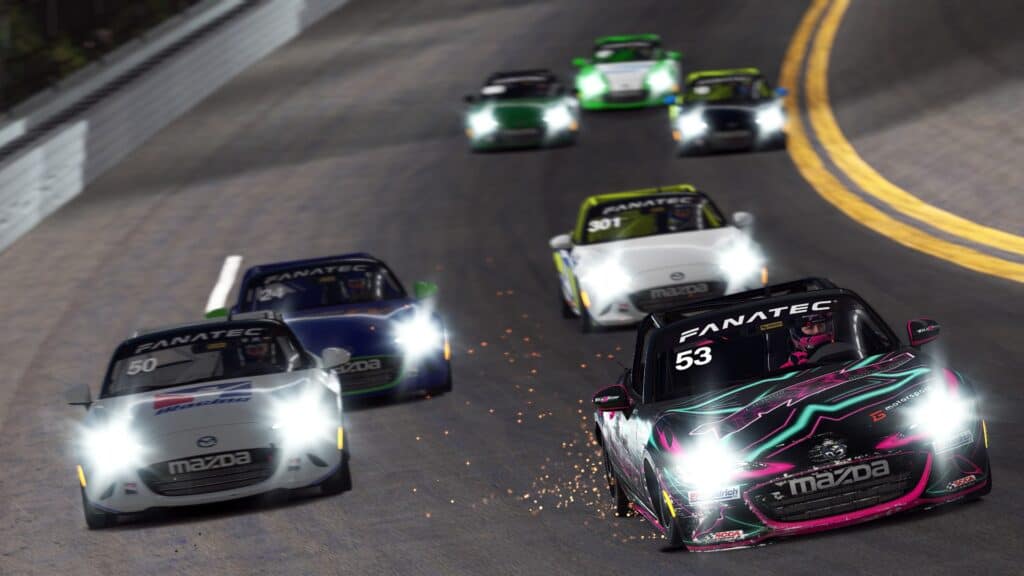
Of course, you won’t need to nudge if you are taking a picture of something standing still. However, for those action shots, trust me here and get the nudge button mapped. Nudging forward is preferred because other track effects, like sparks, grass, exhaust flames, and debris will disappear when nudged backward in time.
Make it perfect
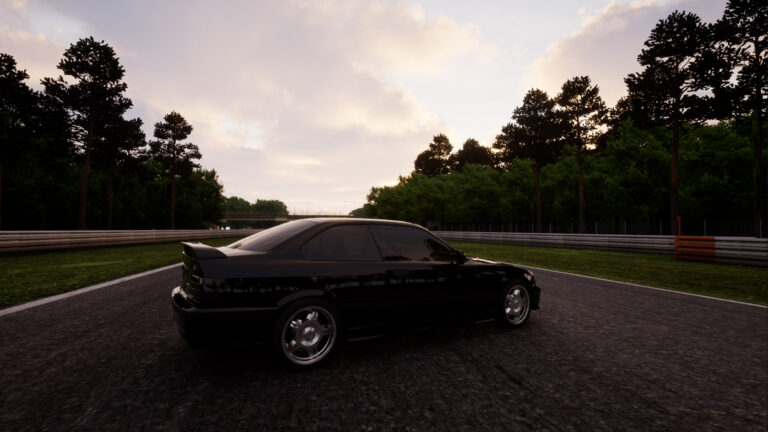
Once the picture is nudged into place, and you have everything basically set, change the aim to Static. The Static aim will be useful to get that perfectly framed shot. The Orient takes the camera and moves it on a directional axis, but at a fixed point. Yaw (Y-Axis) under Orient tilts the lens side-to-side. Pitch (P-Axis) will tilt it up or down.
The R-Axis stands for Rotate, that’s the fancy one which will rotate the lens. This can lead to some cool visual effects of racing speed. Rotating a lens in real life is a common practice by top photographers. While a flat image might still look good, by twisting it, you can fill more of the frame with the subject and create a neat background in the process as well.
ARTISTIC INTUITION
Whoops. That’s too much Nearplane Bias.
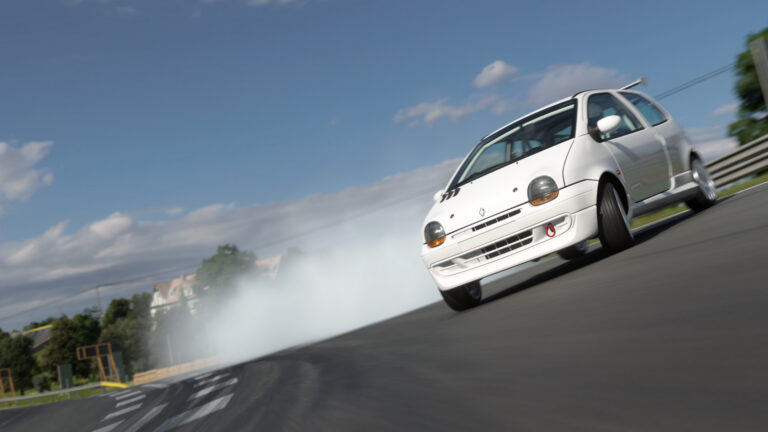
There are a few annoying things to keep an eye out for. These are shortcomings of the game but important to keep in mind for the best looking images. One fatal flaw is clipping, where objects will go inside of other objects. This is like cars in other cars, tires into the pavement or dirt, debris flying through solid surfaces like walls, etc. If you can avoid clipping, it will look so much better.
The shadows in the game are OK, but they’re not great. Certain camera angles juxtaposed with the sunlight or track lighting might leave a janky looking shadow on the car or on the track surface. Keep an eye out to avoid those. One of the worst will be if the sun is at an angle where the car is driving towards it. The side of the car will get almost an engine-tuned layer of light over it, which just isn’t right visually. Take the shot from another angle and avoid if possible.
For the NASCAR people in particular, those lugnuts on most of the current day cars just don’t blur correctly. The tire wall and the rim will mostly blur utilizing the basic engine of the game, but those lugs look stuck in time, immovable from the rim, like the wheel has some magical method of turning itself that goes against physics. If you can avoid side shots, then that’s the best method. Otherwise, just know that those lugs are going to look awful.
iRacing photo mode guide – Adobe Lightroom and Photoshop editing
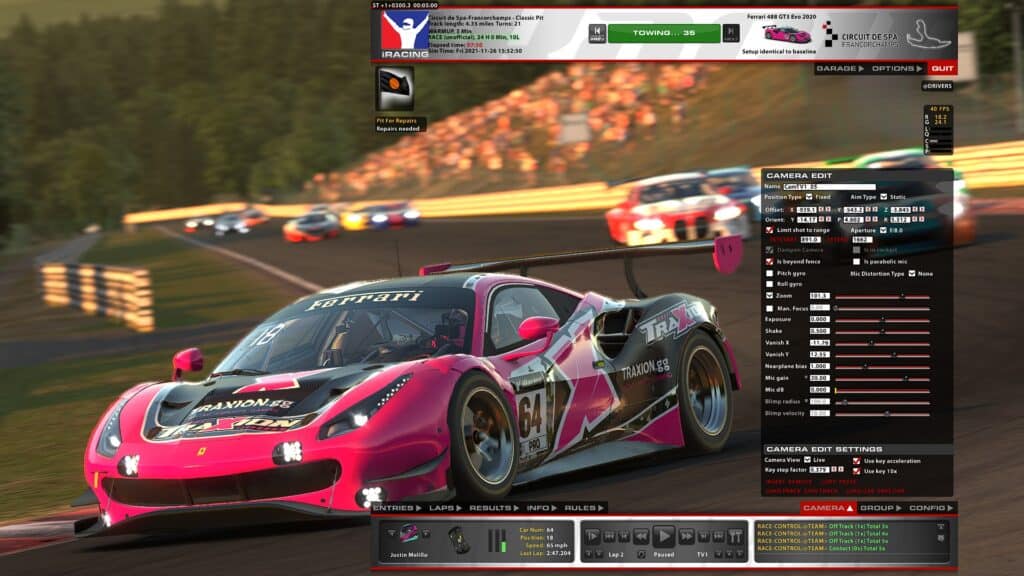
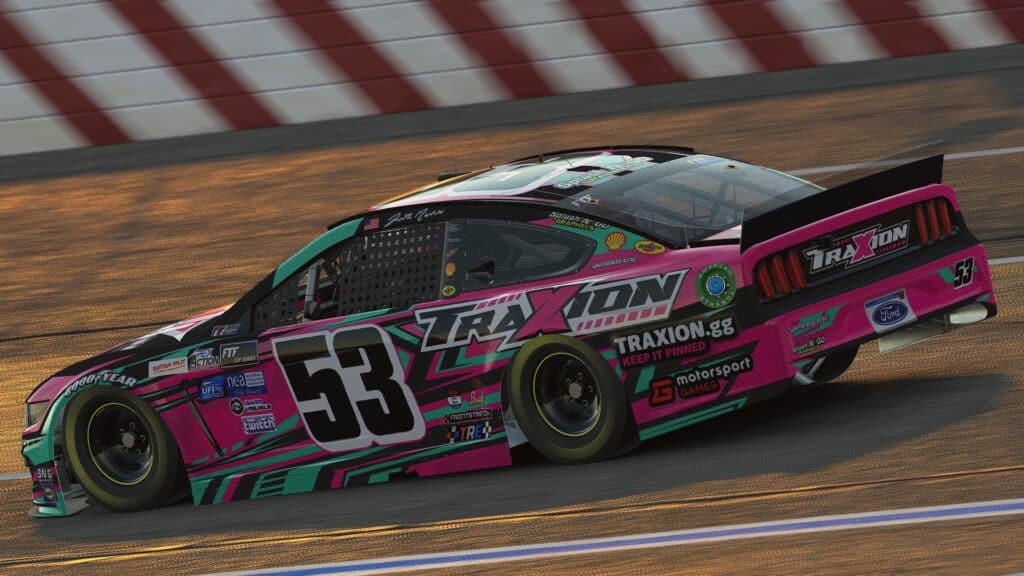
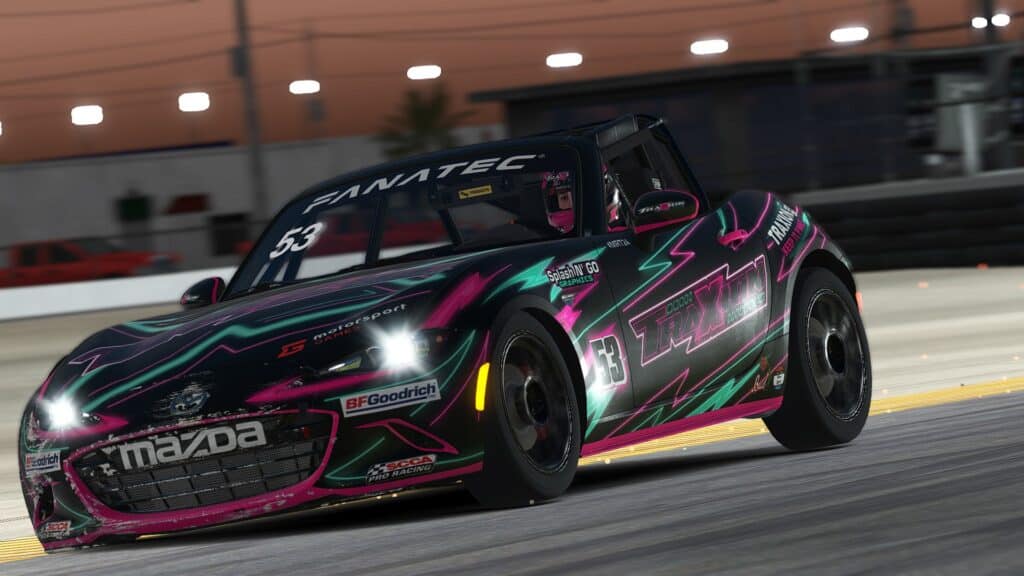
Honestly, this one didn’t need too much in post.
This is where some editing software might come in handy. What I usually tell most people who ask is that 95 percent of what you see in my images comes from what’s available to take directly from the game itself. The other five per cent is made up using Adobe Photoshop. Color correction, brightness and contrast, maybe even some filters might make your image stand out from the rest.
If Photoshop isn’t a possibility, you can still get artistic with Replay Render Modes. I still prefer to use filters on Photoshop, but the Render Modes available can get you some neat things like Black and White, Sepia, VHS tracking and more. Make sure to check that option in the Replay area as well.
Man, iRacing really has to deal with this yellow tinge sooner than later.
My biggest tip of them all is to just keep trying different things. I’m not an iRacing employee and I don’t know exactly how everything works. There are things missing and this isn’t the definitive list of every possible tip or trick.
With all of that in mind, just know that this is how I’m able to do what I do, for the most part. If you want to learn more about the iRacing Camera Tool, check out the guide on the iRacing support site.
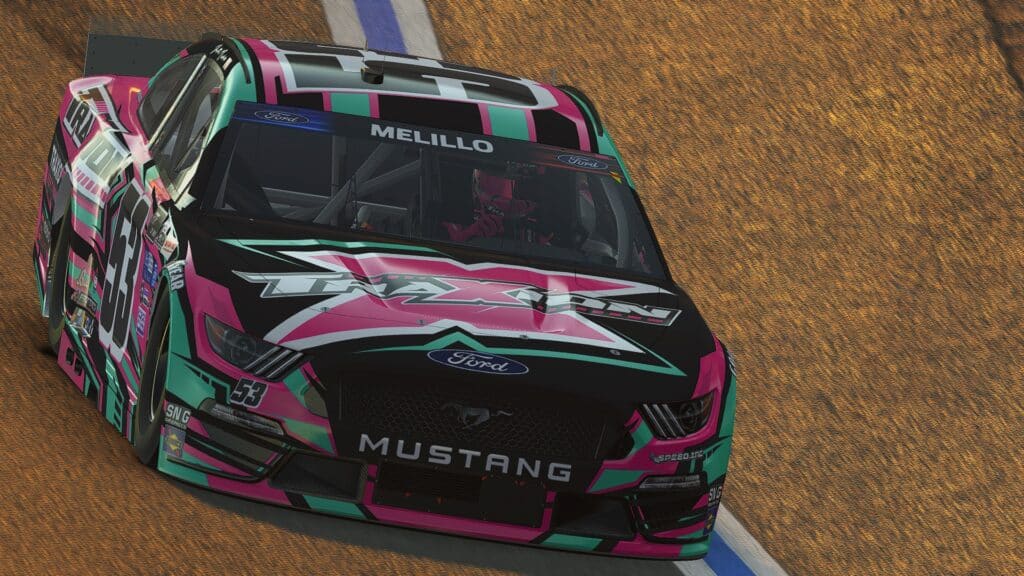
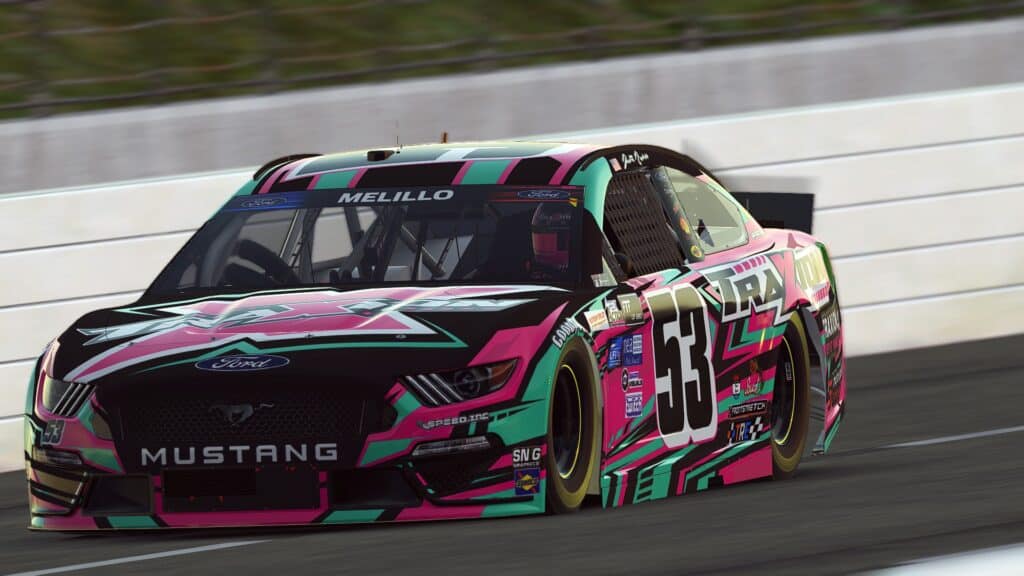
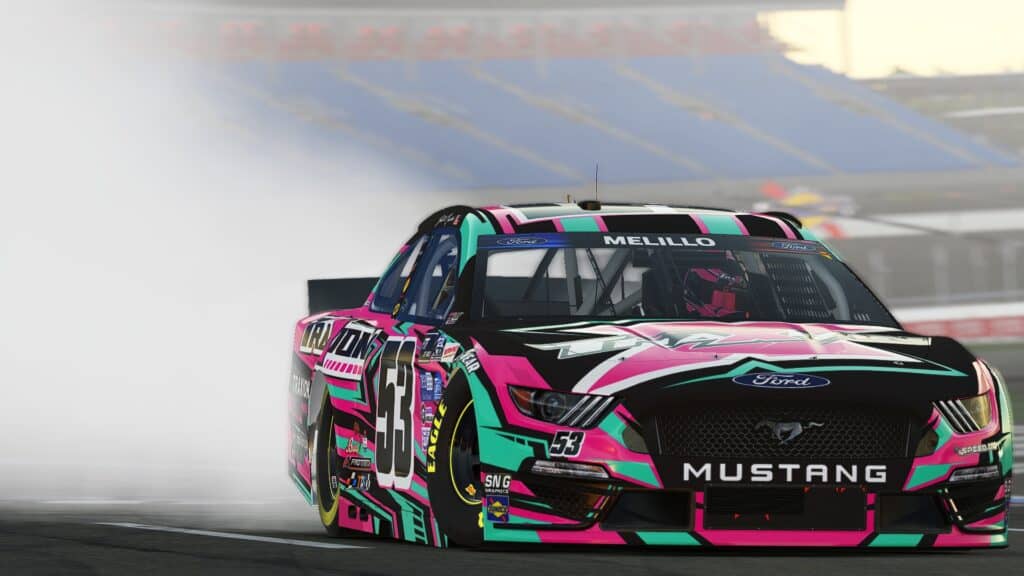
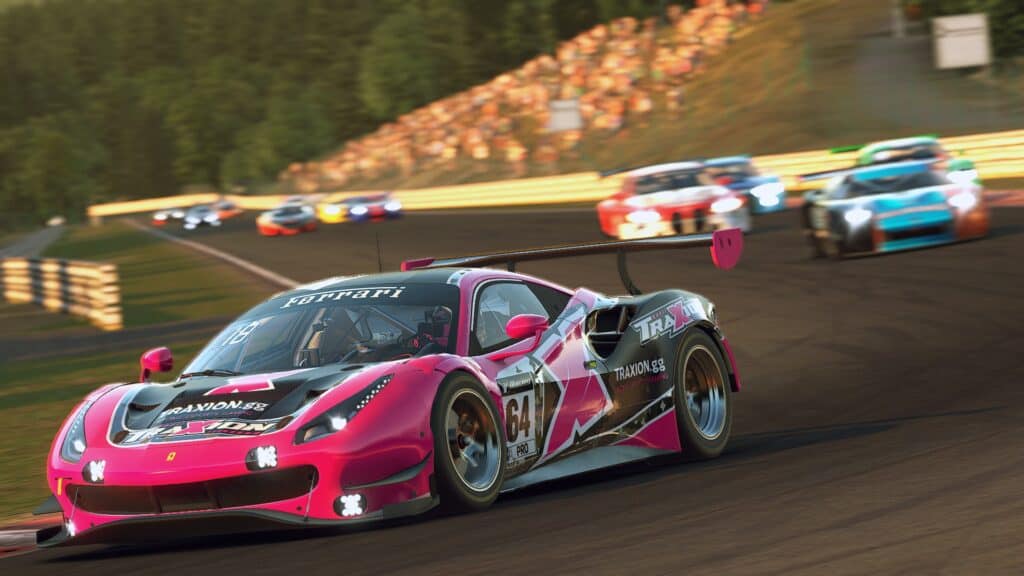
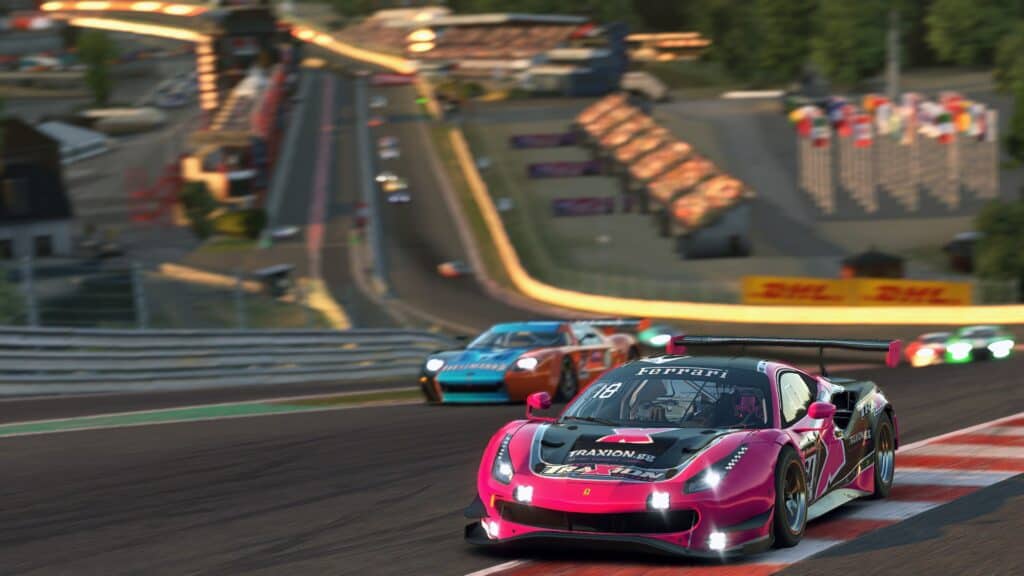
There you have it, and as a thanks for reading this guide, I’ve included the finished results of some of the examples from above. There might be some bonus content as well. Enjoy and don’t forget to keep it pinned for more in-depth iRacing content like this.
Edit, by Ross McGregor:
To finish off your freshly taken iRacing screenshot, why not add a little post-processing to the mix?
In Adobe Lightroom, I advise increasing the Clarity, Dehaze and Exposure settings a tad, while also decreasing the Highlights option. Together with a little vignetting, this will really make your iRacing screenshots pop!


Discussion
0 Comments
Join the discussion
Join Traxion.gg to start discussing with members.
Already a member? Sign in