Developed by RaceWard Studio, TT Isle of Man: Ride on the Edge 3 delivers all the thrills and spills we’d hoped from an Isle of Man TT game.
Using Kylotonn’s KT Racing game engine, TT Isle of Man: Ride on the Edge 3 (ROTE 3) shares a similar photo mode to the French studio’s WRC series. This means it’s possible to create action shots of your bike across the impressively detailed 37.73-mile Snaefell Mountain Course.
Although the game’s photo mode lacks fundamental features such as shutter speed adjustments, meaning motion blur doesn’t appear in the background or wheels of moving motorcycles, there are still a few tricks that can elevate your images to the top of the Glencrutchery Road podium.
Step 1: adjusting Steam screenshot settings
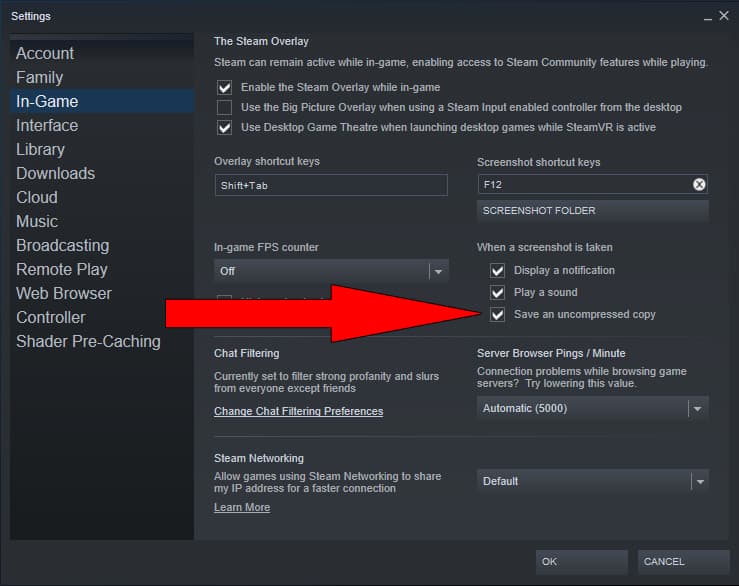
The first piece of advice is to enable Steam to save uncompressed copies of your images for maximum quality. This only applies to the PC version of the game, however, so console players will just have to make do with their system’s standard screenshotting feature.
Saving an uncompressed copy of a screenshot in Steam using the F12 key will create PNG file types instead of JPGs (which are more compressed image files than PNGs) and can be accessed via the ‘Settings’ and ‘In-Game’ menus. Check the box that says ‘Save an uncompressed copy’ and you’re good to go.
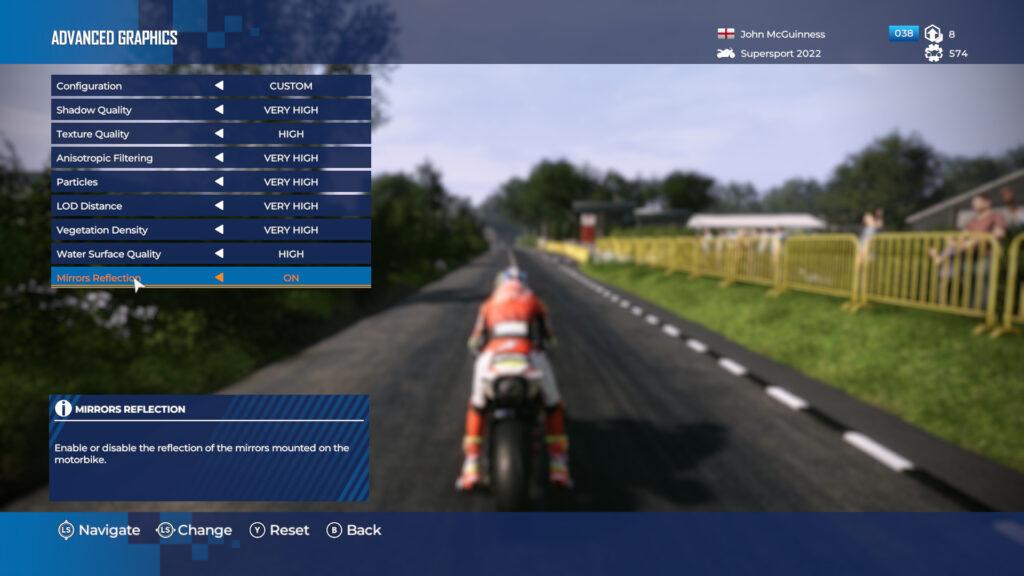
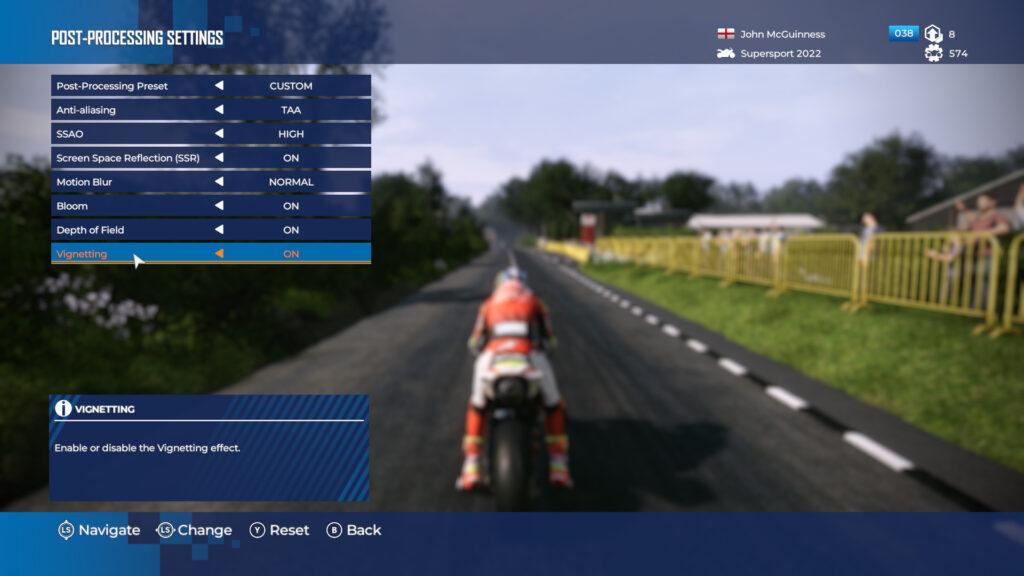
The next step is to raise all your graphics settings to 11. This is a complete no-brainer when taking in-game screenshots but you do have to balance graphical fidelity with a smooth gameplay experience.
Step 2: setting up your shot
Picking the perfect angle for a ROTE 3 photo isn’t as easy as it sounds. If you fancy capturing the perfect wheelie along Sulby Straight, or your biggest jump over Ballaugh Bridge, you’re going to have to be pretty quick pressing that Start button.
Pressing start brings up the pause menu, giving you access to the main map, settings and the Photo Mode, among other sub-menus.
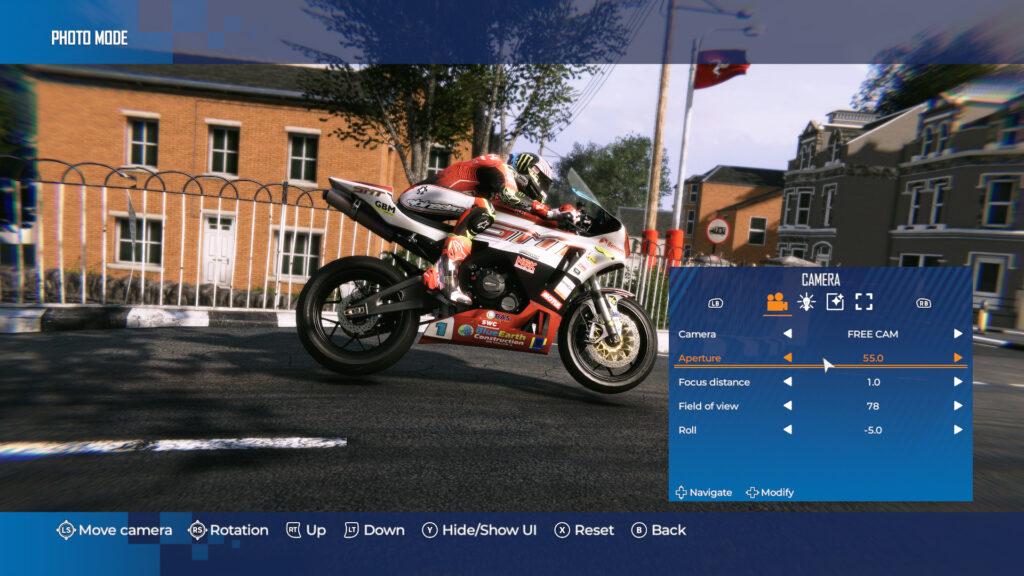
Using the free camera, position your shot using the left and right analogue sticks. Unfortunately, you’re restricted in the distance you can move away from your bike, so taking properly atmospheric landscape photos is difficult.
However, increasing the FOV (field of view) slider effectively zooms out of the action, so more of the Isle of Man’s moody landscape is on display. Likewise, decreasing the FOV setting zooms in closer to your bike, providing a more dramatic perspective of your machine.
Step 3: aperture and chromatic aberration are your friends
The aperture on a camera is the opening that allows light in. A fully open aperture lets more light in and creates more background and foreground blur. A narrower aperture results in the entire image being in focus.
In ROTE 3 moving the aperture slider all the way to right will increase the amount of background blur, adding a depth of field effect to the image.
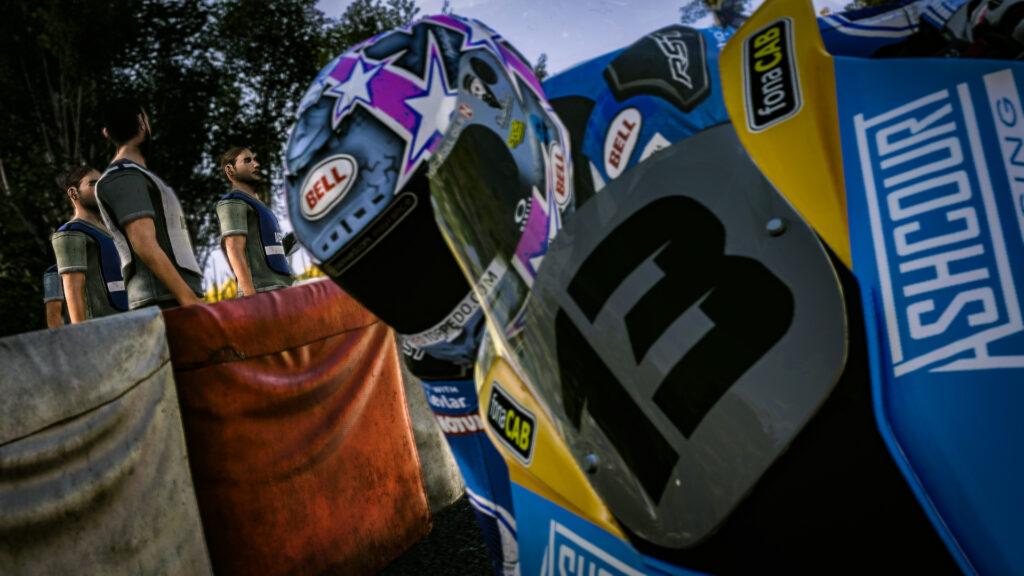
In the ‘Camera Settings’ tab you can also roll the image to your liking, with the focus distance also changeable; although, as a matter of course, your bike will always be in focus if you do not change this (maybe you want to go arty and focus on a detail in the background of the shot rather than your motorcycle, like in the image below).
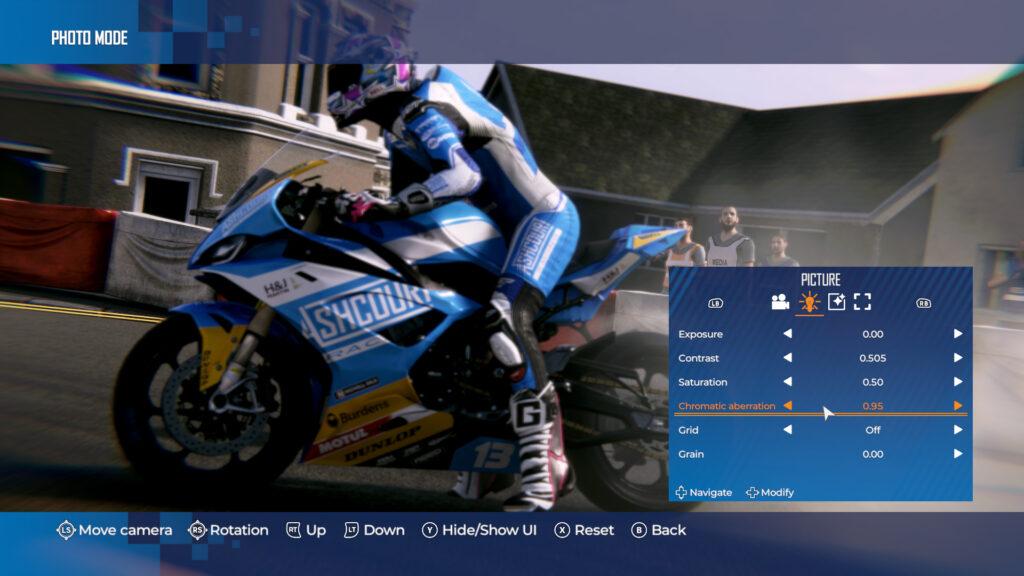
In the ‘Picture’ tab you can change settings such as exposure (brightens or darkens the image), and saturation, or add a grid overlay to help frame the image better. You can even add a film grain effect to make your photo look more ‘noisy’.
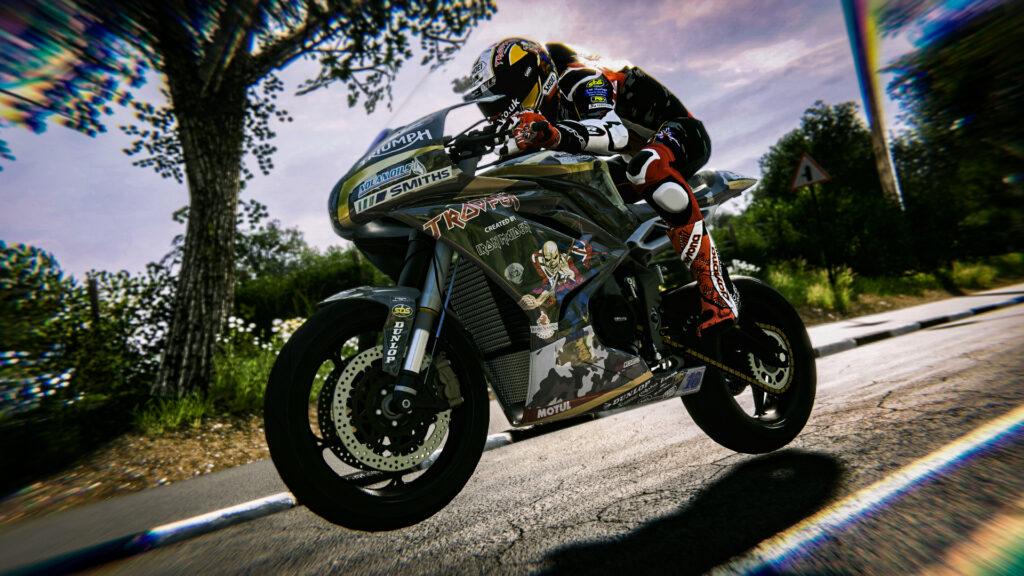
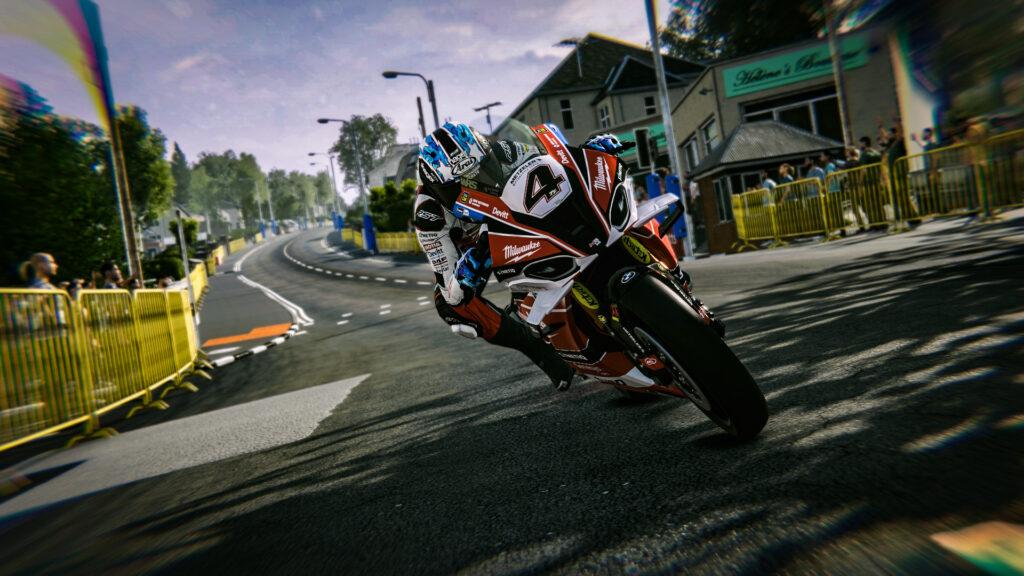
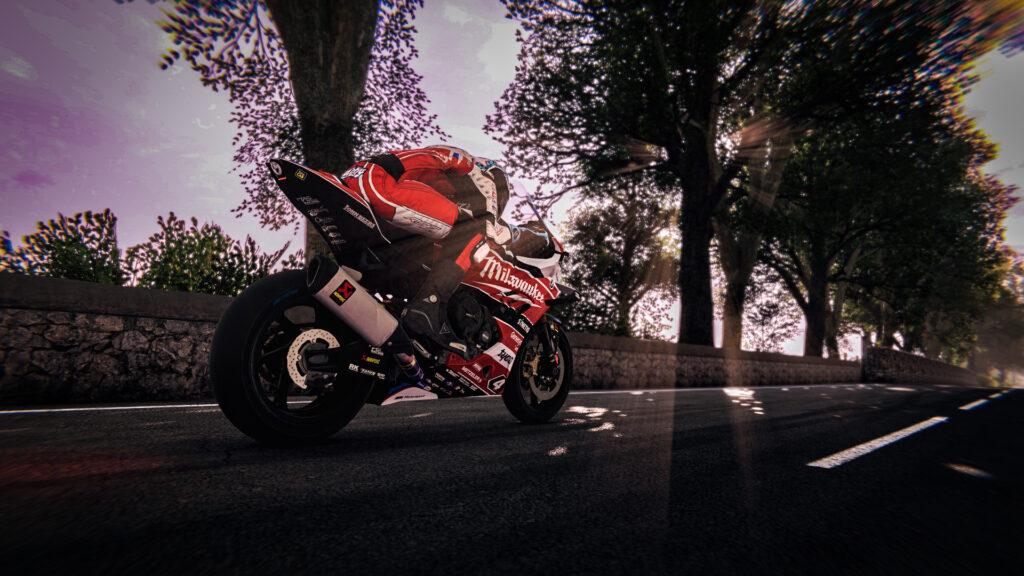
However, it’s chromatic aberration that can really make a difference to a shot in ROTE 3. Chromatic aberration, also known as colour fringing, is when light is bent by the lens of a camera in such a way that all colours (light waves) arrive in front or behind the focal plane.
This leads to hazy effects in the corners of your photos, drawing your eye to the subject in the centre. In my opinion, it adds more impact to the overall composition. See its effect in the image below. Ironically, it’s an effect you don’t really want in real-world photography but it works well here.
ROTE 3 has image filters too, but in all honesty, they’re not very good, so I sidestep them in favour of my own post-processing later. If you want to add a bit of cinematic drama to your image then why not add black borders to your photo using the ‘Logo & Borders’ tab?
Note: you can only change effects like aperture while using the free camera.
Step 4: no motion blur, no problem
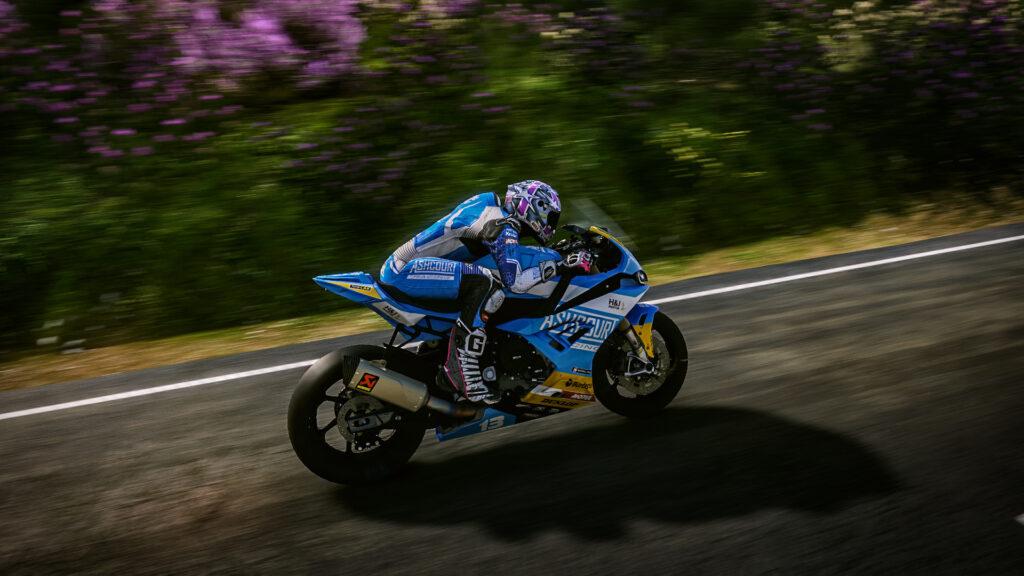
You know how I said earlier there was no motion blur in ROTE 3’s photo mode? Well, that’s true, but to obtain a nice sensation of speed from your photos there’s another way to do it…
Simply, instead of using the game’s photo mode, use its replay mode. Now, the big drawback here is that you can’t save race replays (the same goes for Kylotonn’s WRC series of games), which is a huge omission, but you can at least watch your post-race replay back as often as you like, and take your time grabbing the best shot.
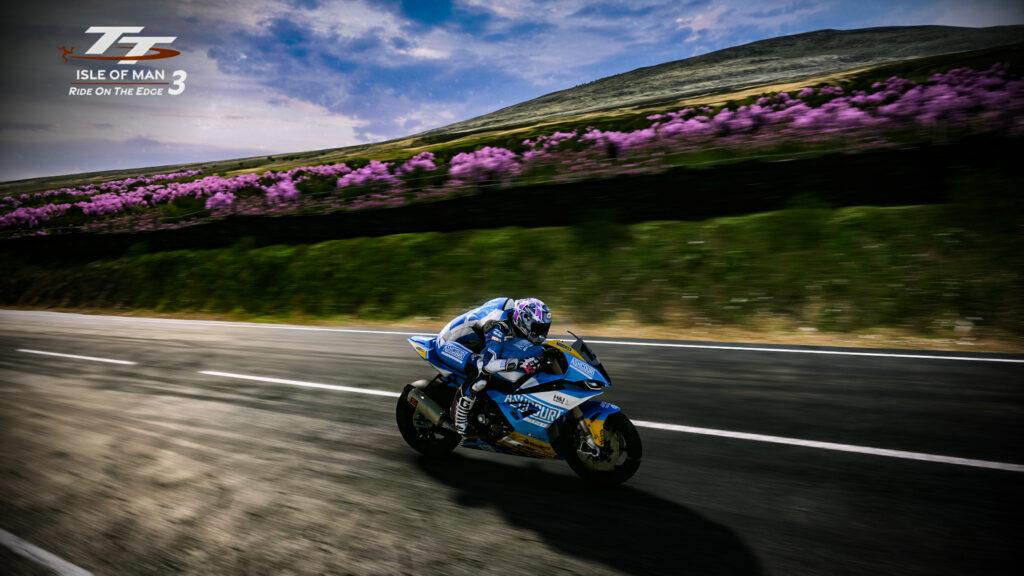
Now, by using the in-replay cameras and the right analogue stick it’s possible to move the virtual camera into a nice enough position to grab a lovely, motion-blurred piece of art using the chase camera views (ok, maybe not art, but it’s better than nothing).
The replay mode uses the game engine’s motion blur setting to achieve the background speed blur and doesn’t it look good? Quite why this isn’t a feature in the replay mode by default we aren’t sure, but it would make an excellent addition in future.
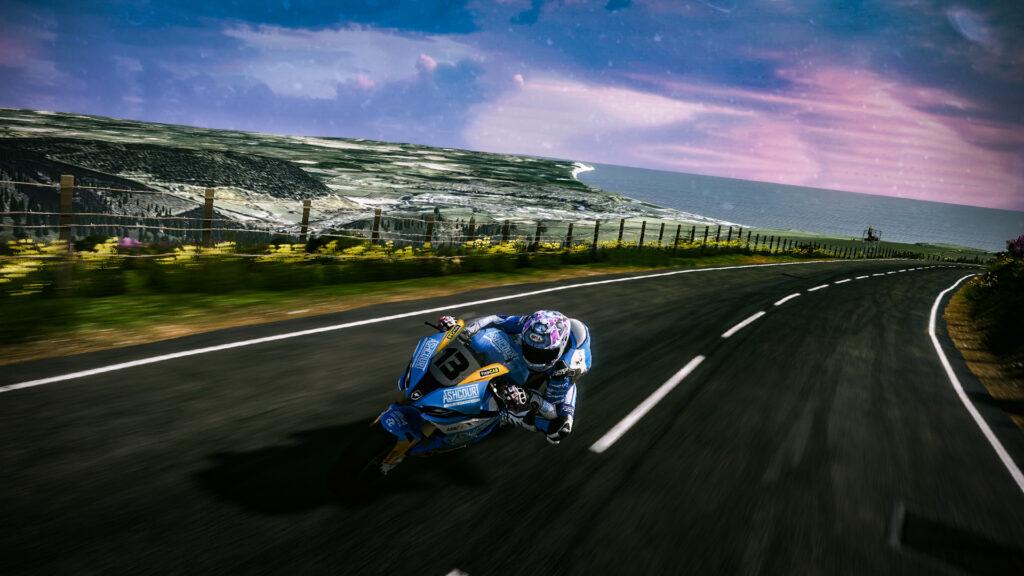
Step 5: lightroom adjustments
No in-game screenshot is complete without a little bit of post-production fettling and for me, this involves a quick pass through Adobe Lightroom. (Other photo editing software is available!)
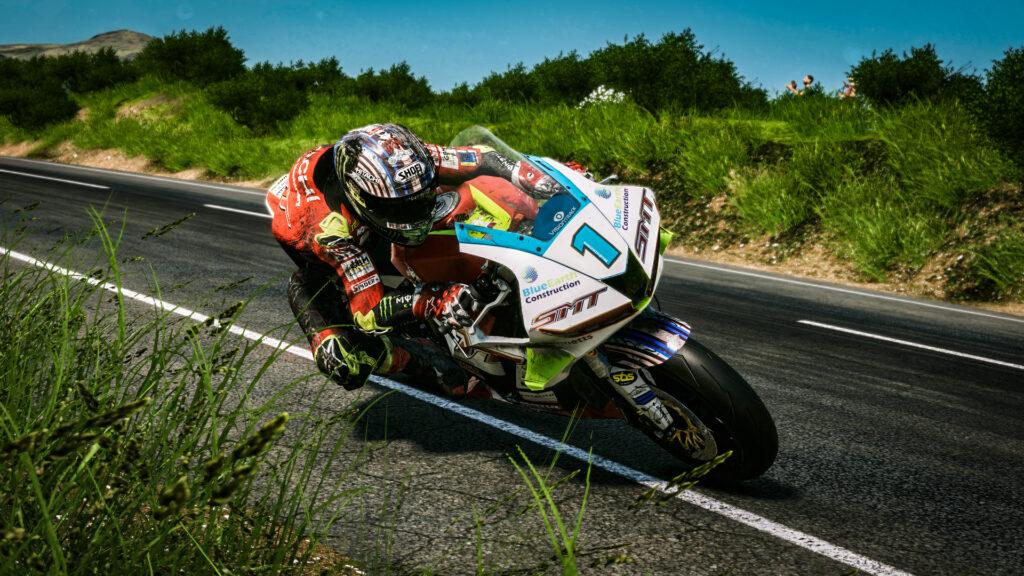
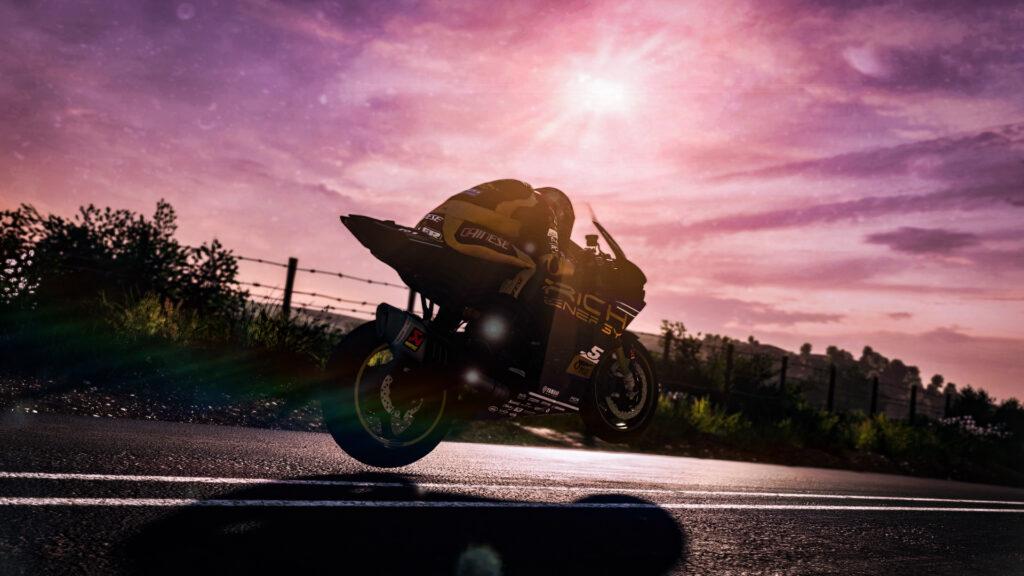
The in-game filters are less than ideal so I opt to add a little dehaze, clarity, vignette effects while increasing the image’s exposure and contrast to produce a bold and hyper-realistic look to my ROTE 3 images – you can check out some examples below.
What do you think of TT Isle of Man: Ride on the Edge 3’s Photo Mode? Let us know in the comments below.


Chat with the Community
Sign Up To CommentIt's completely Free