The setup options within Gran Turismo 7 are wide and varied. Using a humble front-wheel drive Honda as a basis, we explore how much time can be gained with simple tweaks.
Gran Turismo 7 has a detailed array of setup options available to players. But they aren’t all available from the outset, requiring the purchase of parts from the Tuning Shop to ensure maximum adjustability.
Our aim is to walk you through the setup options available, how to change their parameters and what their effects are on track in terms of feel, Performance Points (PP) and lap time. Because although some changes increase the PP value, they don’t necessarily make the car feel better or go faster.
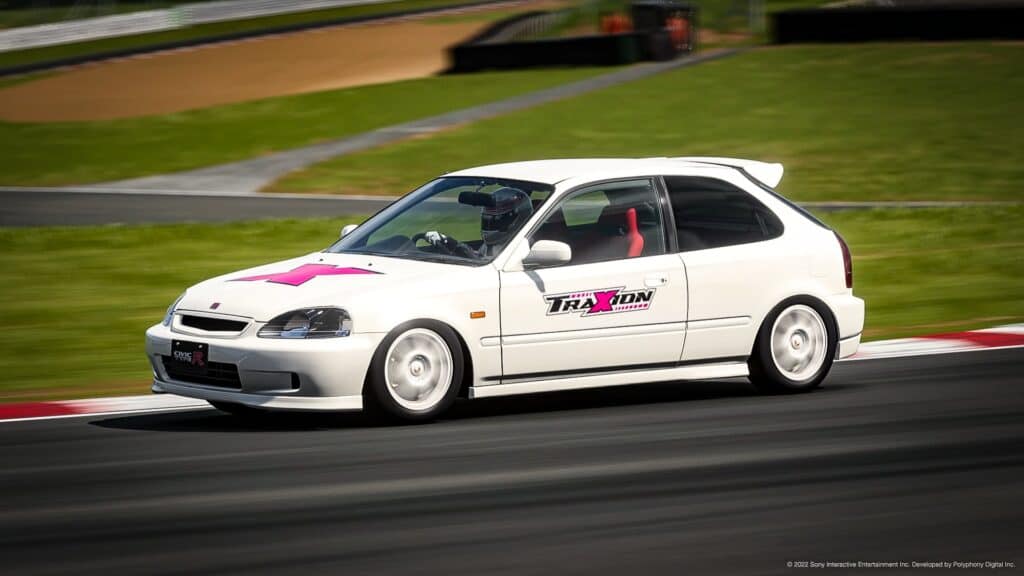
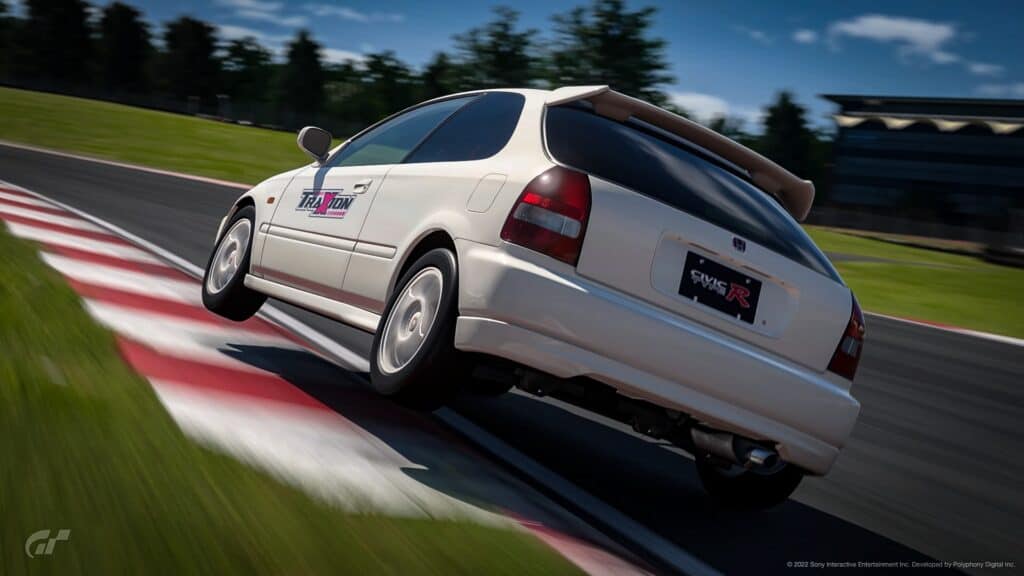
Our first setup guide will cover front-engine, front-wheel-drive cars, and there are none more revered than the Honda Civic Type R (EK) ‘98. This 1.6 litre naturally aspirated hot hatch packs an 8,200rpm punch, thanks in part to Honda’s proprietary VTEC engine technology.
What is Understeer Engineering?
The Tuning Shop in Gran Turismo 7 is a place called Understeer Engineering, where you purchase new tuning parts and tyres to hopefully make your car quicker.
Upon reflection, that isn’t a terribly good name for a car parts supplier.
Below we’ve listed all the tuning parts you’ll require to unlock every setup option on our feisty little Honda, but if you’re short on budget, your first significant tuning purchase should be Fully Customisable Suspension.
That’s the first step to engineering out the understeer…
Sports
Sports: Soft Tyres
Club Sports
Ballast
Semi-Racing
Fully Customisable Computer
Fully Customisable LSD
Racing
Fully Customisable Suspension
Brake Balance Controller
Fully Customisable Racing Transmission
What are Performance Points in Gran Turismo 7?
Performance Points are a numerical denotation of how fast your car is. So, higher points equal a faster car. You can improve this figure by going to the Tuning Shop and buying new parts. Not all parts provide a sizeable jump in performance, however. Adding a Turbo to your car will create a much bigger jump than a Sports Air Filter, for example, but at a higher cost.
Brands Central
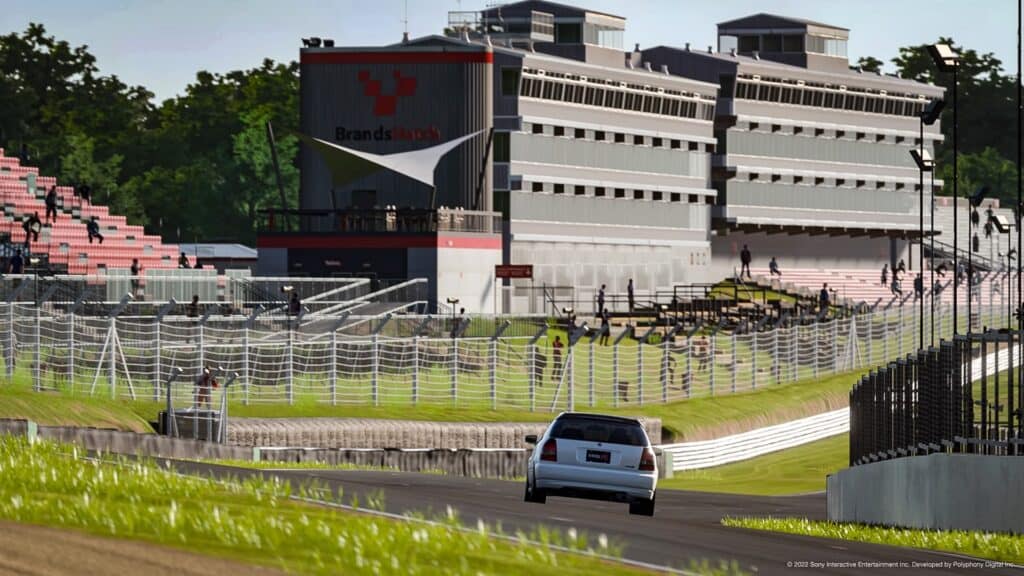
For my setup tests, I’ve decided to use the Brands Hatch Indy layout. Not only does it provide the mixed challenge of fast and medium-speed corners, elevation changes, and a high-speed chicane, it also throws in a hairpin and a couple of tricky trail-braking zones.
In other words, it’s a huge test of a car’s handling, and hopefully will highlight the effects of tweaking setups. Throughout my tuning guide, I’ll use the track at 1 pm on Time Trial mode.
After purchasing all of the above Tuning Parts the Civic Type R’s PP sits at 484.34, but before you start tweaking setup values, it’s a good idea to familiarise yourself with the car on track for a few laps. After around 10-15 laps to get my eye in with stock setup, I could do a best lap of 53.824s, with a theoretical optimum of 53.791s.
Stock setup
Best lap: 53.824s
Optimum lap: 53.791s
First change: Brake Balance +3 rearwards
In the braking zones for Paddock Hill Bend and McLaren/Clearways I feel like the Type R pushes too wide, so I move the brake balance rearwards three steps, and for me, it’s an immediate improvement in braking feel.
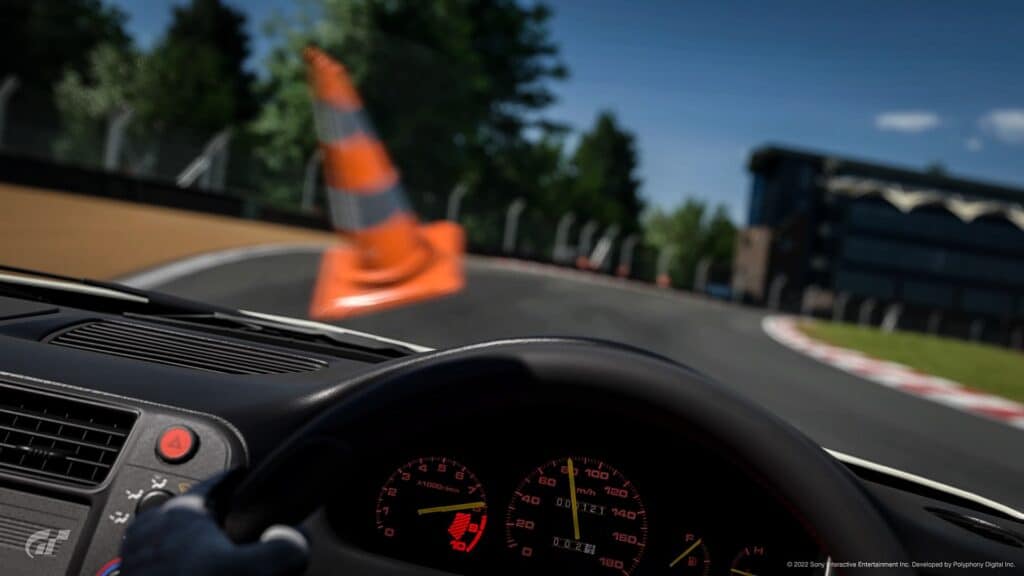
To change the Brake Balance mid-drive, cycle through the options in your Multi-Function Display (MFD) in the bottom right of the screen by pressing up or down on the D-Pad until you reach Brake Balance.
In this case, I tapped right on the D-Pad three times to move the Brake Balance rearwards. Other on-the-fly adjustments are available too, including Traction Control (TCS) fine-tuning and the Weather Radar.
My best lap drops to 53.772s – not a huge jump – but the theoretical optimum goes down by a tenth and a half. Now we’re talking. However, the biggest change for me was how much better the car behaved under braking.
I now felt like I could carry the brakes into the apex more, and make the car turn better. It was way more consistent, and that’s more important than outright lap times.
Best lap: 53.772s
Optimum lap: 53.549
Optimum lap: 52.902s
Second change: Lowering ride height to minimum front and rear
Next I turned my attention to the suspension, and the first major change I’m going to make is lowering the ride height to the minimum value.
Subsequently, the PP value of the car goes up to 485.19 – that’s less than a one-point jump in performance…
I immediately notice that the car can now take Surtees with nary a lift in fourth gear. This is better. My best lap is destroyed by nearly seven-tenths of a second! For less than one performance point, I’ve gained nearly a second in lap time.
I’ve lowered front and rear ride heights to 85mm, but normally running a higher rear ride height will aid turn-in and overall agility. In this case however, raising the rear by 5-10mm failed to improve my lap times or help consistency.
Best lap: 53.086s
Optimum lap: 52.902s
Third change: Transmission
Thanks to the Fully Customisable Racing Transmission we purchased from the Tuning Shop, we can tailor the car’s gear ratio to suit each and every track. For Brands Hatch Indy, we need a shorter gear ratio given how small the straights are.
They key element here being tweak these to suit the track you are racing on.
After a bit of tinkering, I’ve devised that the Civic only needs to reach a speed of 190km/hat the Indy Circuit. GT7 handily gives you the option to set the maximum speed required from your car and it does the heavy lifting for you, determining the gear ratios automatically.
If required, you can tune ratios yourself, so feel free to experiment.
For me however, shortening all the gears provides a nice balance overall. The first corner – Paddock Hill Bend – is now fourth gear instead of third, and the final corner is now third gear instead of second.
Gearing the little Honda correctly for Brands increases its PP to 494.40, and I’ve now gained a second in lap time after changing three simple setup options.
Best lap: 52.798s
Optimum lap: 52.787s
Fourth change: Camber angles
Without going into too much detail about the vagaries of suspension setup, some negative camber will positively affect grip while cornering, albeit at the slight expense of stability under braking, plus uneven tyre wear from inside to outside.
Thankfully, we don’t need to worry about buying a new set of Michelin Cup 2s in this game so we can crank up the camber as much as we like.
What I found however, is that although the Civic allows for up to –6.0 degrees of negative camber on the front axle, using –5.0 degrees seems to offer the best compromise in terms of cornering and braking.
Don’t forget, this is a front-engined, front-wheel-drive car, so over-stressing the front tyres will cause more pronounced negative effects. The rear camber levels, on the other hand, can be set to the maximum negative value and maintain the advantages of this setup. The Civic increases its PP to 495.59.
Although ultimately faster – another couple of tenths gained – increasing front camber values made me more inconsistent, hence why I settled for –5.0 degrees at the front. Extreme values are best saved for qualifying.
Best lap: 52.607s
Optimum lap: 52.408s
Fifth change: Anti-Roll Bars
Anti-roll bars (ARBs) essentially do as they say; they control the body roll of a car independent of suspension and damper settings.
In Gran Turismo 7, a smaller ARB number equates to a softer ARB setting, and larger numbers equal stiffer bars. In simple terms, softer settings at the front and stiffer settings at the rear will encourage oversteer, and vice versa.
In this case, I set the front ARB to a firm 6 (maximum was 10) and the rear to a minimally soft 1, increasing the car’s PP to 496.63. For me, the effect was the car felt more stable and predictable.
To experiment further, I made the front ARB as soft as possible and the rear as stiff as possible – a known sim racer tactic designed to provoke the most oversteer from a car. This ended up slowing the car down by a few tenths, something I deem to be encouraging – unrealistically extreme settings don’t work in GT7.
Best lap: 52.541s
Optimum lap: 52.411s
Sixth change: Toe Angle
Pointing the front tyres towards the car – called toe-in – helps with stability in corners, although adding toe-out can enhance turn-in.
It’s a setting you can tune to your preference, but for me, I settled with adding 0.14 degrees of toe-in on the front axle, and 0.10 degrees of toe-out on the rear. The car’s PP increased again to 496.99.
Adding toe out to the rear works very well on a front wheel drive car, as it helps the rear ‘steer’ the front of the car through turns.
Testing this out on track made a marked difference to the way the car handled faster turns like the entry to Surtees. Another tenth of a second chopped off my PB!
Best lap: 52.417s
Optimum lap: 52.334s
Seventh change: Natural Frequency
This is another way to describe the relative stiffness of the car’s handling in Gran Turismo 7. Higher values essentially mean stiffer springs, and lower values equate to softer springs.
Measured in Hertz, the aim is to reach a nice handling balance between front and rear values. Default values for Natural Frequency in GT7 seem to work quite well from my initial impressions.
As an experiment, I turned the front axle setting up to 3.20Hz and the rear at a relatively soft 1.46 Hz. PP rose above 508, but the car was horrible to drive.
In fact, it turned the little Honda into a FWD drift machine, the oversteer was so bad.
My next change will be less extreme on the front – I want this front-wheel drive car to react faster on its front end, but not to the extent where it’s on the knife-edge of control. I match the front and rear Natural Frequency rates (2.05Hz) and go out for another run.
The car felt more balanced, but still with a little oversteer mid-corner to hook the front end towards the apex. I gain just under a tenth of a second in lap time.
The PP goes down to 500.37 but it feels so much better, and it’s faster. Winner.
Best lap: 52.349s
Optimum lap: 52.261s
Eighth change: Differential Gear
Adjusting the Fully Customisable limited-slip differential changes the car’s behaviour on acceleration and braking as it distributes the power, in this case, across the front axle.
Fine-tuning the LSD settings to find the best way forward takes a lot of time, but from my tests with the Honda I found the Acceleration default setting of 40 to be a good compromise.
Adjusting the setting further resulted in slower lap times, and just to check the validity of the LSD modelling in-game I tried it out at maximum and minimum levels. Thankfully, at minimum values, the car suffered from catastrophic wheelspin exiting Druids hairpin, and maximum values created too much oversteer. As you’d expect.
Altering the Braking Sensitivity setting also failed to make much of an impact – I moved this to its minimum value (five) to enforce more turn-in, but went too far, causing uncontrollable oversteer at times on corner entry.
To compensate, I increased the Initial Torque value up to 20 (from 10) to take help take the edge off the oversteer, and this worked to a degree, but ultimately wasn’t quicker than the default LSD settings. More predictable, yes. Faster, no.
Best lap: 52.349s (no change)
Optimum lap: 52.261s (no change)
Ninth change: Ballast
If a car has uneven weight distribution, adding ballast can counteract negative handling traits. And in a front-engined, front-wheel drive car, all the mass – engine and gearbox, mainly – is across the front axle, making the rear extremely light, and therefore unbalanced.
Theoretically then, increasing the Ballast figure and locating it at the rear of our Honda might actually work quite well in terms of providing a better-balanced car.
Here, however, this didn’t really work.
After experimenting with placing 10kg, 20kg and 50kg at the rear axle of the Honda, I could not achieve a faster lap time.
Not to mention the time lost in acceleration and braking – heavier cars are harder to stop and get going! Much like how I can’t quite run as fast as I did 10 years ago – no matter how far back I move my midriff ballast stores…
But, it’s not all bad news. If you’re taking part in an online race and need to nudge your car’s PP downwards, adding ballast is a straightforward way to do it. And if judged correctly – as in this case adding ballast to the rear of a front heavy car – you might not affect the handling too much.
Best lap: 52.349s (no change)
Optimum lap: 52.261s (no change)
10th change: Dampers
A damper’s role on a car is to help control the spring and therefore the weight transfer of the car. Dampers really kick in on corner entry and exit, or bumpy surfaces – kerb strikes, for example.
Compression and Expansion are more commonly known as Bump and Rebound. Bump absorbs compression forces, while Rebound is the rate at which the damper returns to its original state. Rebound settings should always be higher than Bump for the racetrack.
The key is finding a happy medium that works for the car and track, which can take time. I reduced my Honda’s Damping Ratio Compression and Expansion settings to 20% and 35% front and rear, making the car a little softer.
For me, this didn’t provide ultimate lap time, but my Optimum lap reduced to 52.251s – a gain of one-hundredth of a second! The key thing is though, I was able to lap consistently in the 52.4s/52.5s bracket, as the car felt like it had extra grip and a more progressive feel between understeer and oversteer.
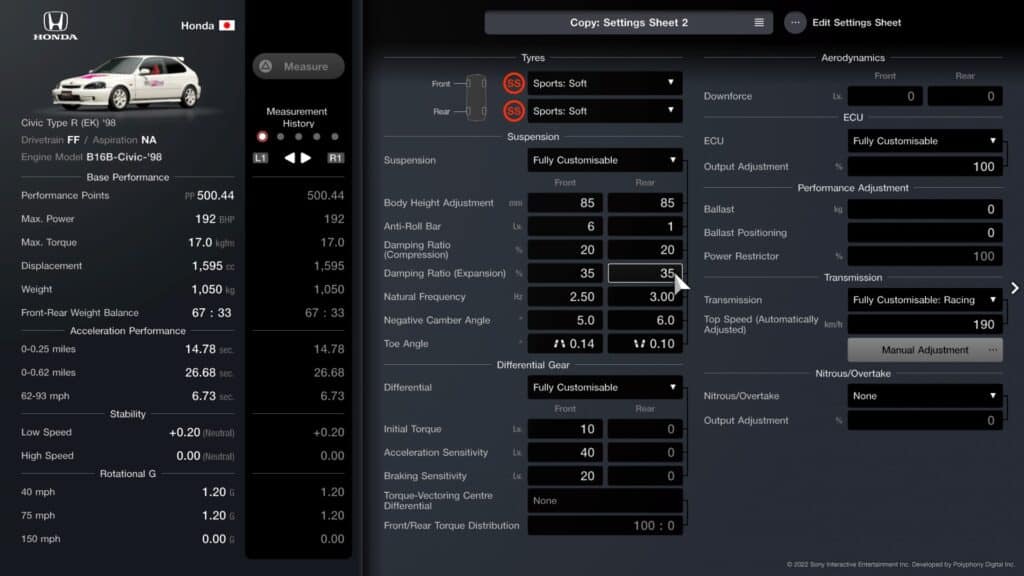
This is why I’m sticking with these settings for my venerable little Civic. Feel free to copy them and see what you think! The final PP figure is 500.44, up from 484.34 at the beginning of this setup walkthrough.
Best lap: 52.349s (no change)
Optimum lap: 52.261s
Step up your setup
From the stock setup, I’ve whittled my actual lap time down by 1.5s on a short 1.2-mile track and lowered my theoretical best by 1.7s. The biggest single effect came from lowering the ride height – gaining nearly 0.8s – followed by 0.2s gains from adjusting gear ratios and increasing negative camber.
After that, changes freed up less and less lap time, with the dampers, ballast and the LSD making very little, to no difference. Of course, the changes I’ve made on this little front-wheel-drive Honda won’t necessarily work on a mid-engine supercar, but a lot of the theory crosses over.
Also, the changes I’ve made may have bigger or smaller effects depending on the track; Brands Hatch Indy is short, so setup changes won’t achieve the same time gains as a full 13-mile lap of the Nordschleife.
The key thing to remember is, setups take a lot of work, and are often a case of balancing two conflicting settings to achieve the best compromise. It takes a lot of tinkering to get the optimum setup, and there’s rarely a single magic bullet’ option.
Have you used our setup guide to improve your GT7 prowess? How did it work for you? Have you found your own setup magic to conquer the Menu Books? Let us know in the comments below.


Discussion
0 Comments
Join the discussion
Join Traxion.gg to start discussing with members.
Already a member? Sign in