Despite some mixed opinions, EA SPORTS and Codemasters’ F1 24 provides a solid single-player experience with predictable handling ideal for gamepad users.
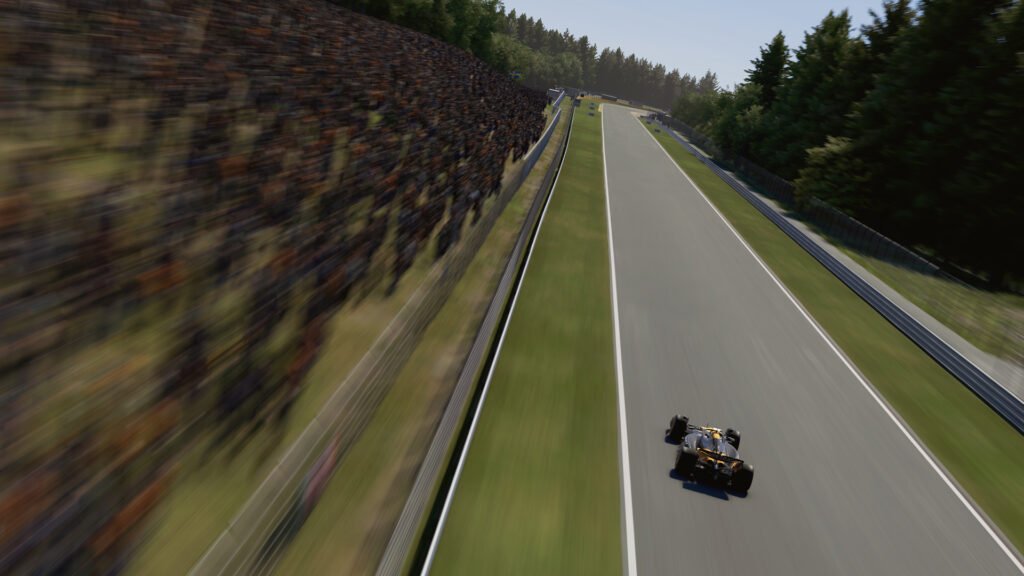
Another positive aspect is its excellent photo mode, which is capable of producing high-quality images of Formula 1 and Formula 2 cars in action.
We’ve outlined a guide to making the most of this optional mode below, explaining which settings to change and what effects they’ll produce, which should hopefully have you screenshotting until the chequered flag flies (or until Lance Stroll wins a Grand Prix).
How to access F1 24’s photo mode
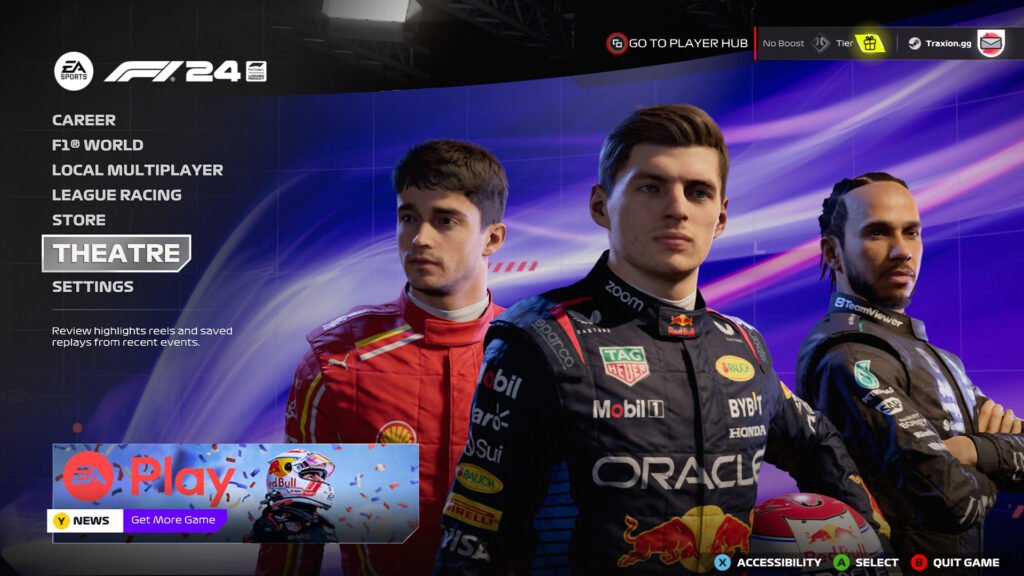
F1 24’s photo mode can be found during a replay, accessed during gameplay via the pause menu or after a race session. Saved replay files can also be found via the ‘Theatre’ menu on F1 24’s main menu.
Scroll through the replay until you find an interesting angle or incident you’d like to capture, then press ‘Start’ (or whichever key or button has been assigned) to enter photo mode.
We recommend using a gamepad for F1 24’s photo mode, purely for convenience.
Understanding the settings in F1 24’s photo mode
As F1 24 uses a lot of real-world photography terms, it’s worth going over their meaning and function. The most important facets of F1 24’s photo mode are listed below.
Aperture
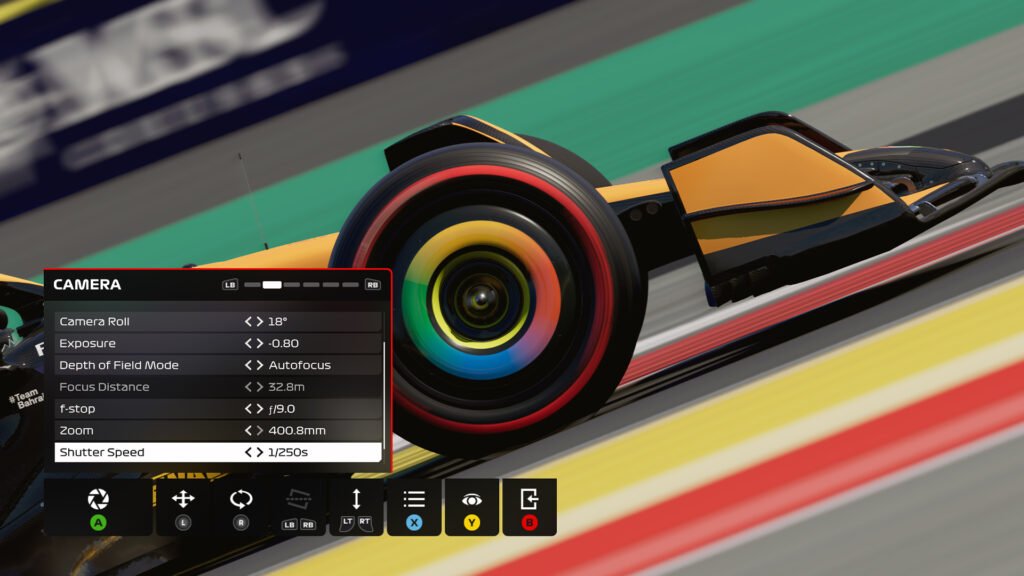
The aperture is the opening on a camera that light enters. A fully open aperture (lower f-stop numbers) lets more light in and creates more background and foreground blur (the quality of which is known as bokeh). A more closed aperture (higher f-stop numbers) results in the whole image (background and foreground) being more in focus.
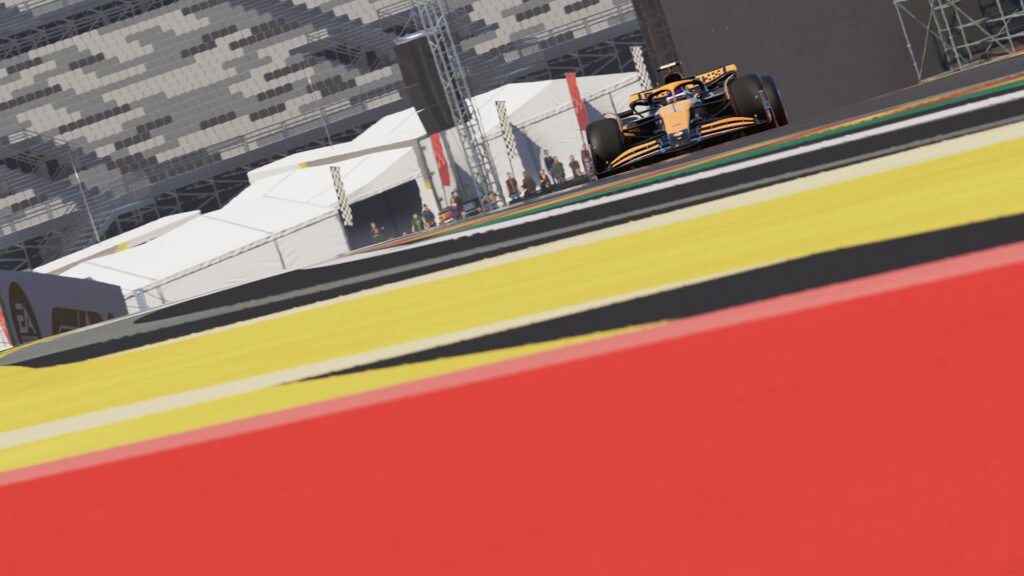
You can use a low aperture figure to take an attractive shot of a car on its own for example, but this is less effective when trying to take panning shots.
Shutter speed
A camera shutter controls how much light is allowed into the camera sensor. If the shutter is left open for a long time, more light is let in (and vice versa).
The shutter speed number is the length of time the shutter is left open, so 1/60s is one-one-sixtieth of a second, and 1/1000s is one one-thousandth of a second. 1/60s is a bigger unit of time than 1/1000s, so will allow more light to pass into the camera sensor, requiring careful panning to keep the subject in focus (not a huge concern in-game, however).
In real-world photography, you’d balance shutter speed with aperture to obtain the perfect overall exposure, but F1 24 compensates for this automatically making it much easier to capture awesome images.
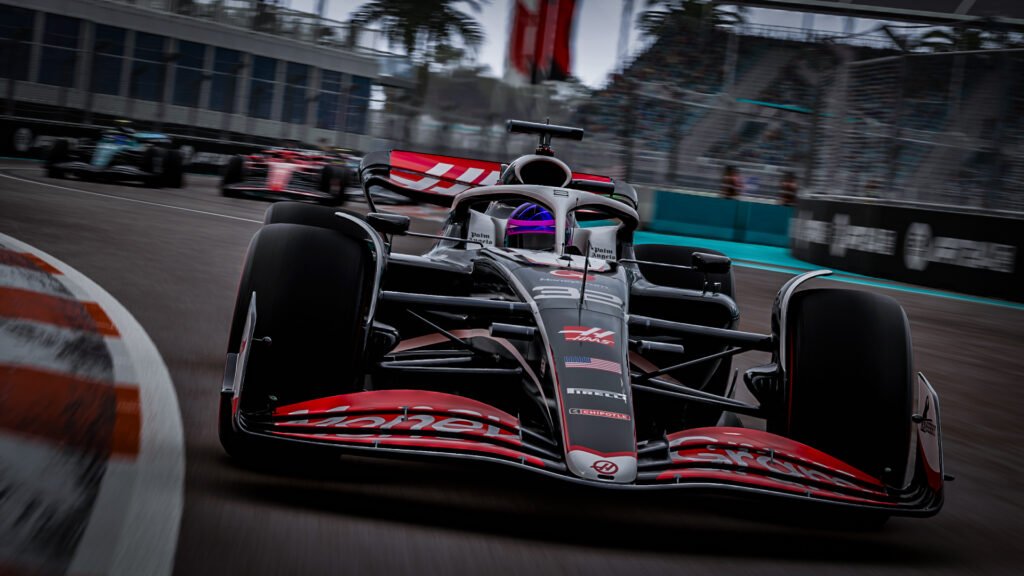
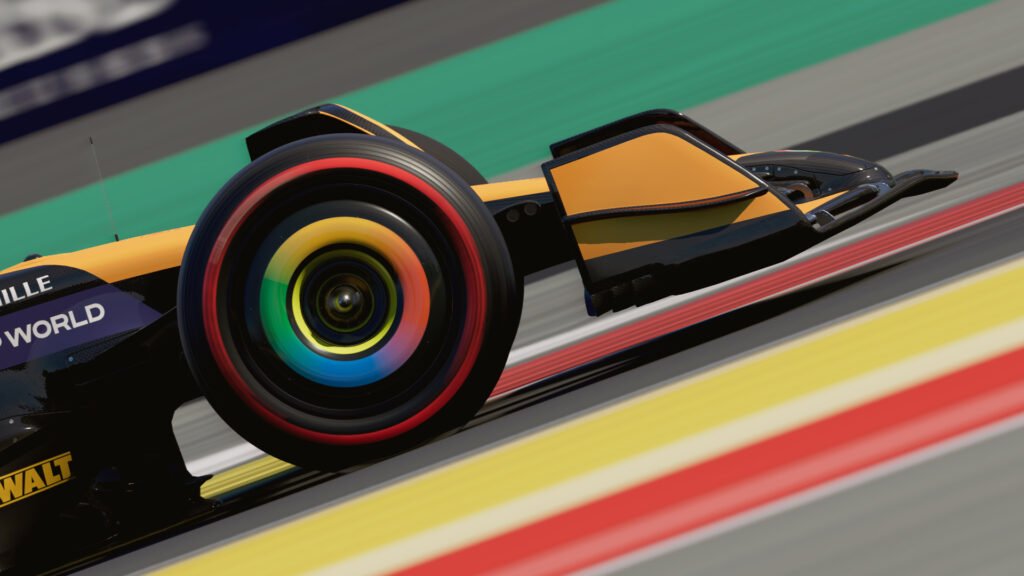
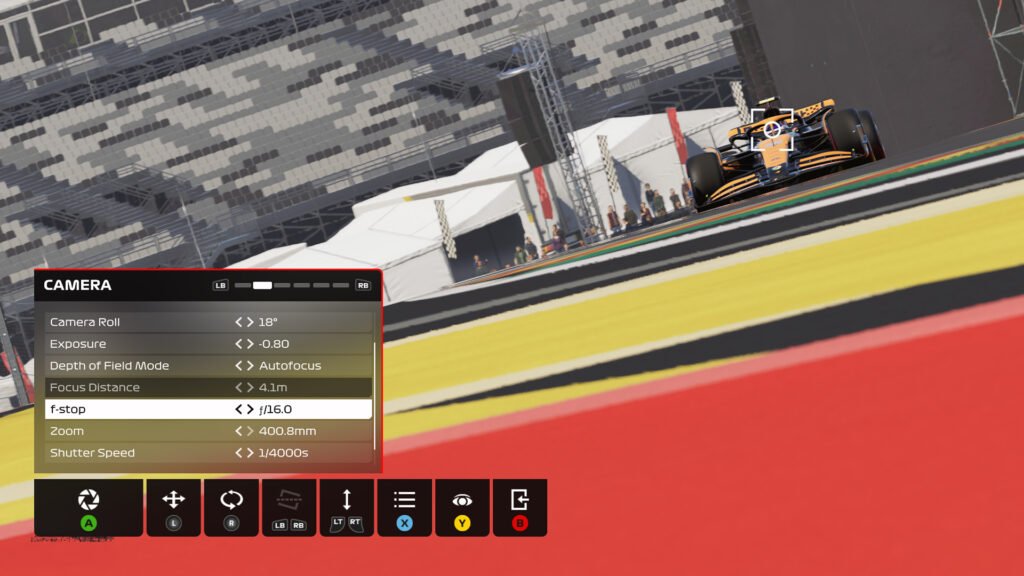
Slow shutter speeds will enable better panning shots of cars, creating motion blur in the background, foreground and wheels of the chosen car. This kind of shot highlights the speed of the subject, creating extra dynamism. A photo with a slow shutter speed should be matched with a higher aperture setting for best results, just like the McLaren image below.

Zoom
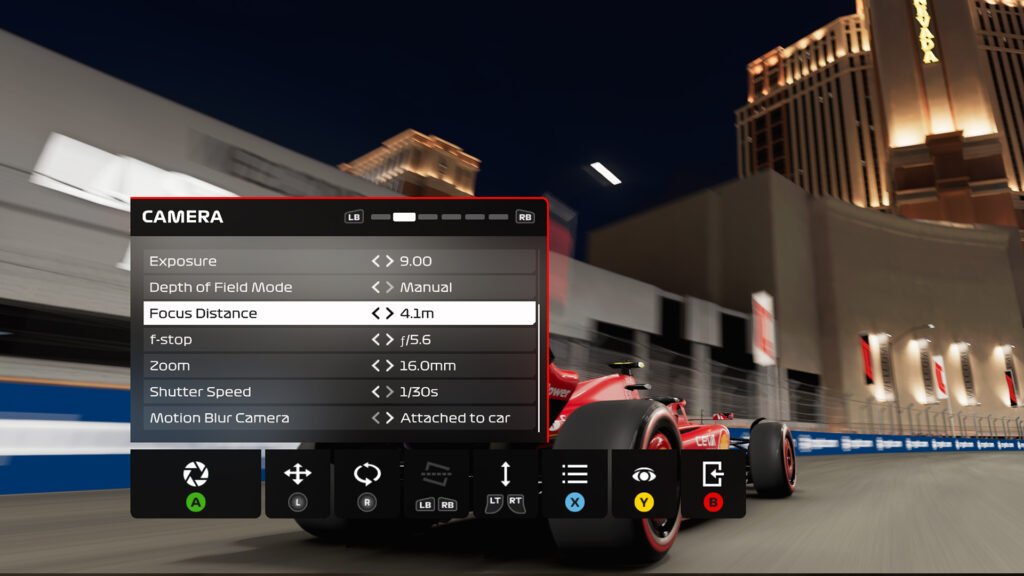
Adjusting the zoom setting changes the field of view, mimicking how a telephoto camera lens works. Higher zoom numbers will naturally help create background blur but will also make it harder for the game to focus on the car.
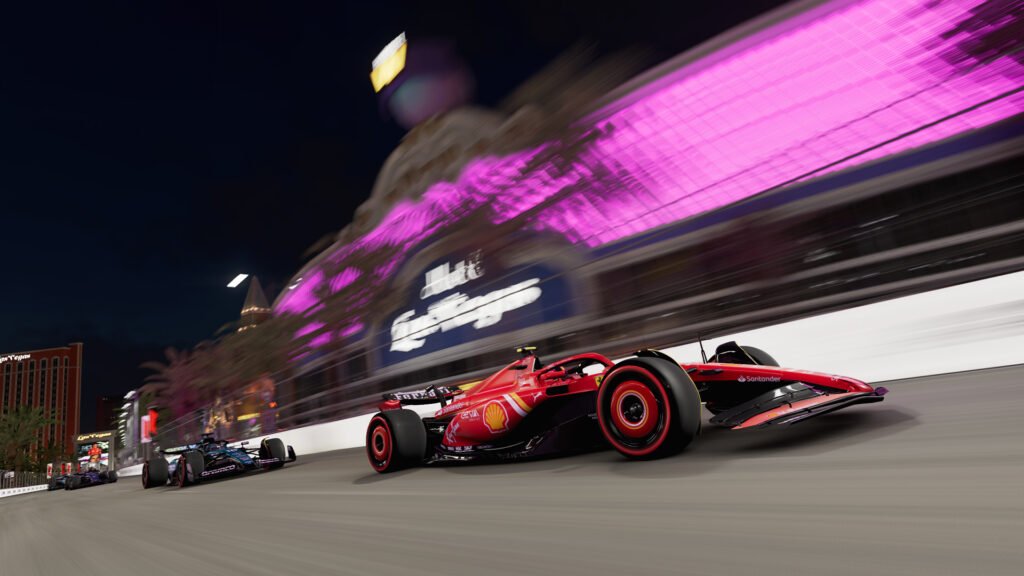
Zoom right out if you want to fit your car and a notable background object in at the same time, this can be massively effective as per the screenshot below.

Depth of field mode
In F1 24 you can choose to switch off this setting or use it in manual or autofocus modes. If set to manual you’ll be allowed to change the focus distance in your image – ideal if you want to pick out certain details in your composition.
For the most part, however, using the autofocus method is the most useful. By moving the right analog stick you can pinpoint the area of the image you want to focus on, leaving you free to dabble with other settings.
Other settings
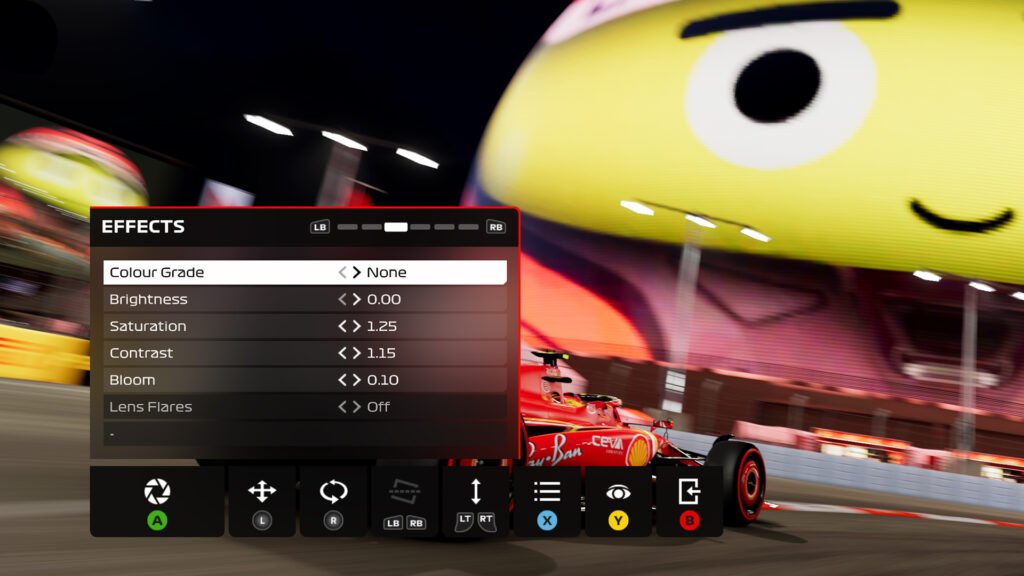
Other settings like camera roll, exposure, vignette, contrast and bloom can also be tinkered with. Camera roll is especially useful in creating more dynamism in your images, while adjusting exposure (how bright your image is, in simple terms) can be used to offset lighting conditions when the photo is taken.
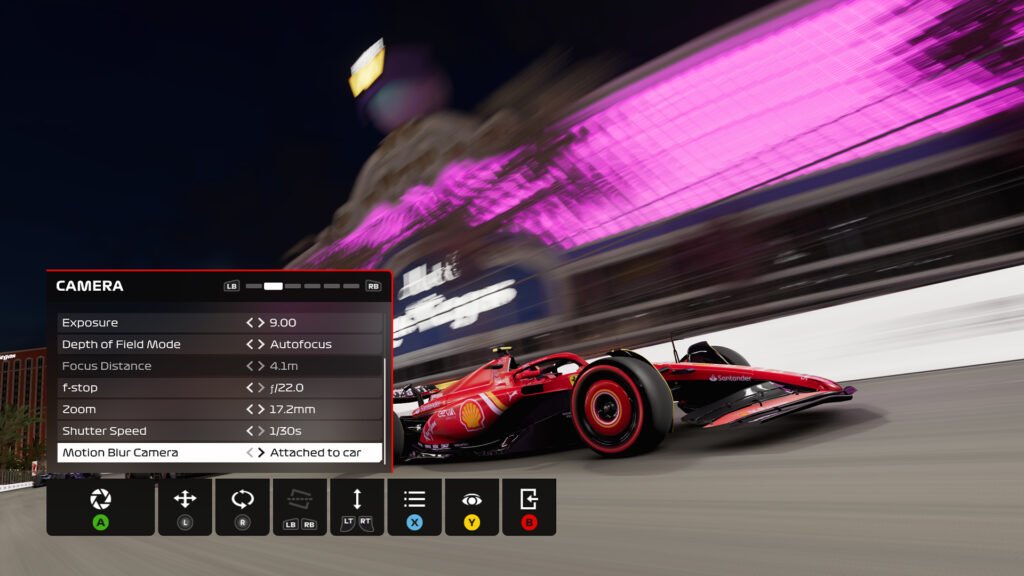
For example, if you’re photographing a Las Vegas night race you should increase the exposure setting to lighten the overall scene (not that Las Vegas is particularly dark, even at midnight).
A vignette adds a darkened circular aura to the corners of your photo, helping viewers focus on the centre of the image, while settings like contrast, saturation and brightness can be adjusted to your liking.
It’s also possible to change the weather and time of day via the ‘Environment’ tab, perhaps adding more or less light on your subject matter. This can’t be altered in every scenario – you can’t change a fully dry track to sodden wet conditions, for example – but it’s definitely useful.
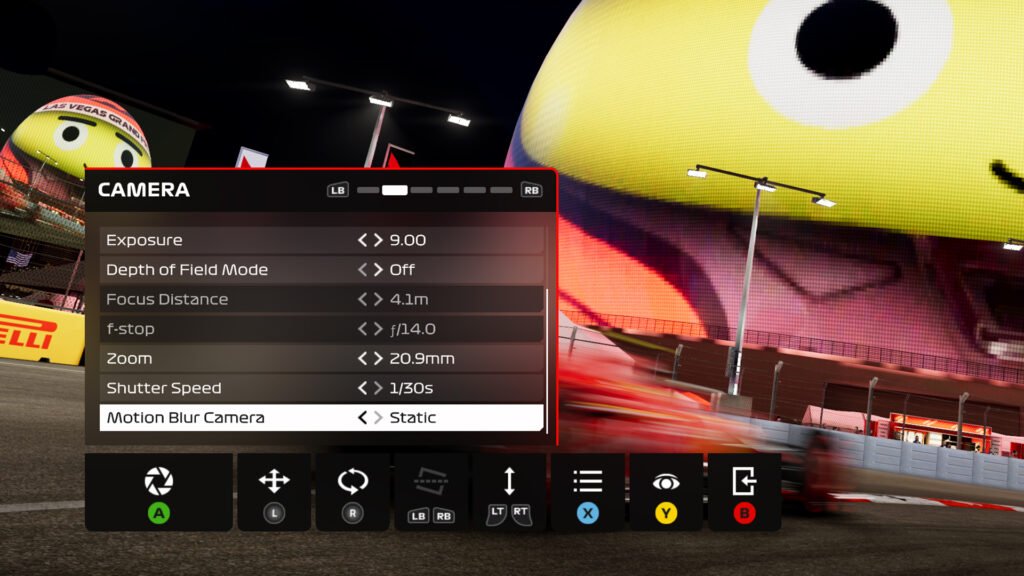
If you really, really want to, you can change the tyre compound displayed on-screen too, or if you want a static background but wish to show F1 cars as a blurry mess you can change the ‘Motion blur camera’ setting to ‘static’ (there are more arty ways to explore this setting, obviously!).

Photo capture options in F1 24
F1 24 provides a number of options in terms of capturing photos. Under the ‘Presets and options’ tab, you can choose the resolution of your image.
Generally, we stick to our screen resolution (in this case 3440 x 1440, which we crop down to 1920 x 1080 for the images in this article) but you can go for super-resolution images if desired (note that the image file will be huge and take a while to process).
It’s even possible to capture a 360° video during a replay, but again this can take a while to process.
Move the free camera (other camera views are available but the free camera offers the best range of movement) using the left and right analog sticks: the left stick controls forward, backwards, left and right movements, while the right stick points the camera in the desired direction.
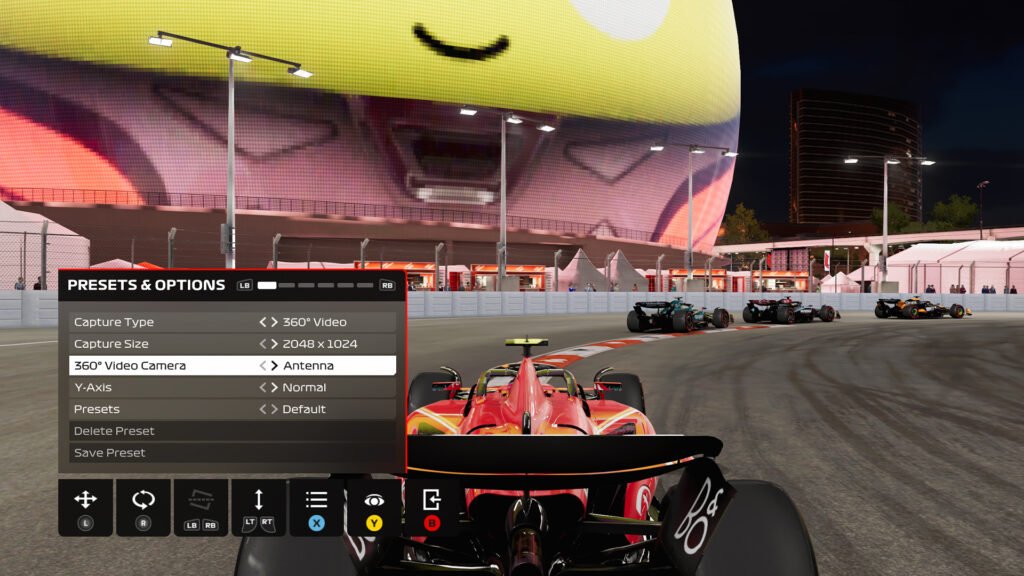
The left and right triggers move the camera vertically, while the Y button (on an Xbox-compatible pad) hides the on-screen menus if you’d like to grab a Steam screenshot or use another image-capturing program.
When you’re happy with your photo settings and have lined up the camera, hit the capture button (A) and the file will automatically be saved in your F1 24 photos folder (normally Documents/My Games/F1 24/photos).
Files are saved as PNGs by default, so are much better quality than Steam’s default JPEG screenshotting facility.
Check out some of our shots below for some F1-related inspiration – and why not share your favourite F1 24 images over on our Discord server.



Chat with the Community
Sign Up To CommentIt's completely Free