BeamNG.drive is the streamer’s choice of anarchic driving game. Featuring detailed crash physics, hilariously over-the-top Scenarios and solid vehicle dynamics, BeamNG garners millions of interweb views every day.
But what else elevates BeamNG above more traditional driving experiences like Gran Turismo 7, Forza Horizon 5 and the myriad of other sims we’re lucky enough to have access to? Its mods.
Yes, mods offer tons more longevity and variety to BeamNG, including some genuinely novel experiences. (aeroplanes, anyone?) But more importantly if there were no mods for BeamNG several high-profile streamers would be out of a job. And we can’t have that, can we?
After all, who on earth would employ them in the real world?
But thanks to their popularity more people than ever are dipping their toes into the BeamNG modding pool, which inspired us to create a short guide on how to install mods in BeamNG.drive. Fortunately, it’s super easy to do.
I think the mod repository would be a good bet
There are two places where you can download BeamNG mods. The first is the BeamNG.drive Official Forums and the second is the Official Repository.
How to install BeamNG.drive mods from the Official Forums
Just like any game’s official online message board, BeamNG’s Official Forums contain useful information covering all things BeamNG.
Naturally, it’s mods we’re most concerned about, so heading to the mod subsection brings up threads of finished and unfinished mods, including blow-by-blow descriptions of each incremental mod update.

Many of the mods here are very much works in progress or have been long since abandoned, but it’s a fun place to explore and check out potential classics. Most of the mods here will need to be installed manually, however, which we’ll explain more later.
How to install BeamNG.drive mods from the Official Repository
BeamNG.drive’s Official mod Repository is where the game’s user interface really comes into its own, allowing an idiot-proof way to install mods directly to your game at the click of a button.
There are two ways to access and use the Repository; one is to use the web-based version, and the other can be accessed in-game.
Web
Similar to the Official Forums, the web-based mods Repository split into several sub-categories, including; Vehicles, Scenarios, Sounds and Skins as well as many others.
Helpfully, mods can be added to your game via a one-click installation procedure, with options to download them as a separate ZIP file or simply view them in-game (this will prompt you to open the game via Steam, however).
Clicking ‘Subscribe’ will also prompt you to open up the game via Steam, whereupon the mod will be downloaded and installed automatically. The mod will be ready to use once downloaded. Neat.

In-game
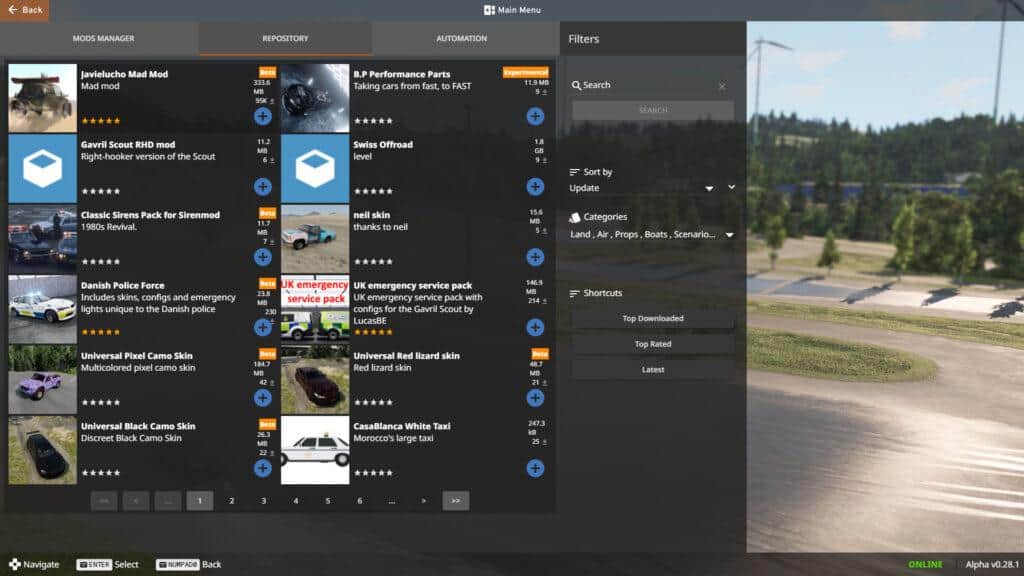
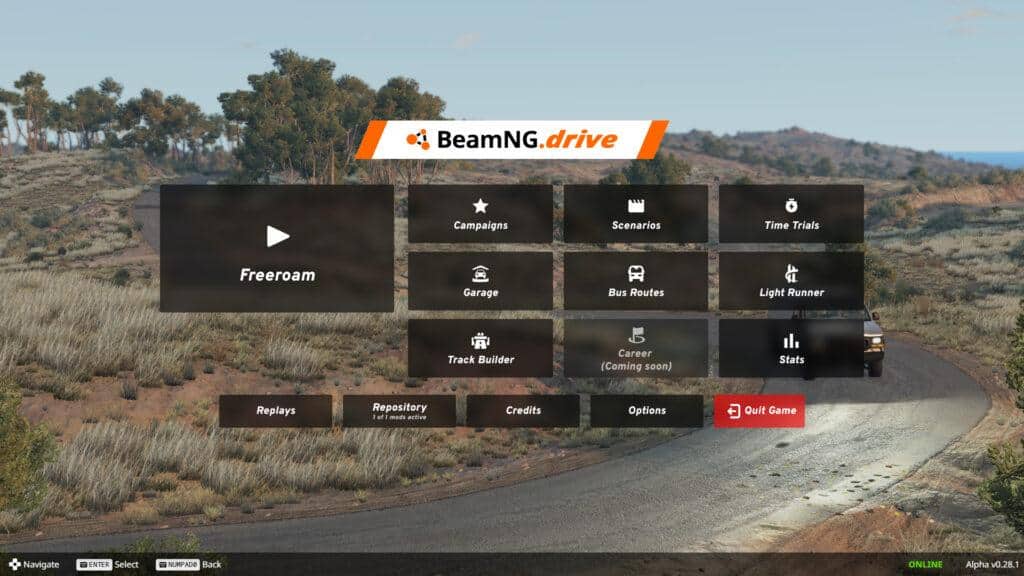
Likewise, accessing the Repository from the game is just as straightforward to negotiate. Simply open up BeamNG and the Repository is right there on the main menu. Search or browse for mods that tickle your fancy and if you want to use them in-game hit the Subscribe button. It really is that easy.
How to deactivate and remove mods in BeamNG.drive
One big thing to note, however, is that you should avoid installing more than 20 mods at any one time as the game can become very unstable. Handily, it’s just as easy to uninstall mods as it is to activate them.
Head to the in-game Repository and its Mod Manager sub-menu. Here, you’ll see the mods you currently have installed in BeamNG.drive with two icons to the right of each mod. One icon deactivates the mod, while the other unsubscribes from it and removes it from your system completely.
It’s a simple and effective method of ensuring your BeamNG installation is as tidy as possible.

How to manually install mods in BeamNG.drive
As mentioned previously, downloading mods from the Official Forums or choosing to download a ZIP file from the Repository will require you to install the mod manually in the game. Luckily, it’s not as complicated as you’d think.
Once the ZIP file has downloaded, place it in your mods folder. The easiest way to find this is to select the ‘Manage User Folder’ option on your BeamNG launcher menu, then pick ‘Open in Explorer’ when prompted.
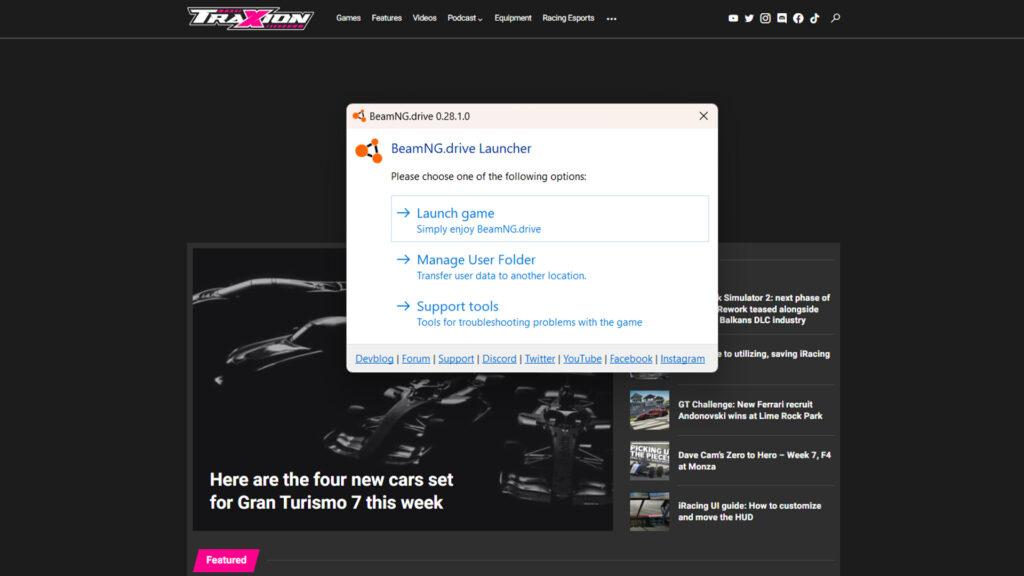
Add your ZIP file to the ‘mods’ folder (if there isn’t one there, simply create it) and the mod will now appear in the Mod Manager for you to activate/deactivate and update (if required).
The best thing about BeamNG’s official mod Repository is that mods can be automatically updated (after a big game update, for example), meaning there’s less chance your favourite mod will suddenly stop working in-game.
Did this BeamNG.drive mod installation guide help you on your crash-em-up journey? Is there anything else BeamNG-related you’d like us to explain? Let us know in the comments below.



Chat with the Community
Sign Up To CommentIt's completely Free